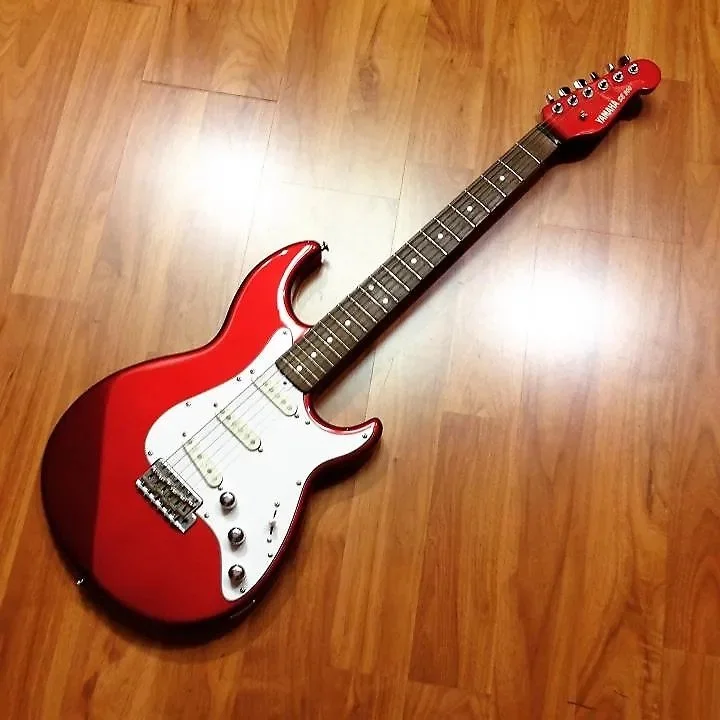
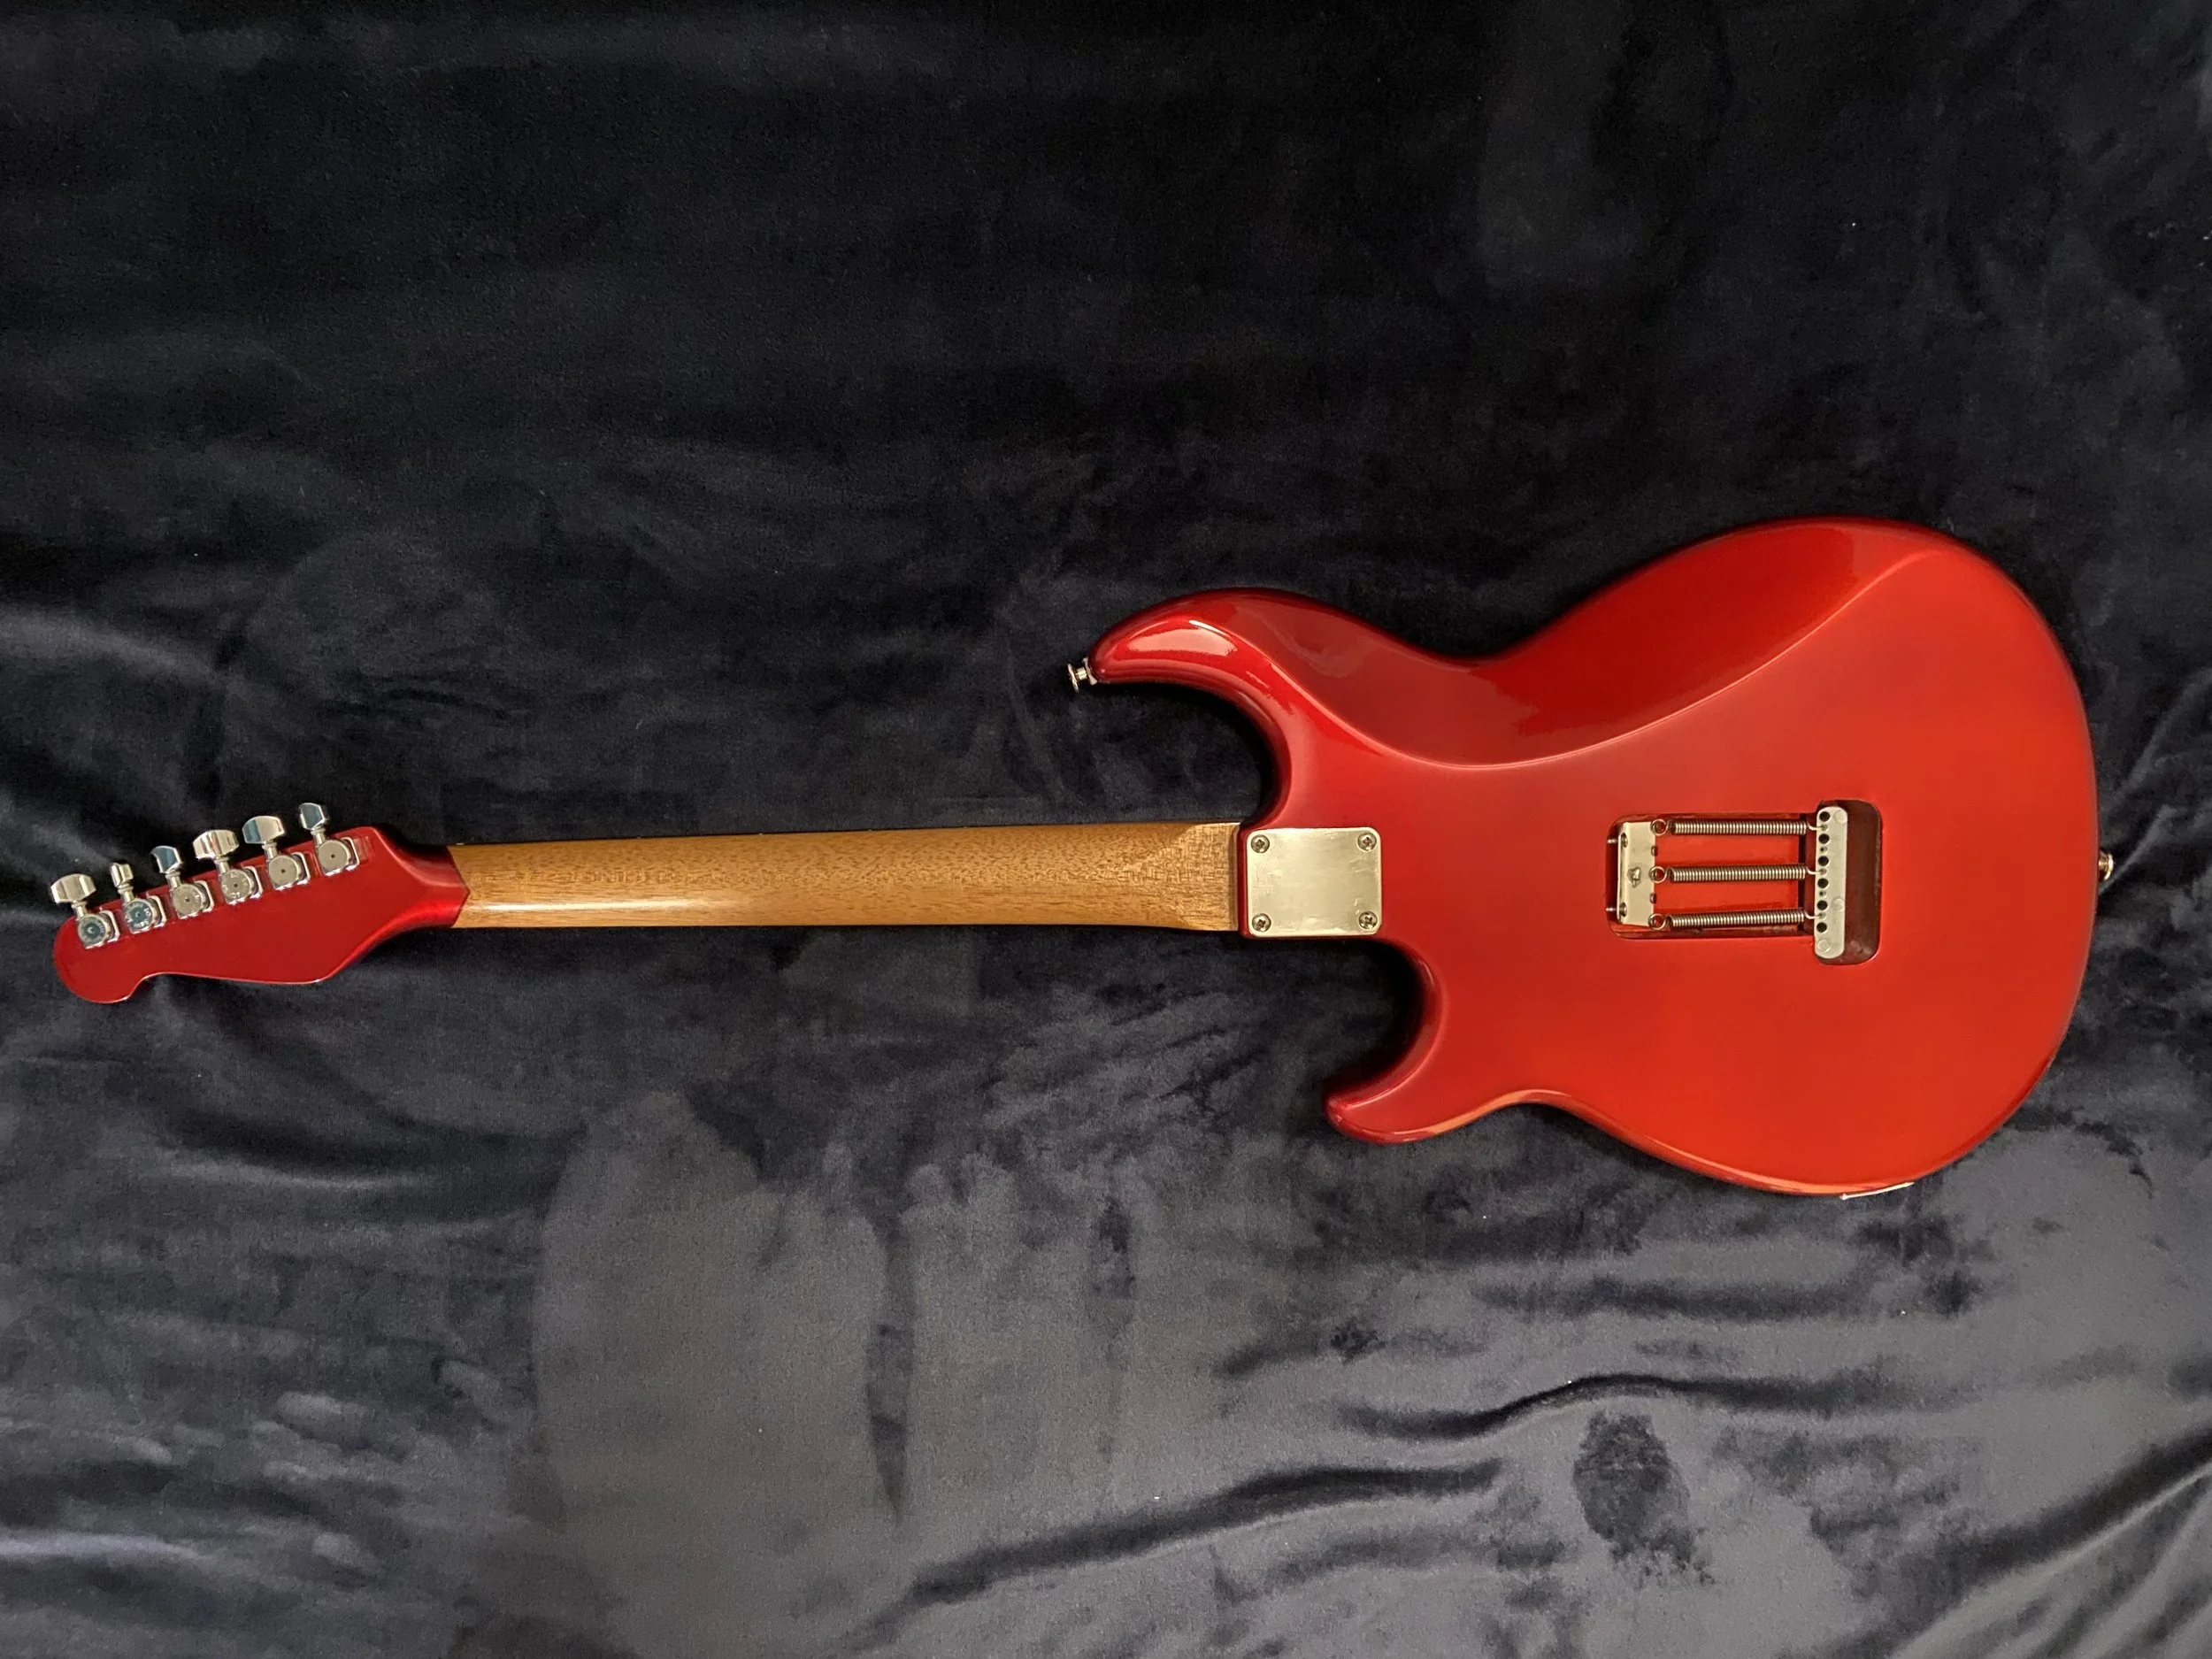
Yamaha SE300 Restoration
Way back in 1984, my mom and dad bought me my first electric guitar and started a lifelong addiction.
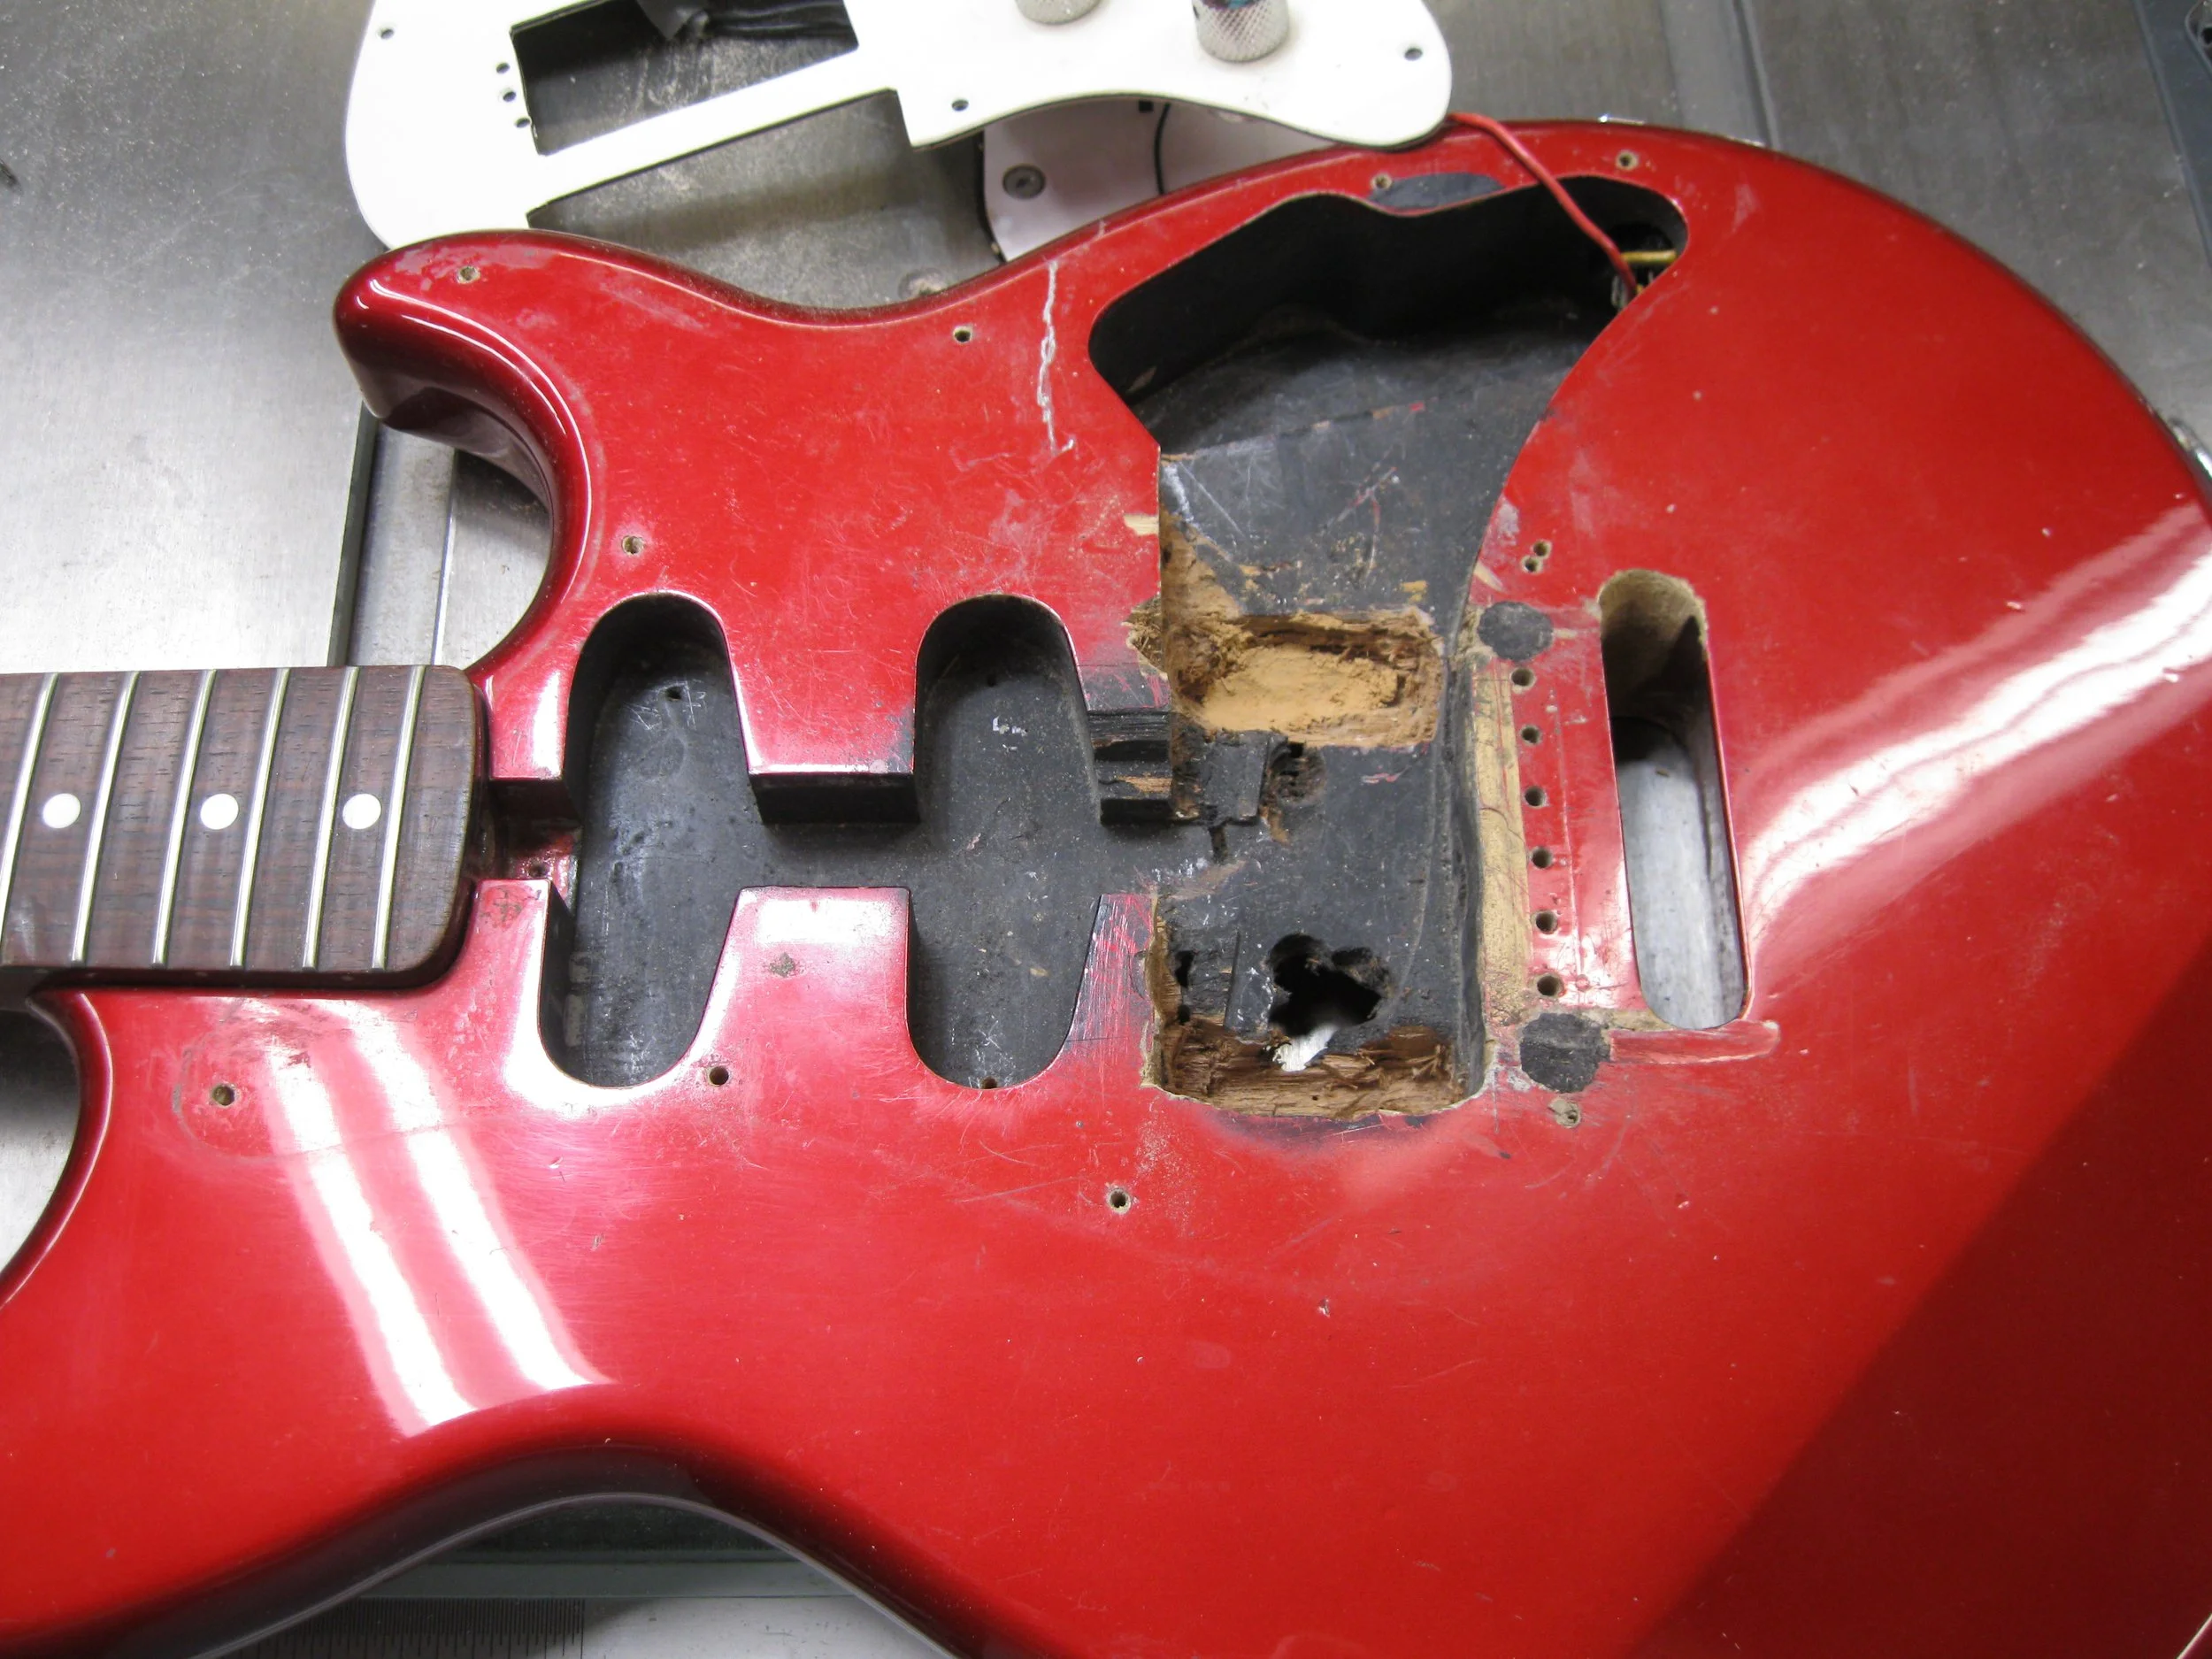
It didn’t take me long to ruin that first guitar in an attempt to make it better. In typical teenage fashion, I had boundless confidence, but I didn’t have the skills or common sense to back it up.
I hadn’t played this guitar since the early 90s, but after Mom passed last year, I was motivated to restore it.
Work done:
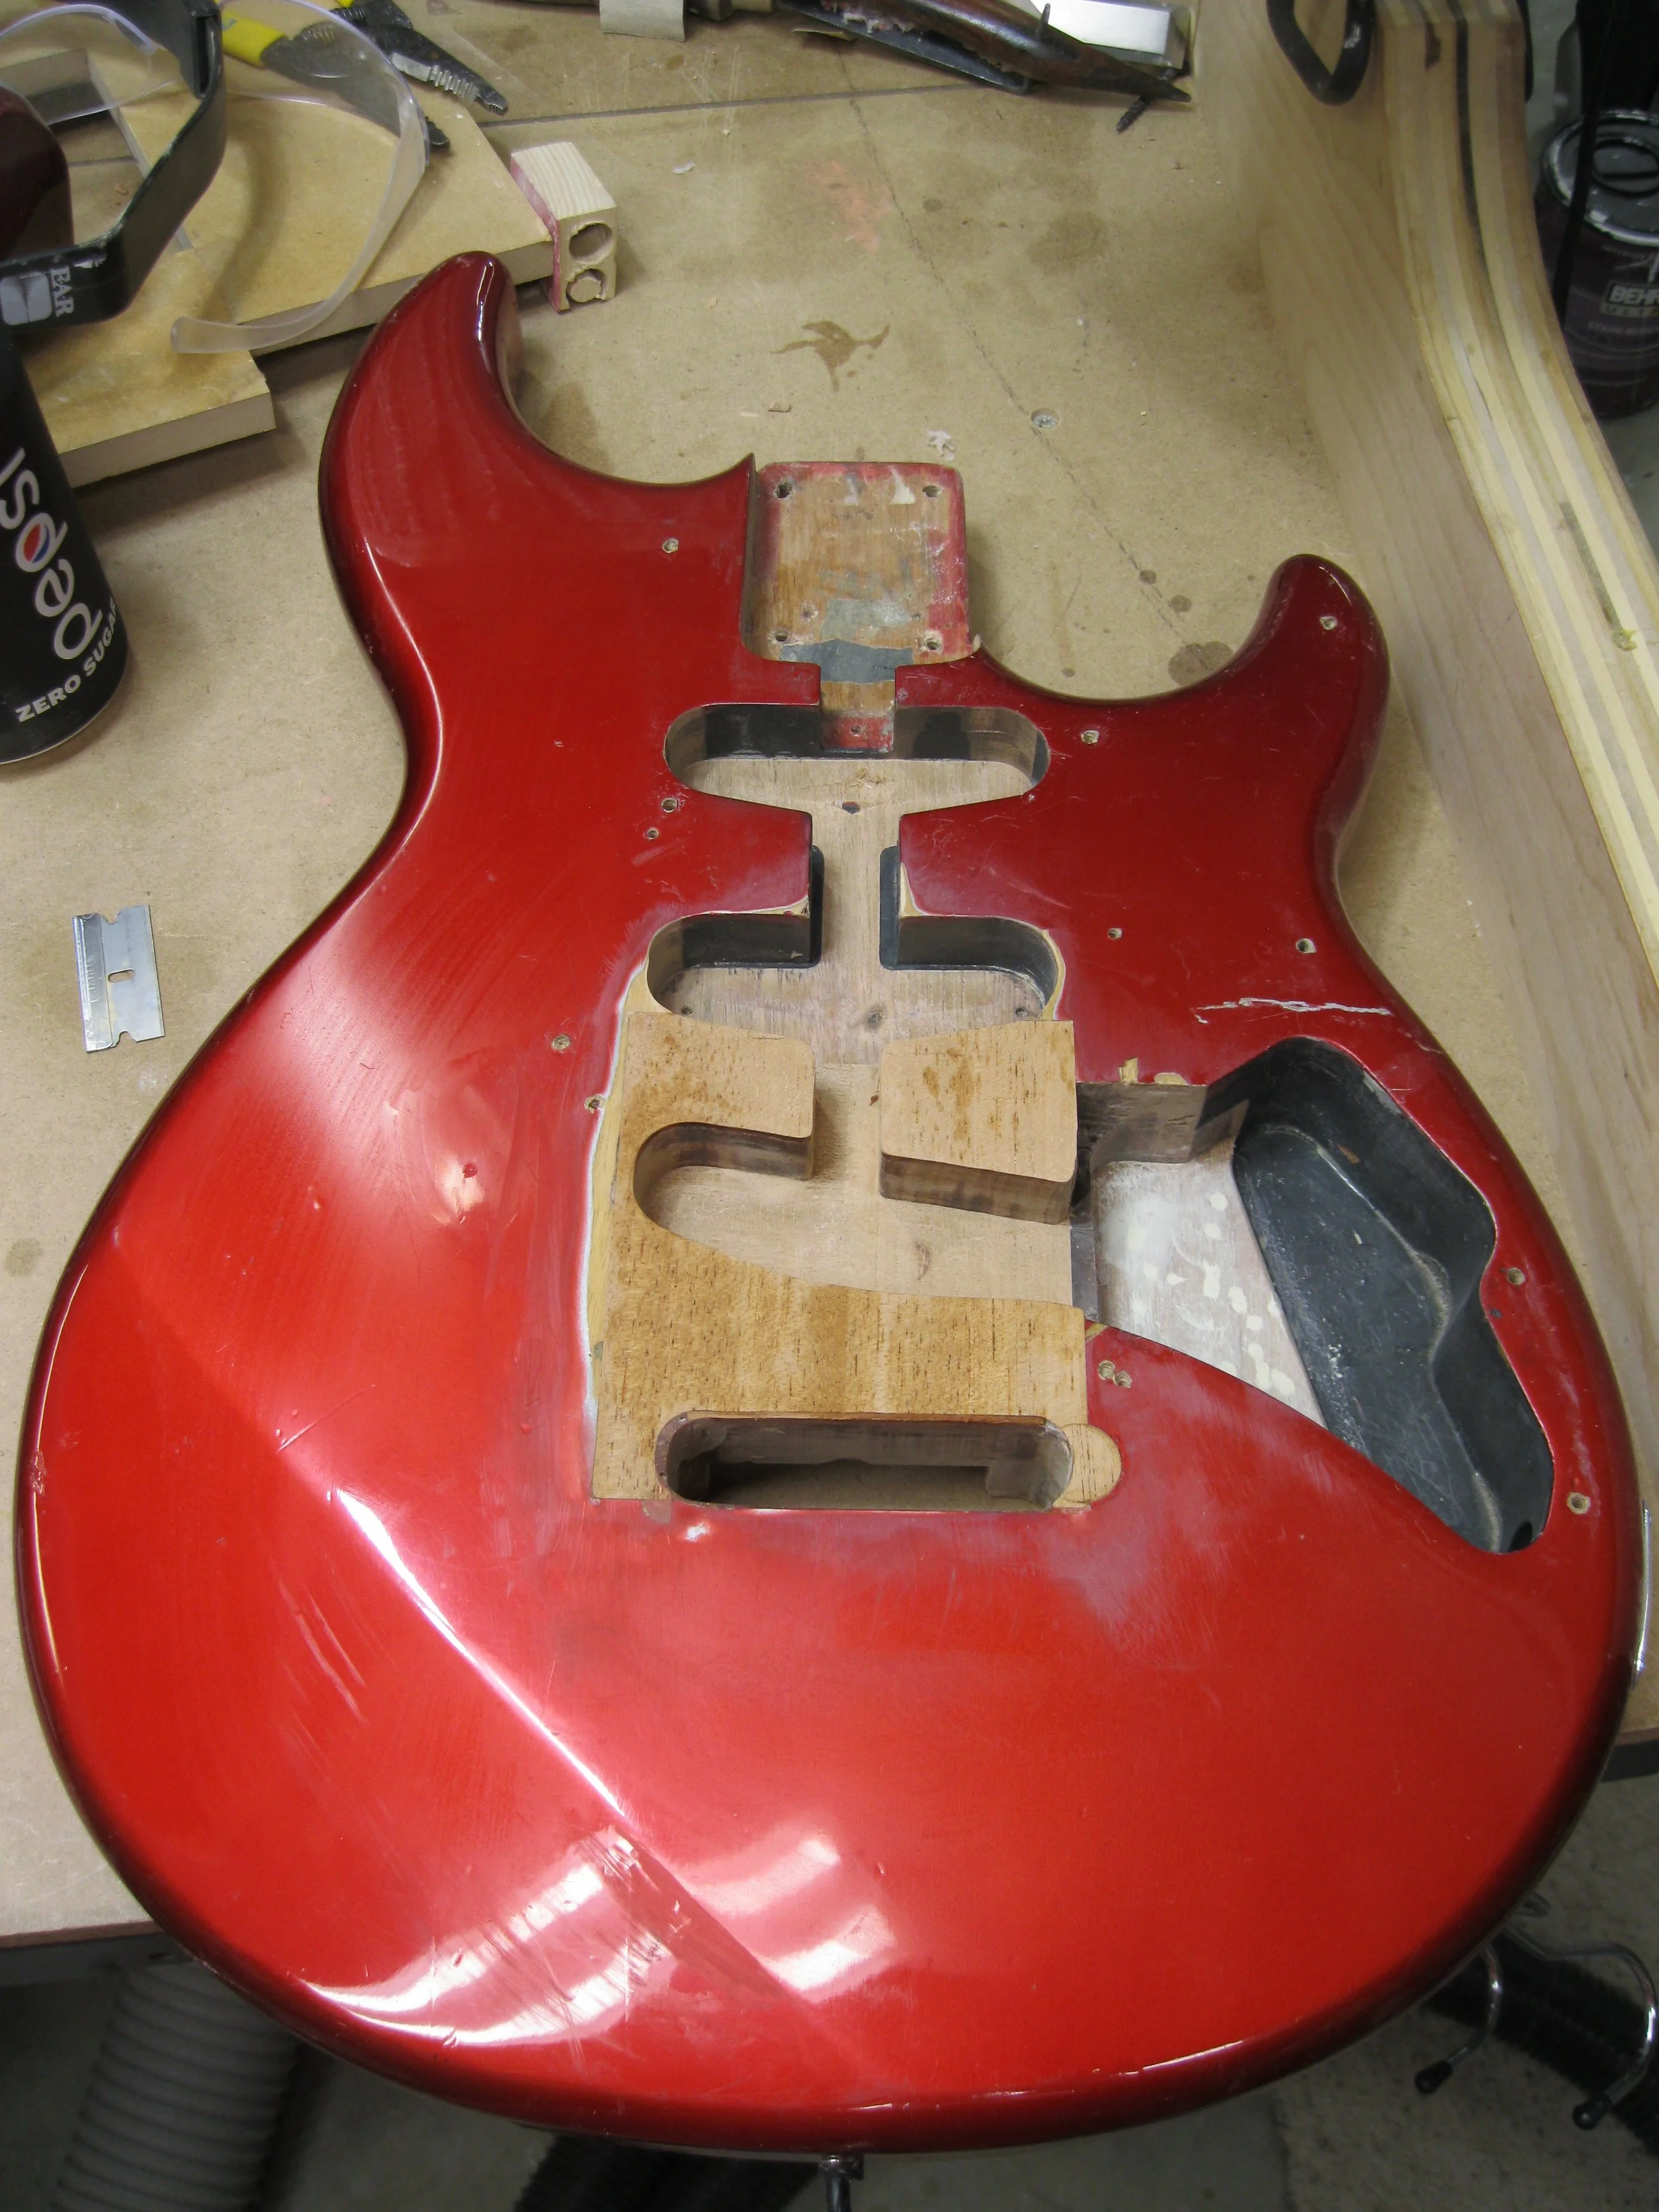
Spliced new mahogany to replace the butchered body.
Switched to a two-point Fender bridge.
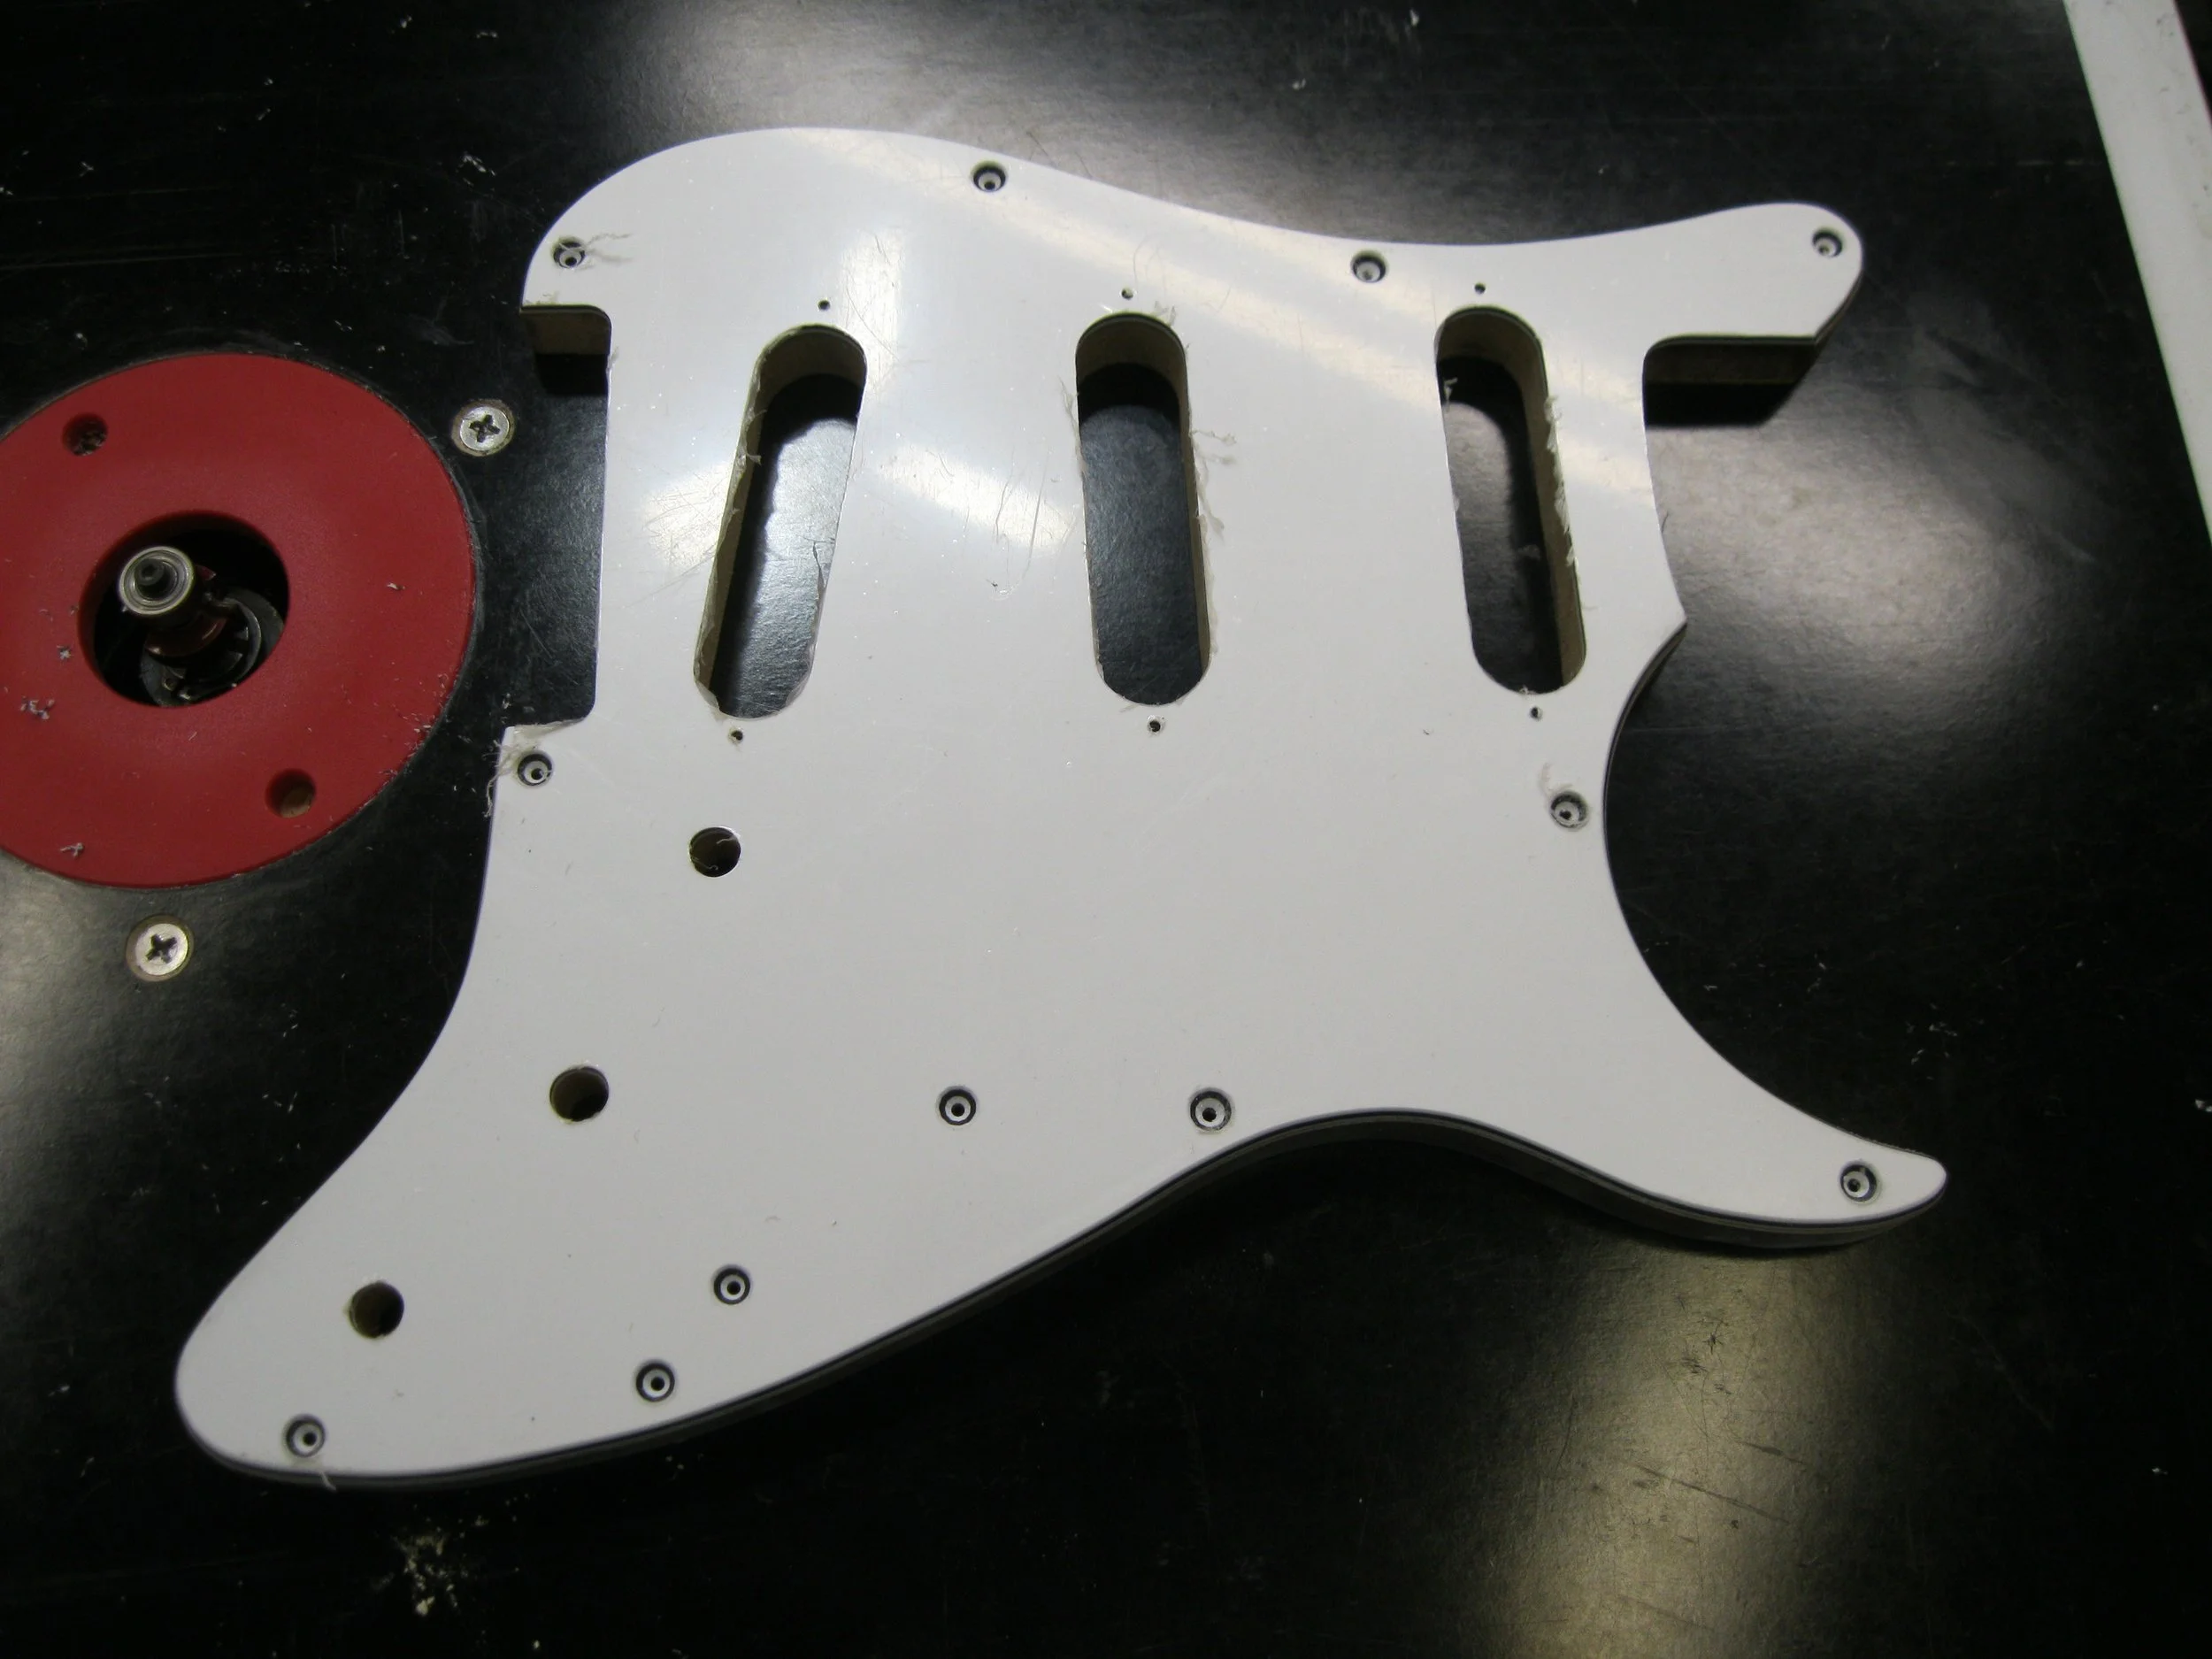
Made a new pickguard.
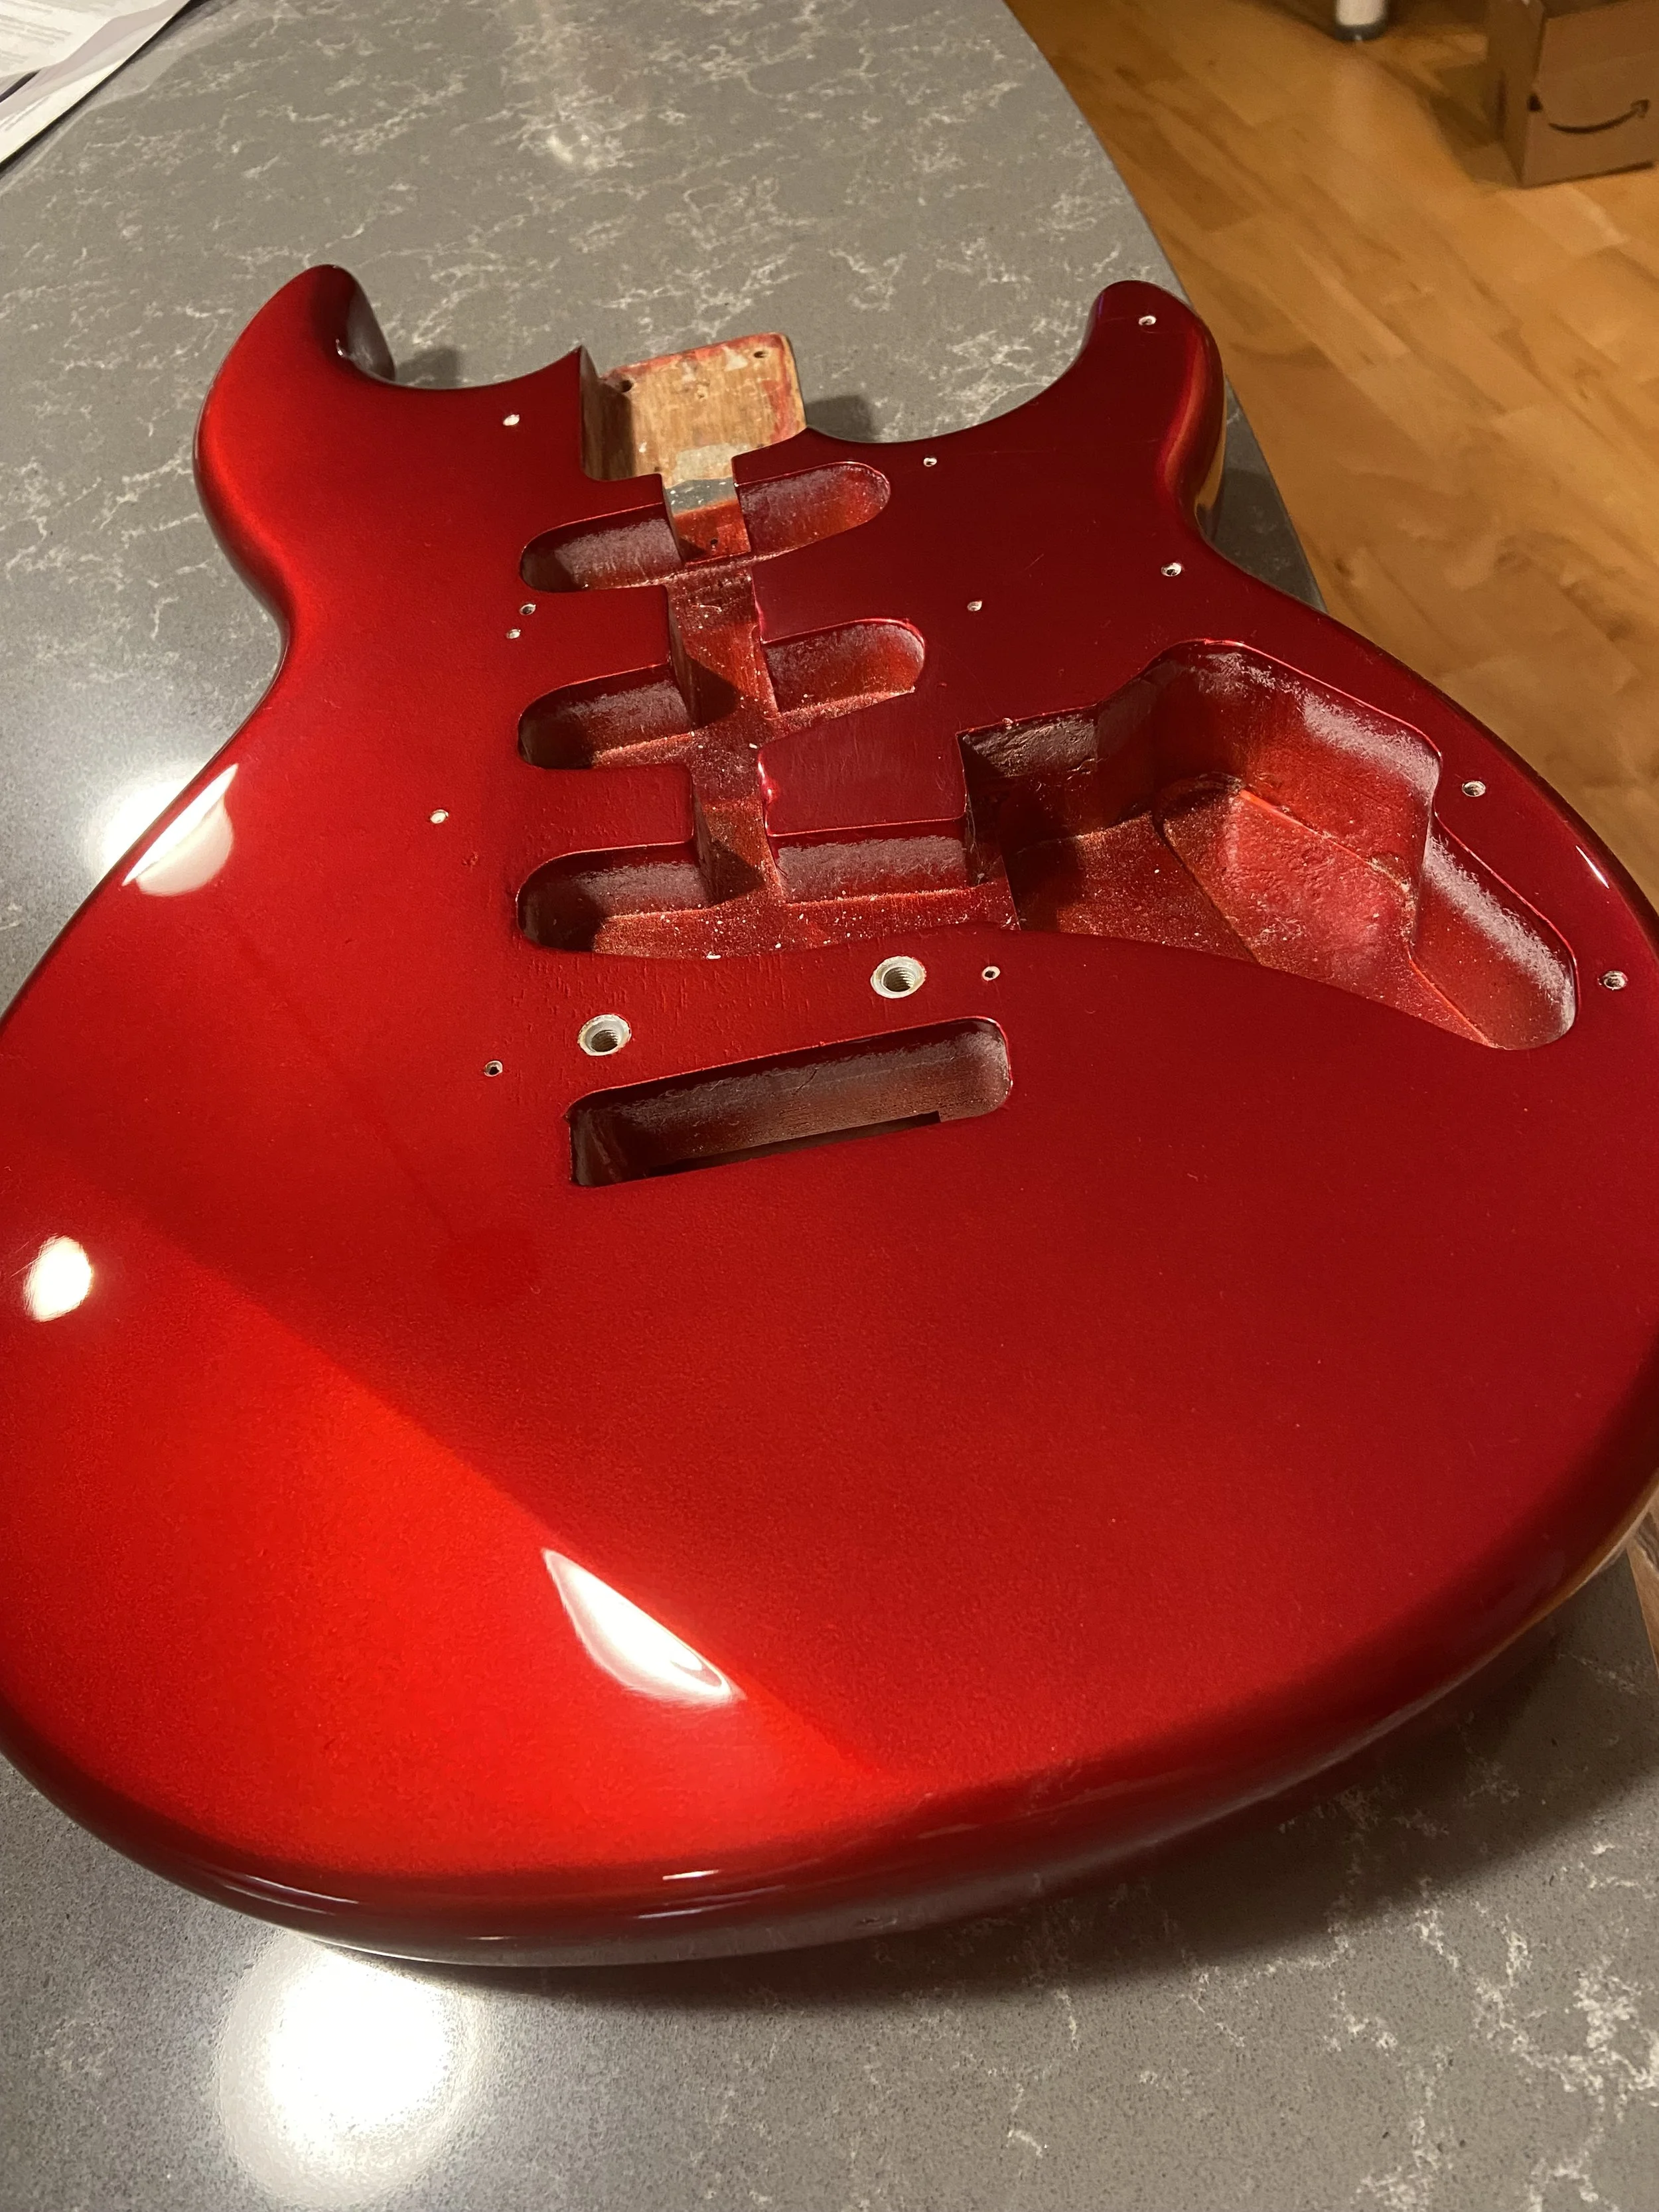
Refinished the body in candy-apple red.
Carved a new 22-fret neck to replace the original 21-fret neck. Changed truss-rod access from heel to headstock.
Added staggered locking tuners to keep it in tune.
Made a replacement logo (sorry, Yamaha, but I did sign the heel to indicate that it’s a reproduction).
Finished the neck in satin lacquer and masked candy apple.
Added Golden Ale pickups from Bootstrap and made a new wiring harness.
This one’s for you, Mom.
This is what it looked like when we were both a lot younger.
I recarved the neck into an unplayable ribbon-thin shredder and installed a locking nut in the wrong location, so it’s getting a new neck. In a shameful attempt to add a humbucker in the bridge position and add a Floyd Rose vibrato, I butchered the body. I didn’t make it any better when I removed the Floyd and plugged the holes. Ah, youth….
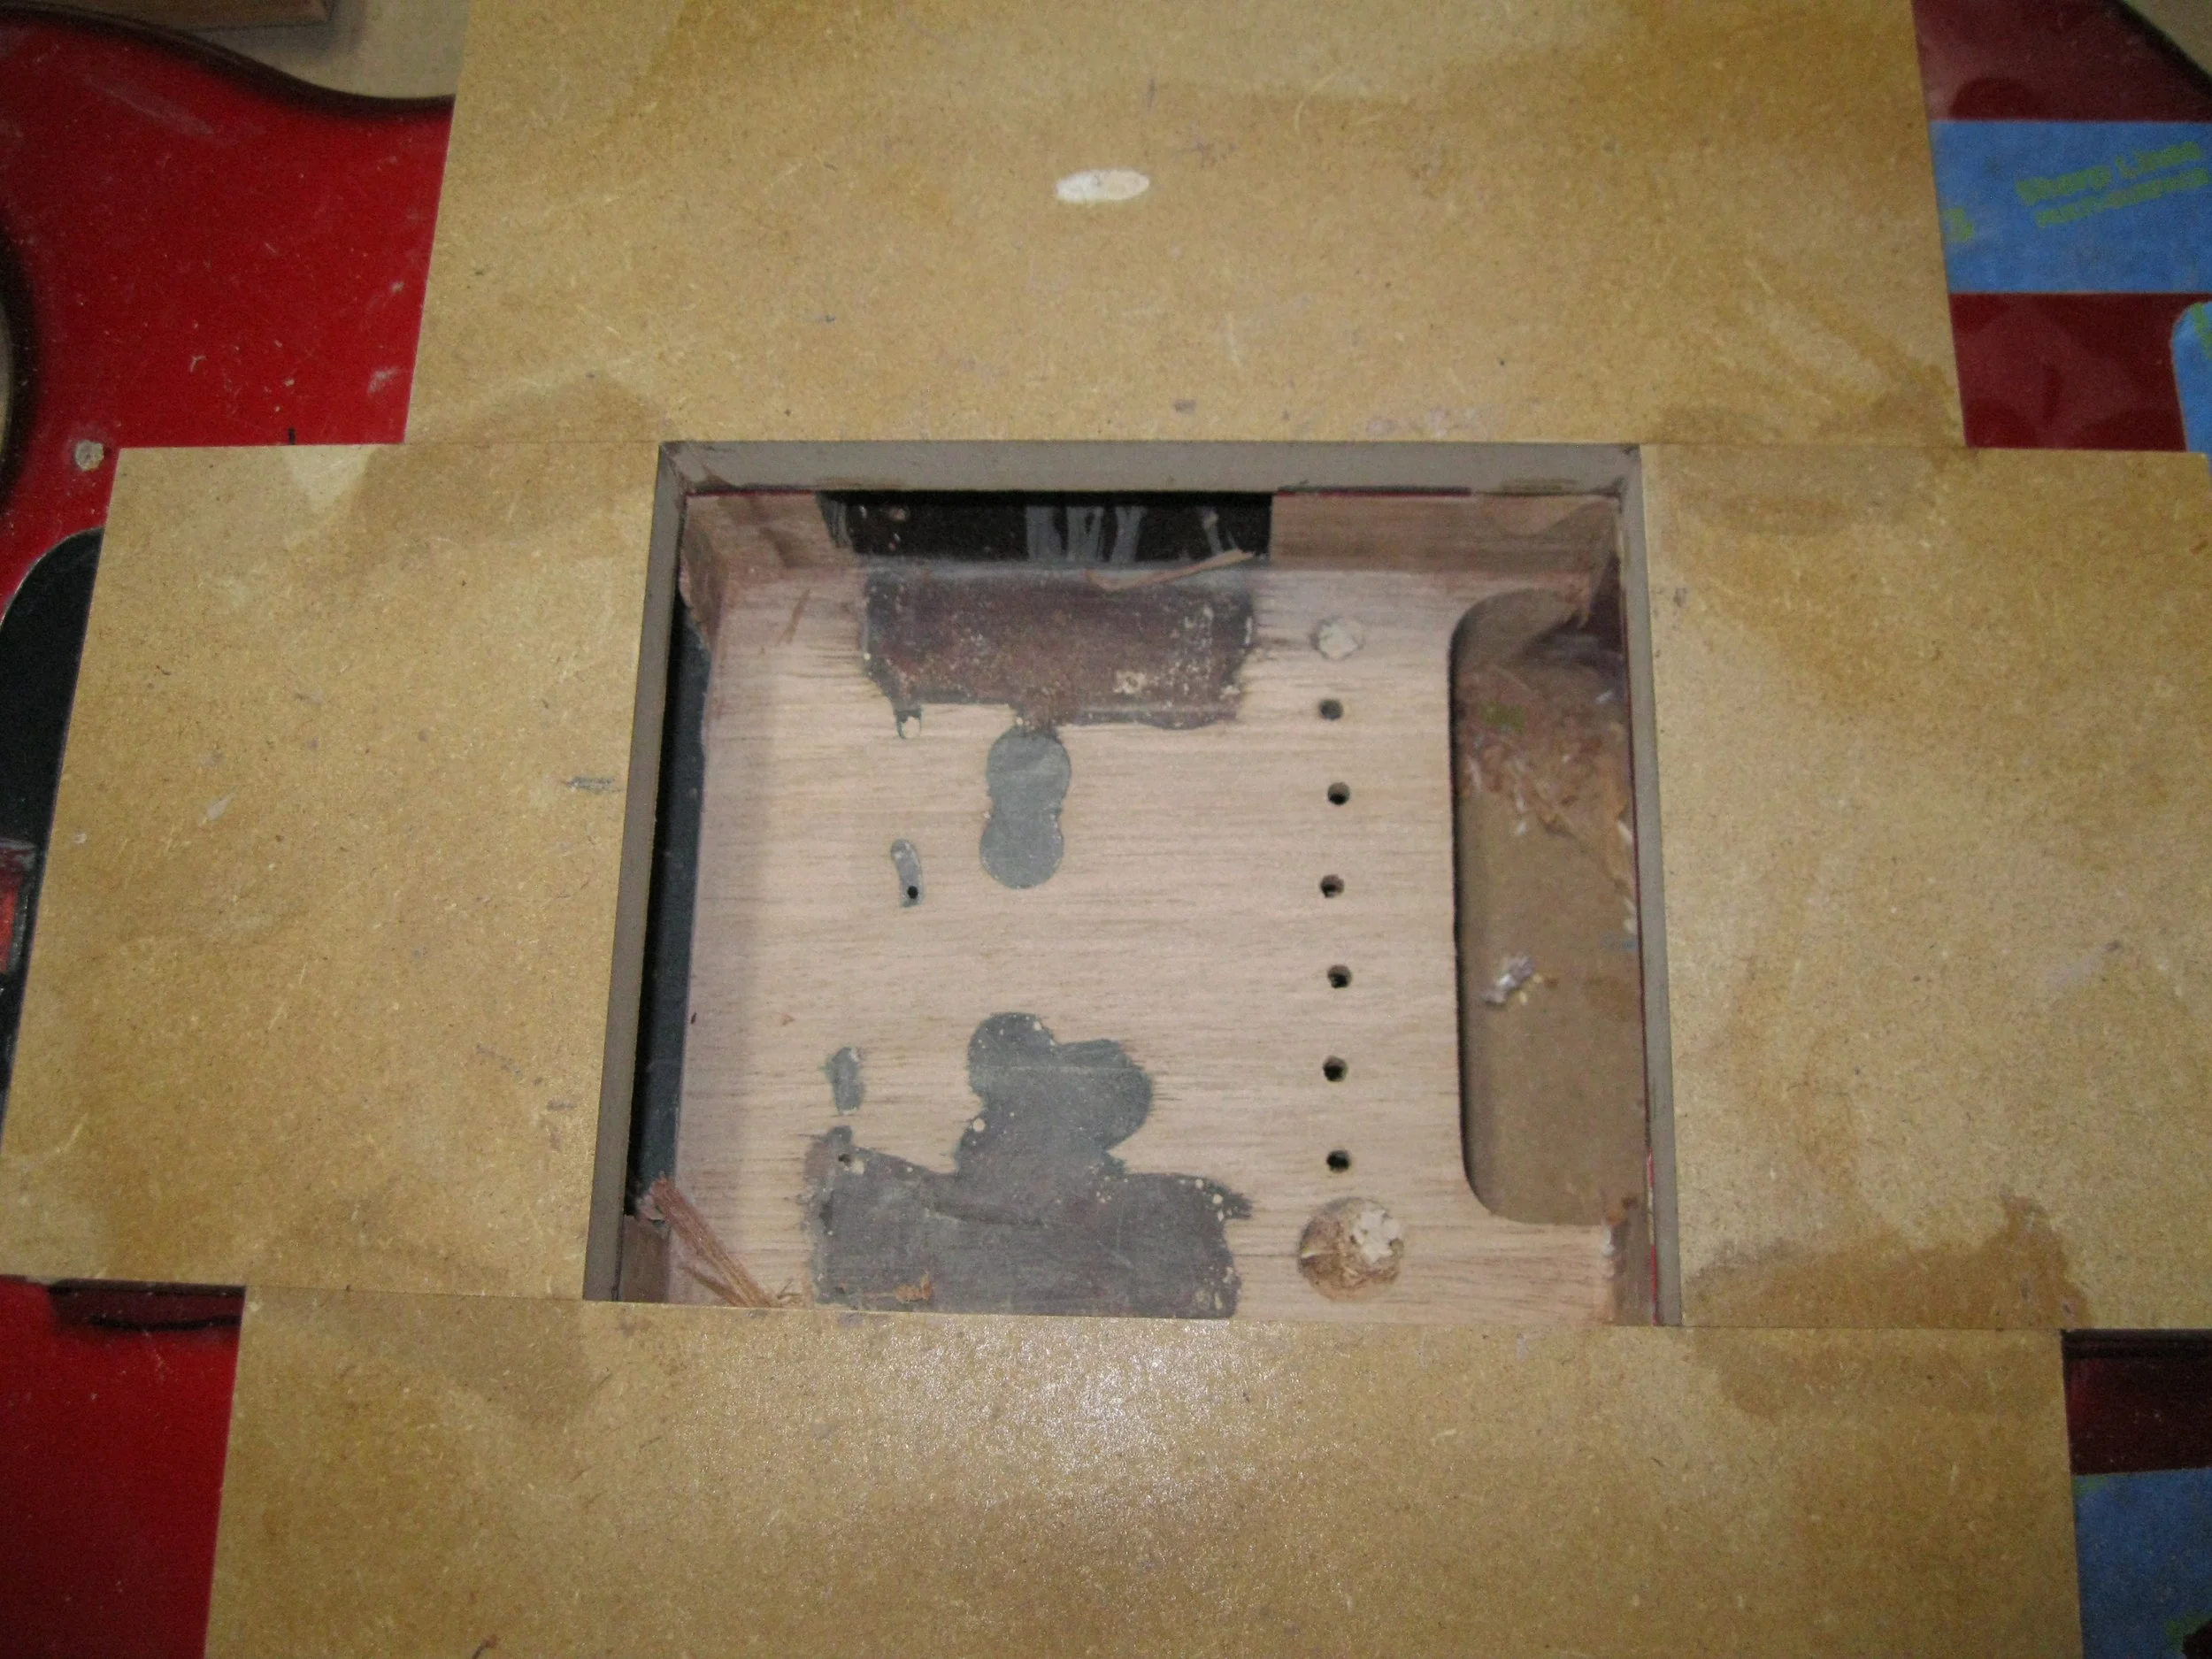
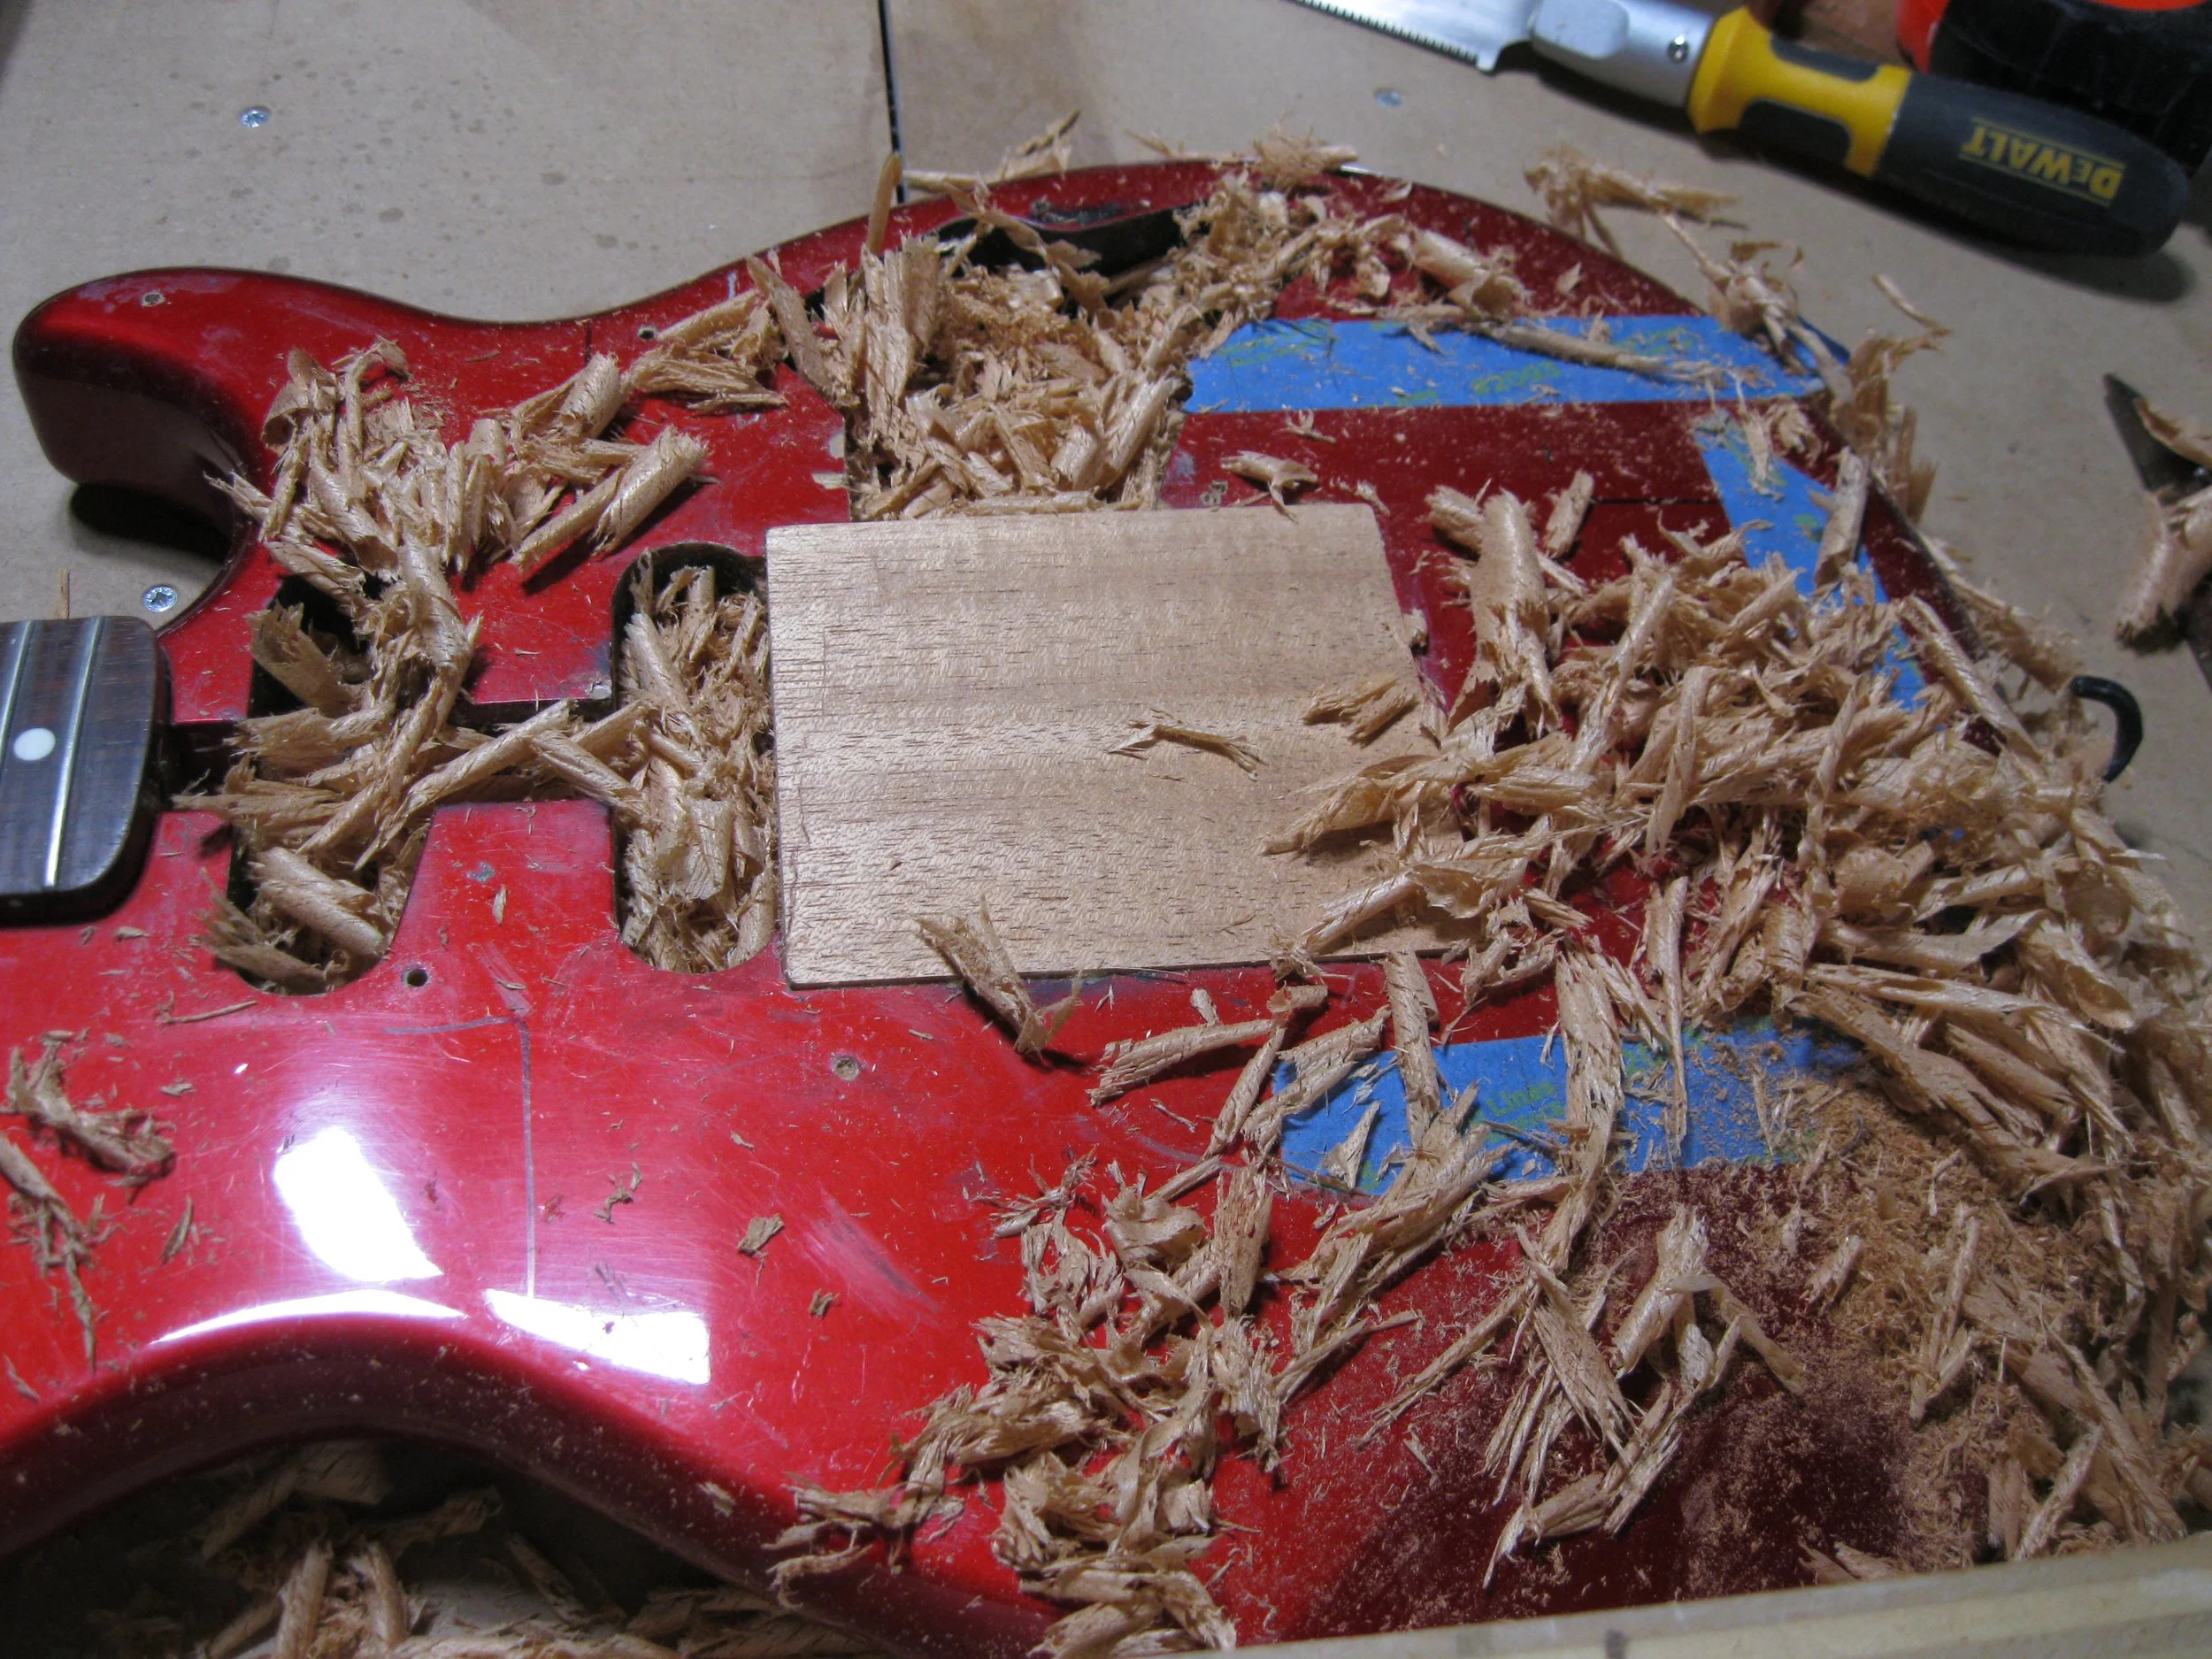
I start by making a template and routing away all traces of my past butchery so I can splice in new mahogany.
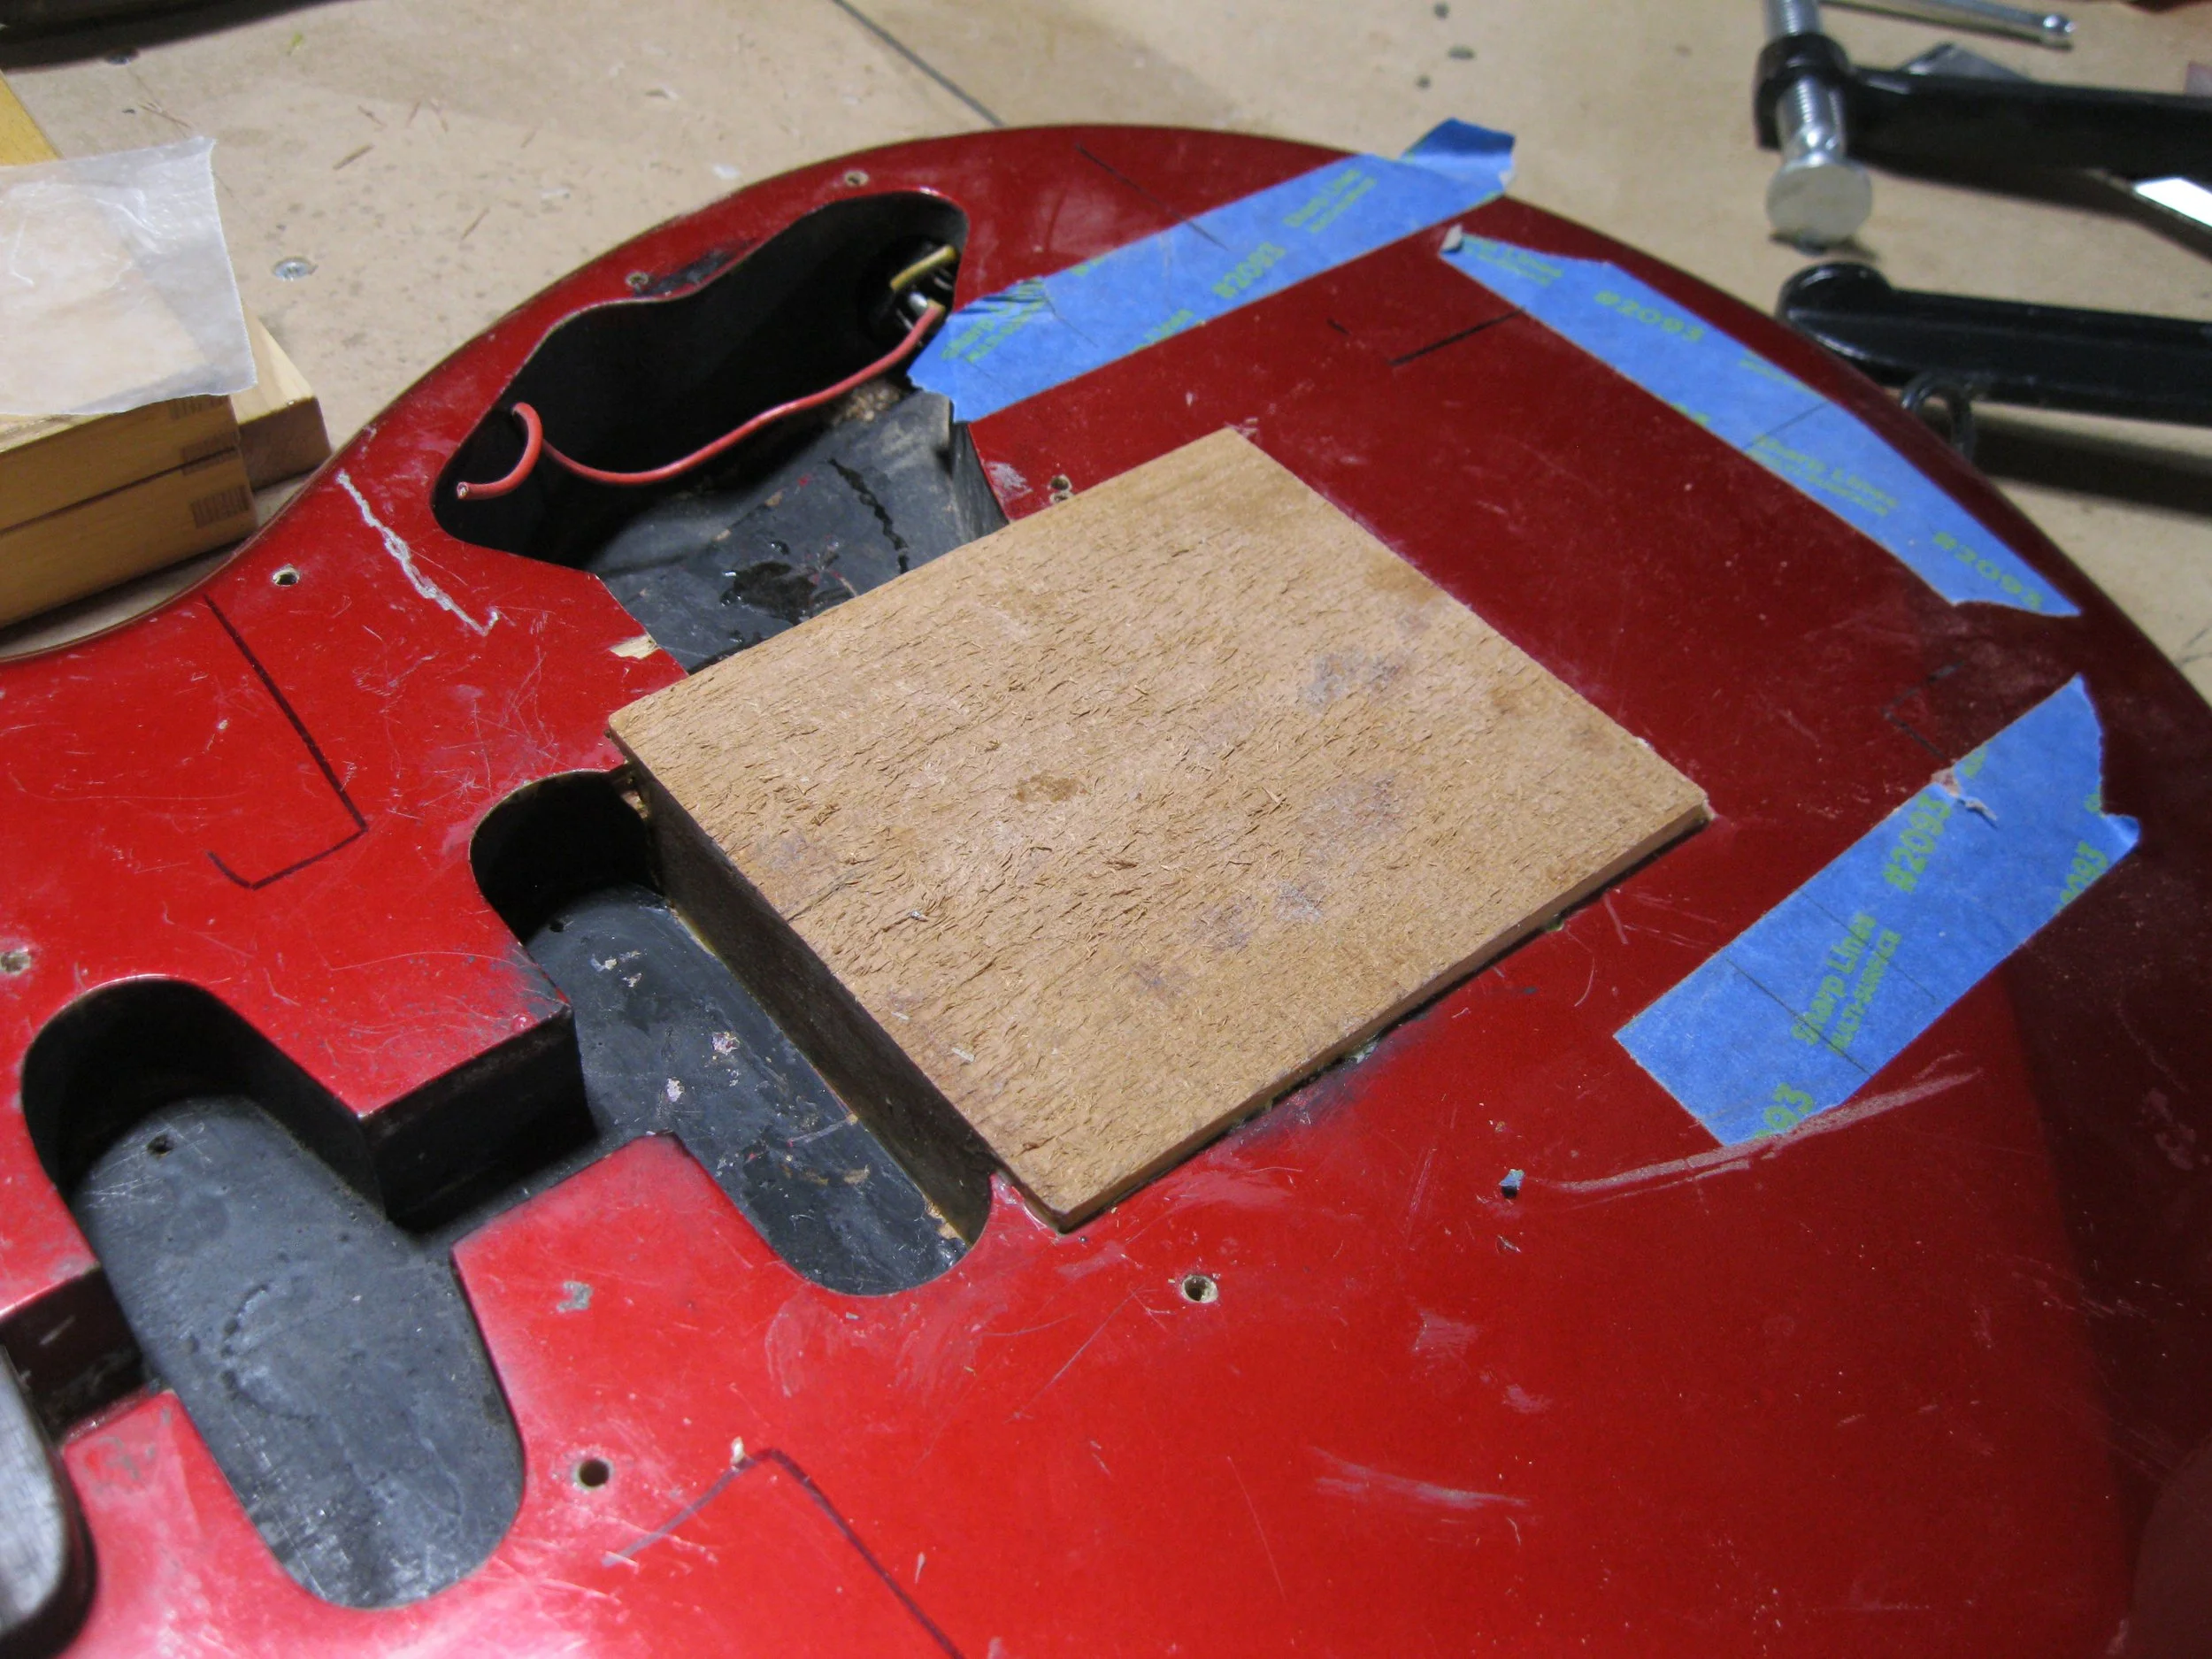
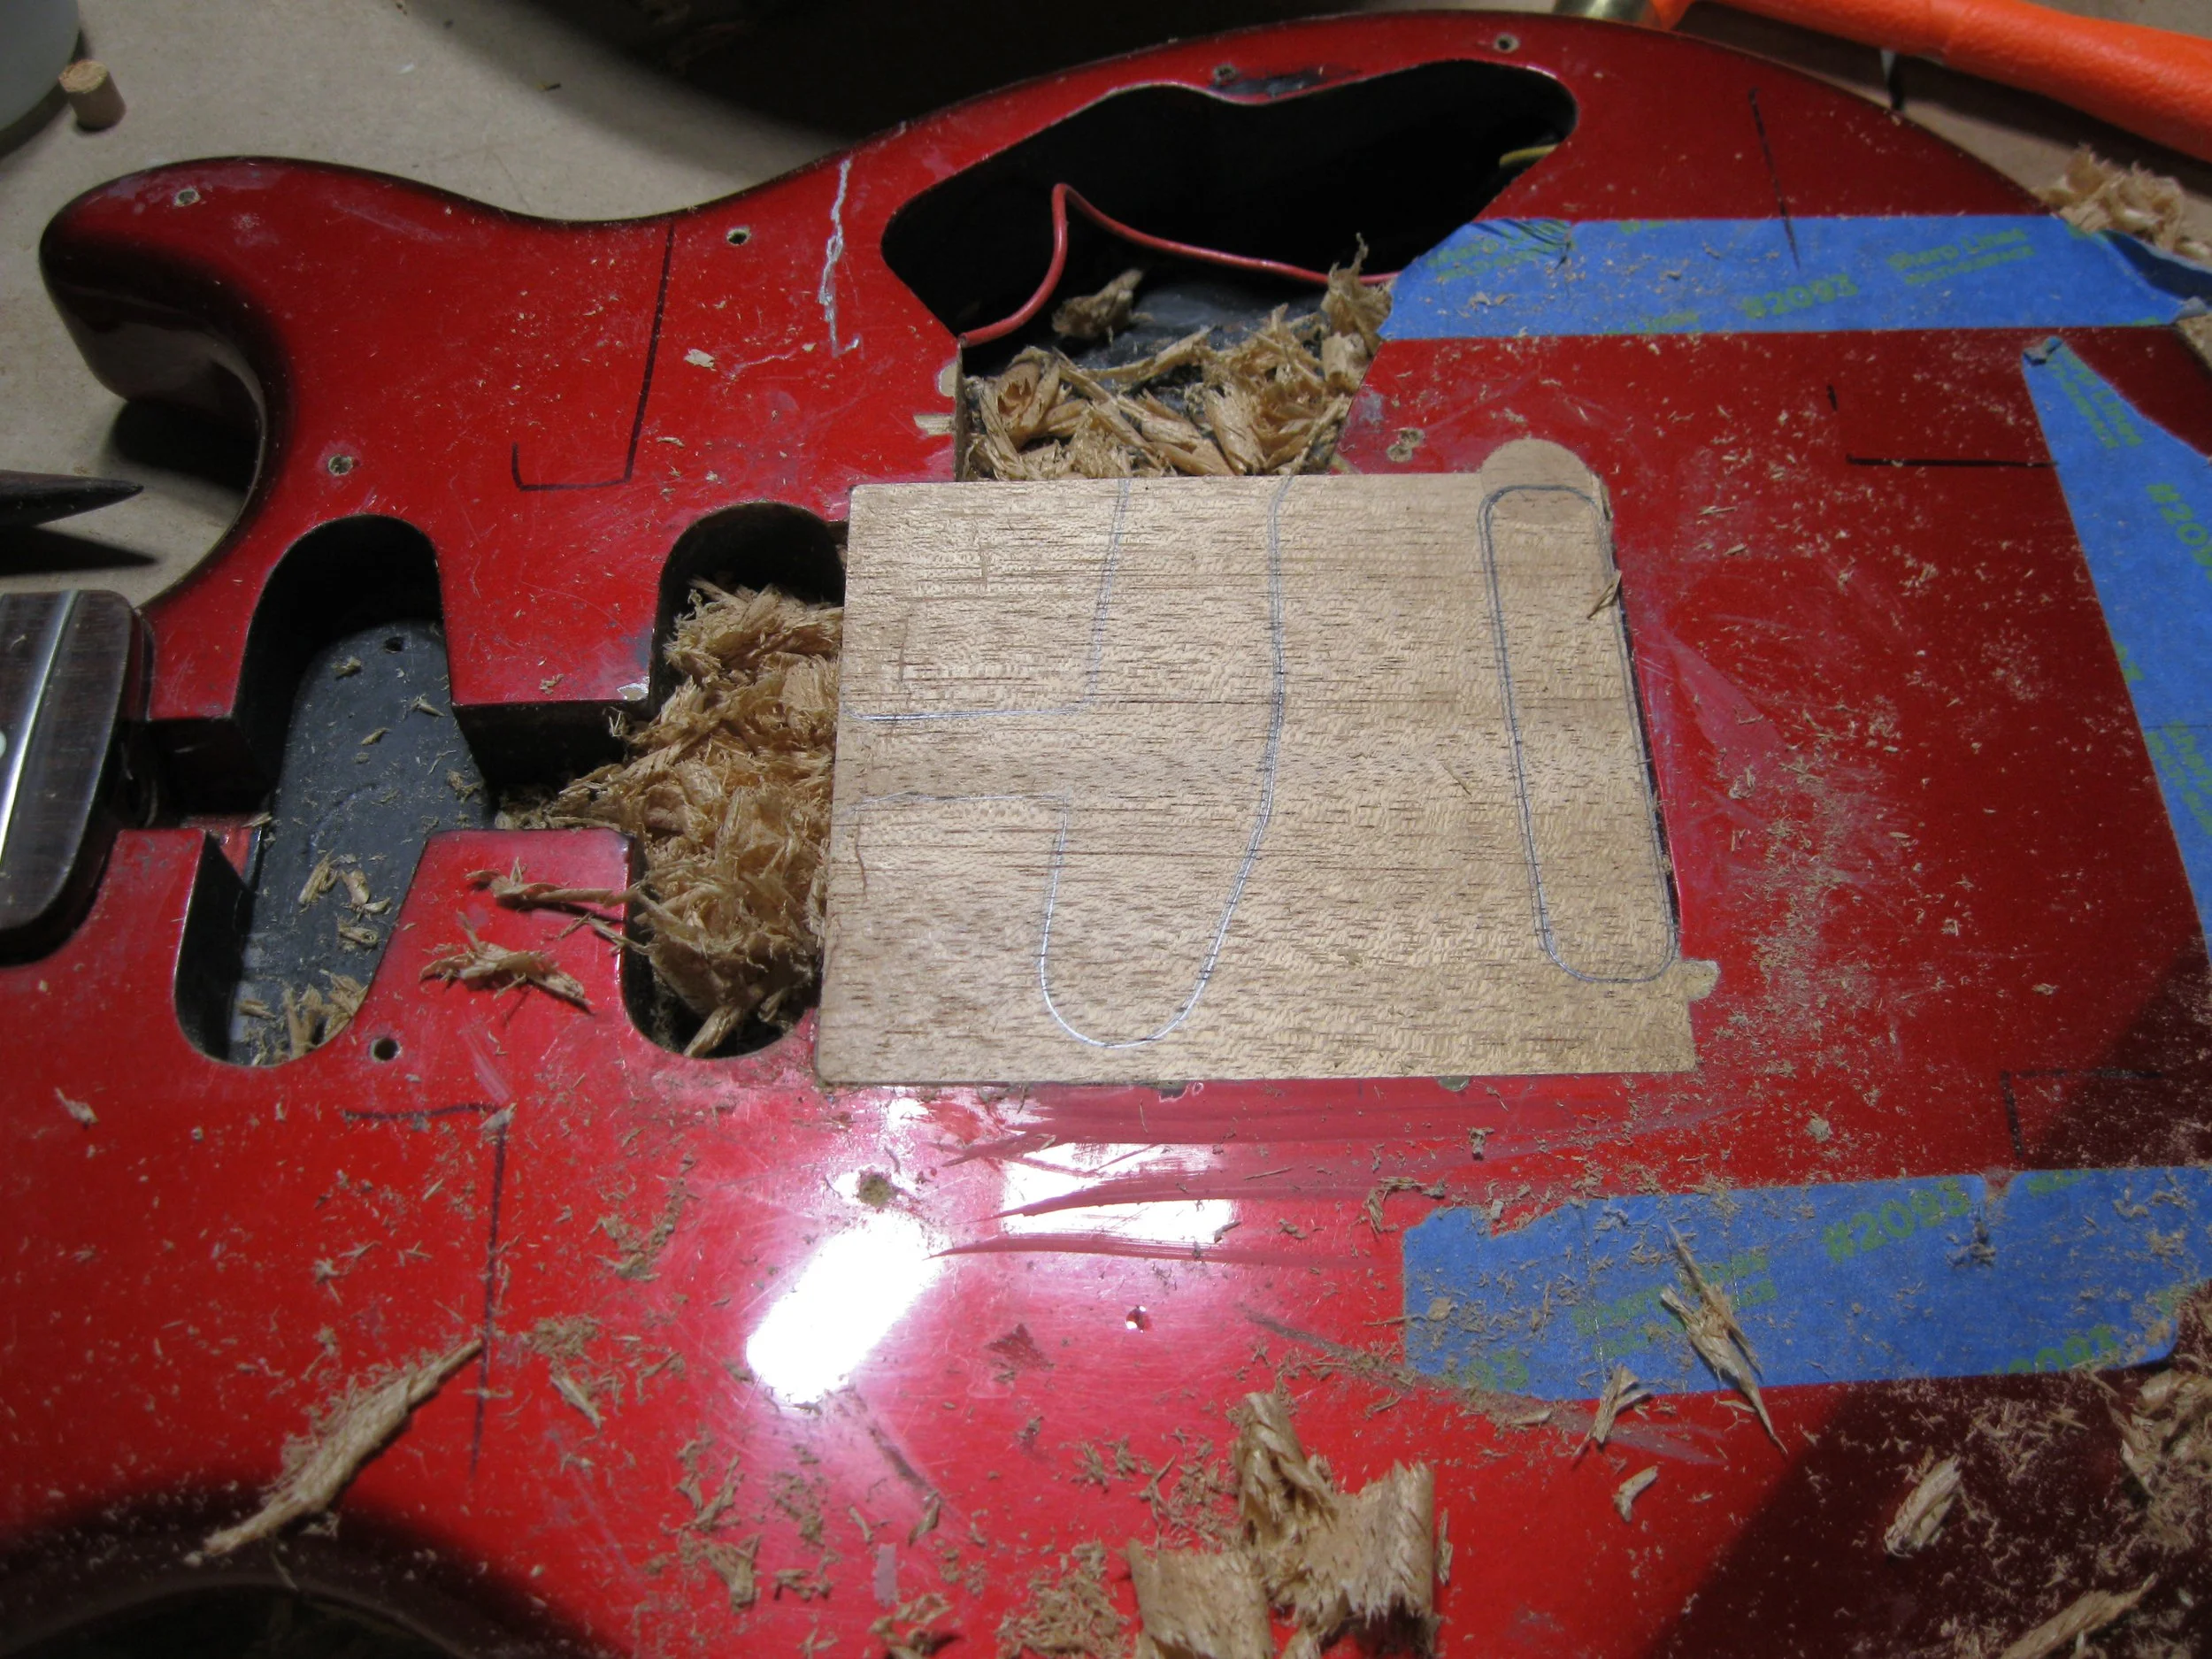
The new mahogany is fitted…
That’ll work.
…and planed flush to the top.
The little mahogany plug on the top edge of the patch will mostly disappear when the new bridge is added,
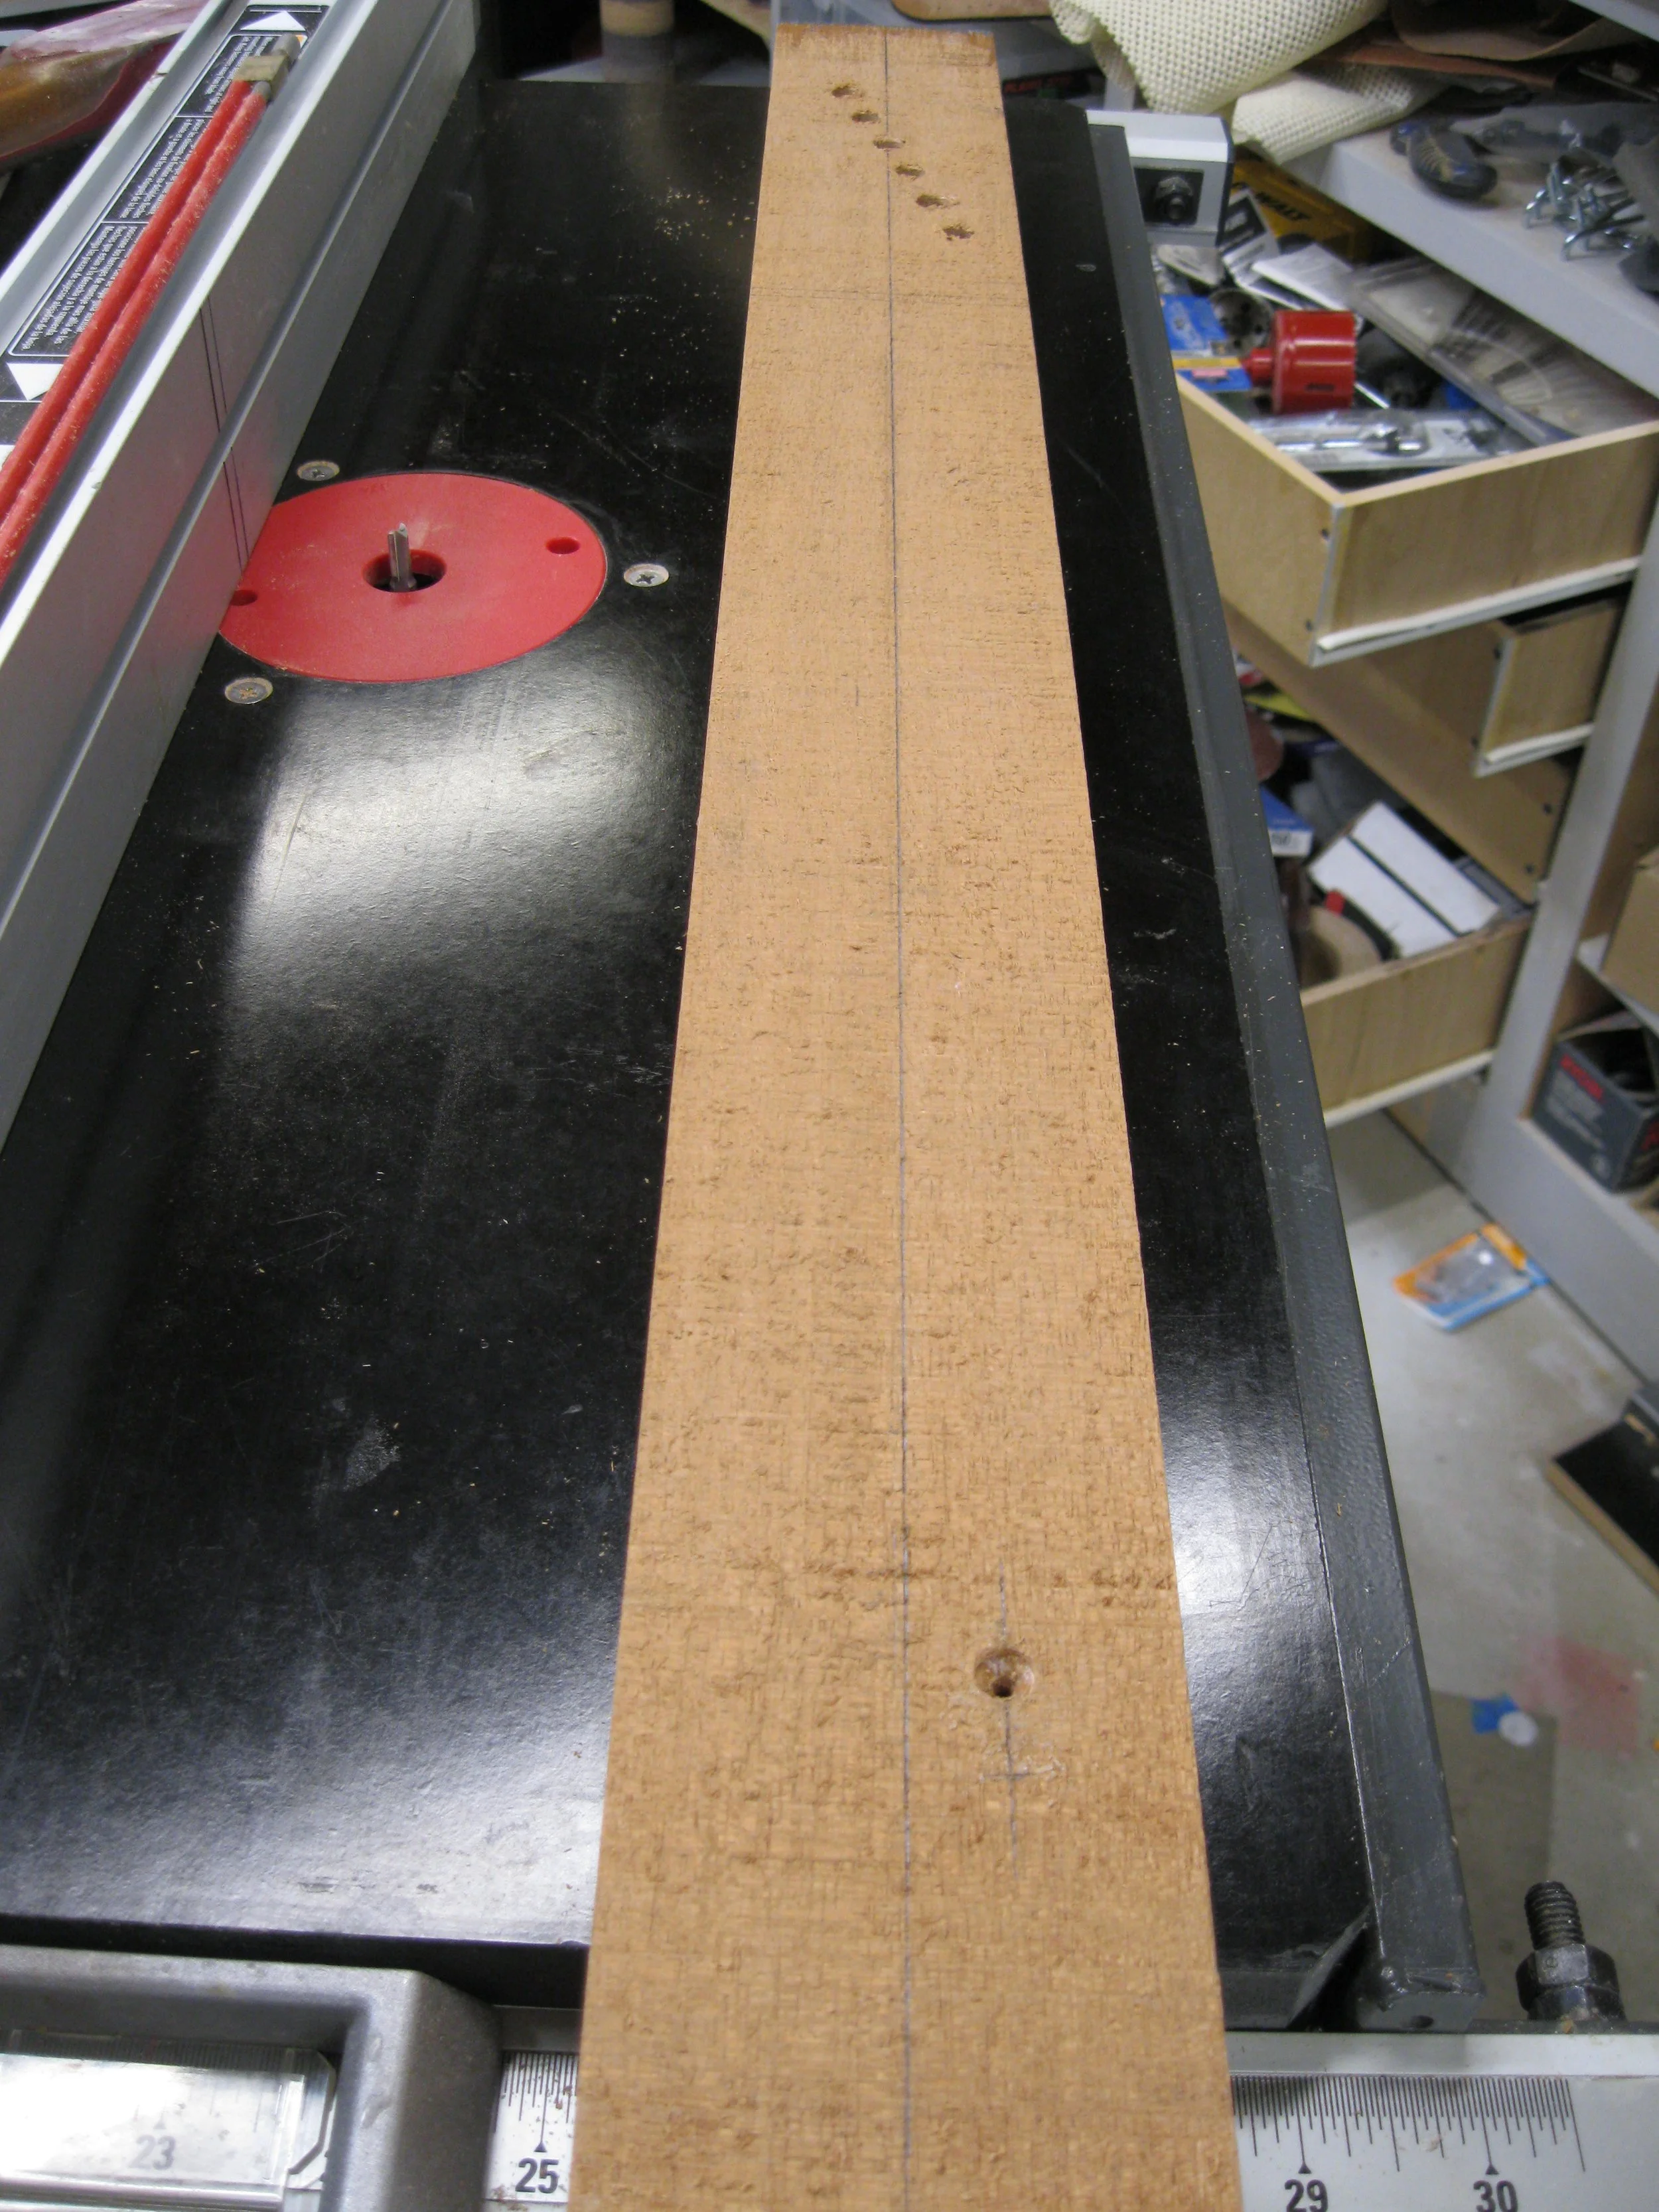
With the body fixed, it’s time to do something about that neck. I start with a piece of mahogany and drill the tuner holes to help align the new neck with the old for duplication.
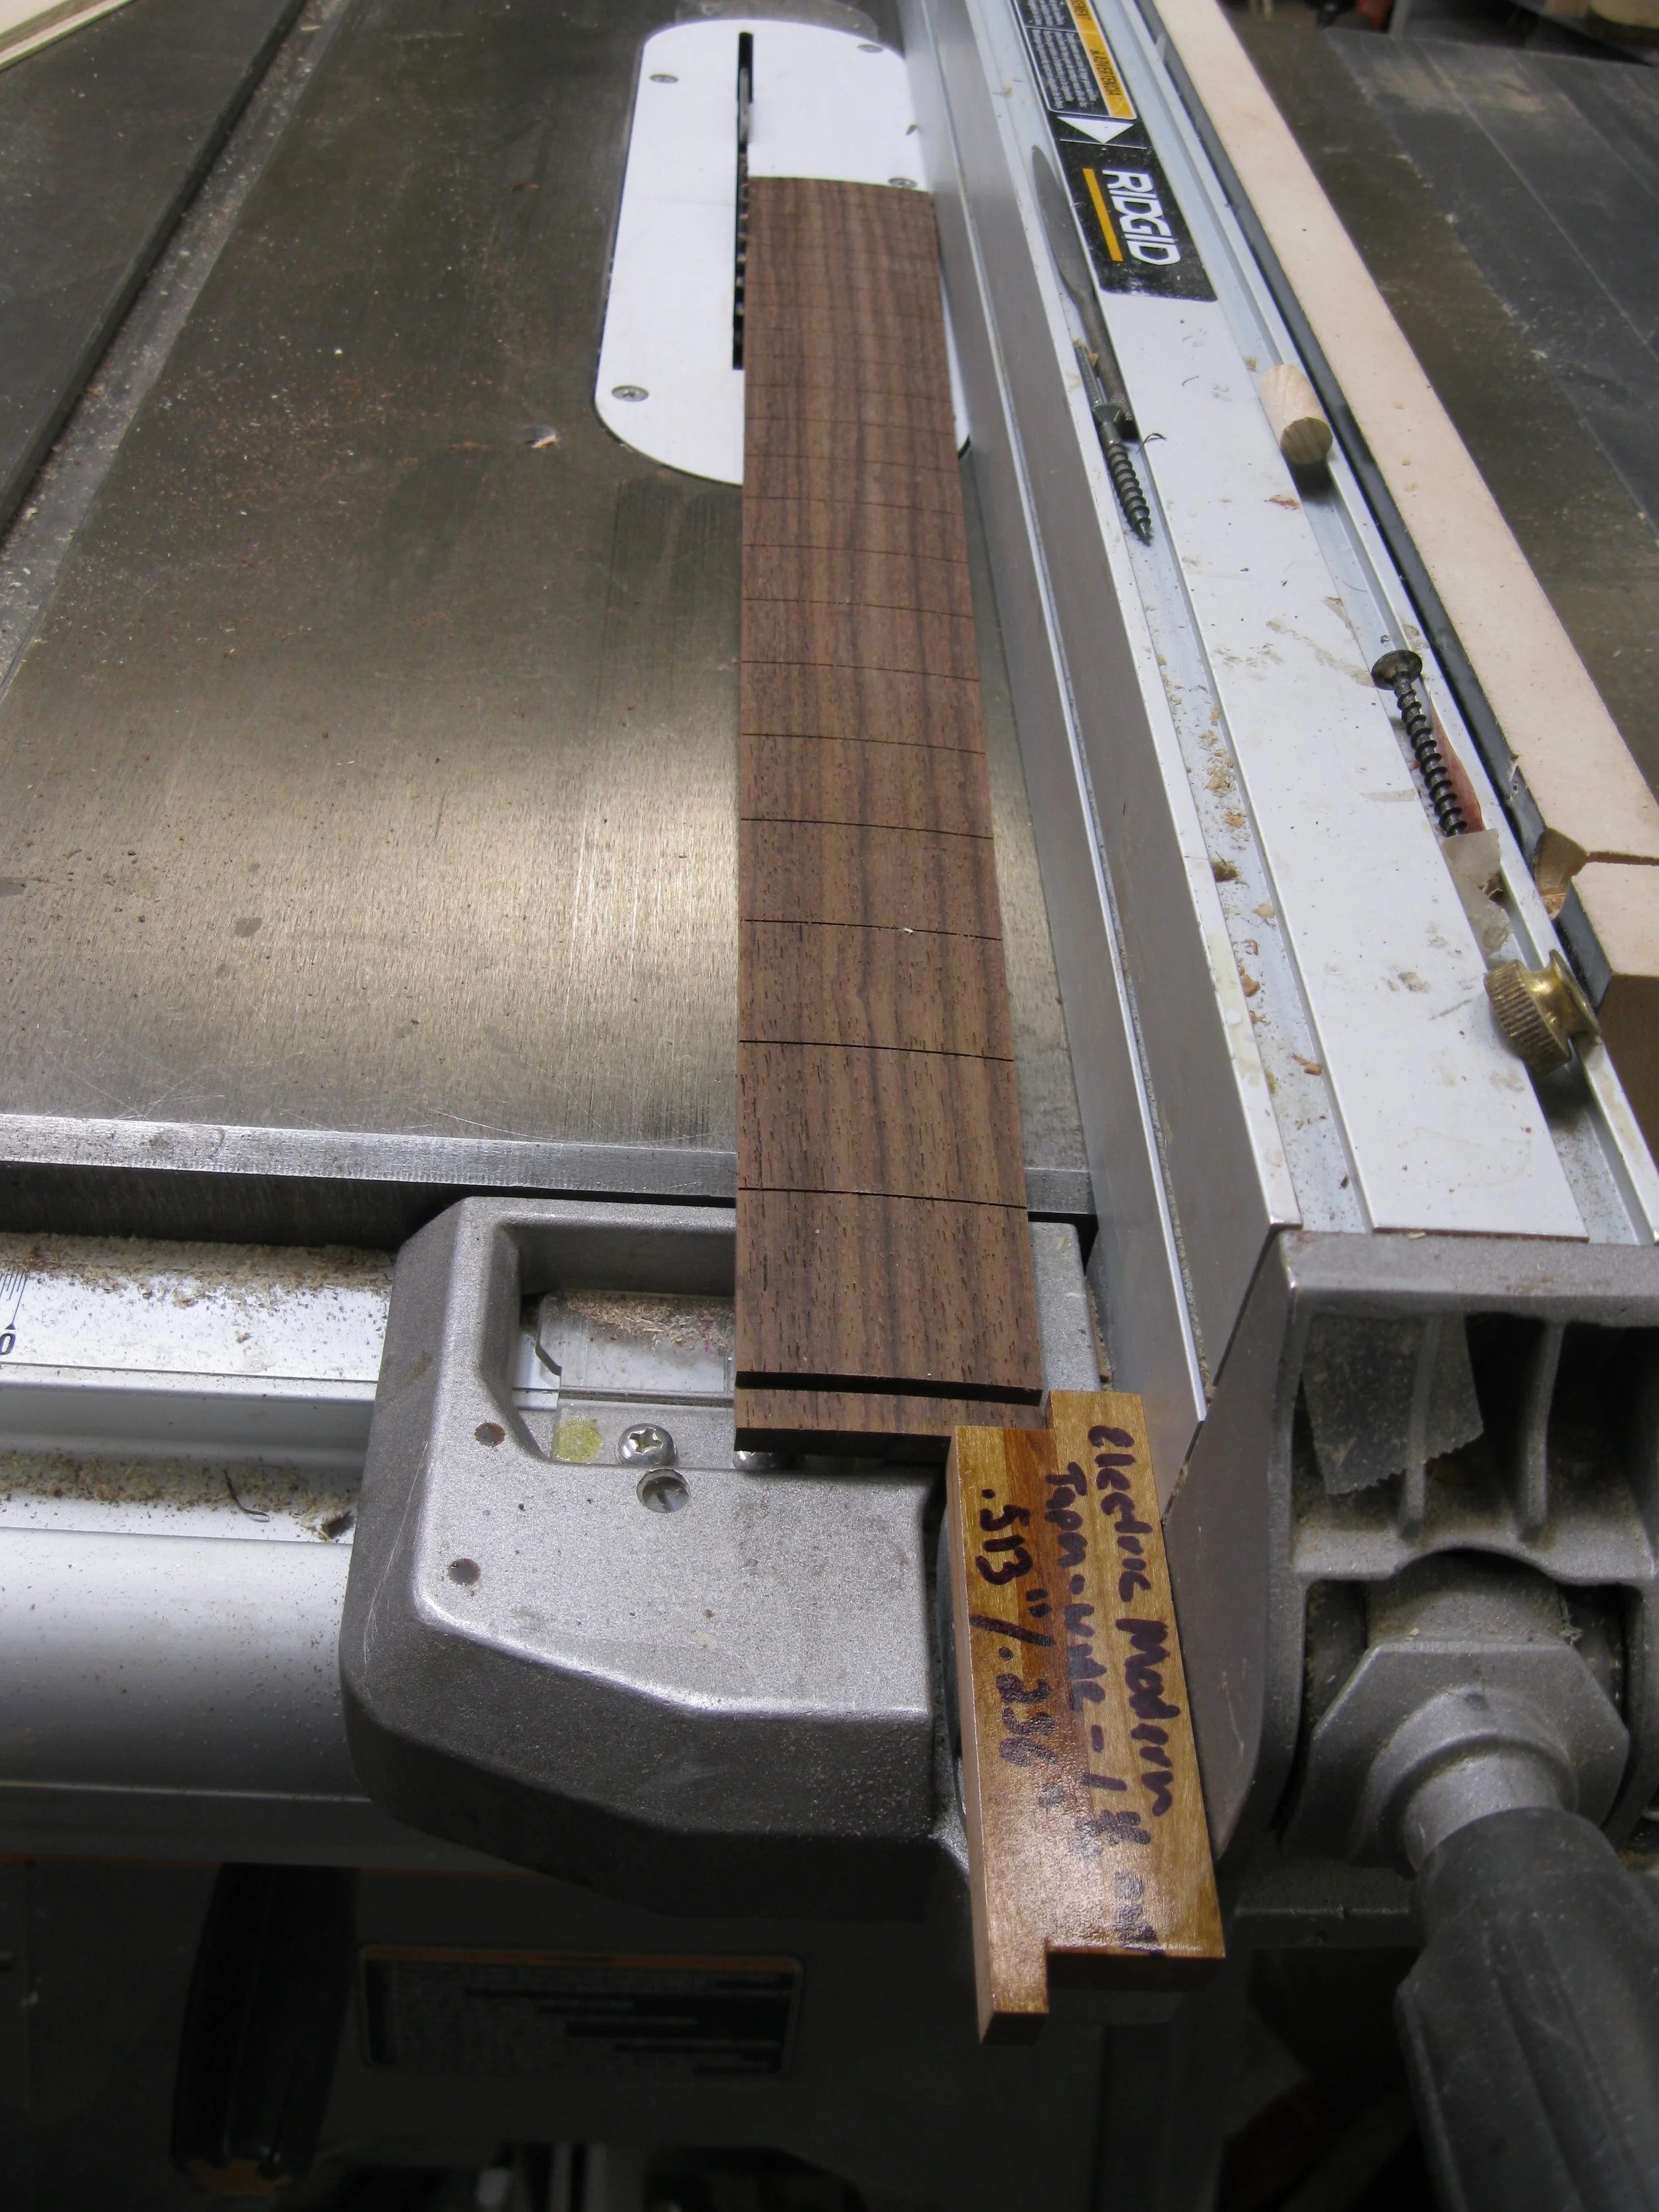
This simple block allows me to taper the fingerboard on the table saw: put the narrow side against the fence, cut one edge, flip, put in the wide side and cut the other side. Done!
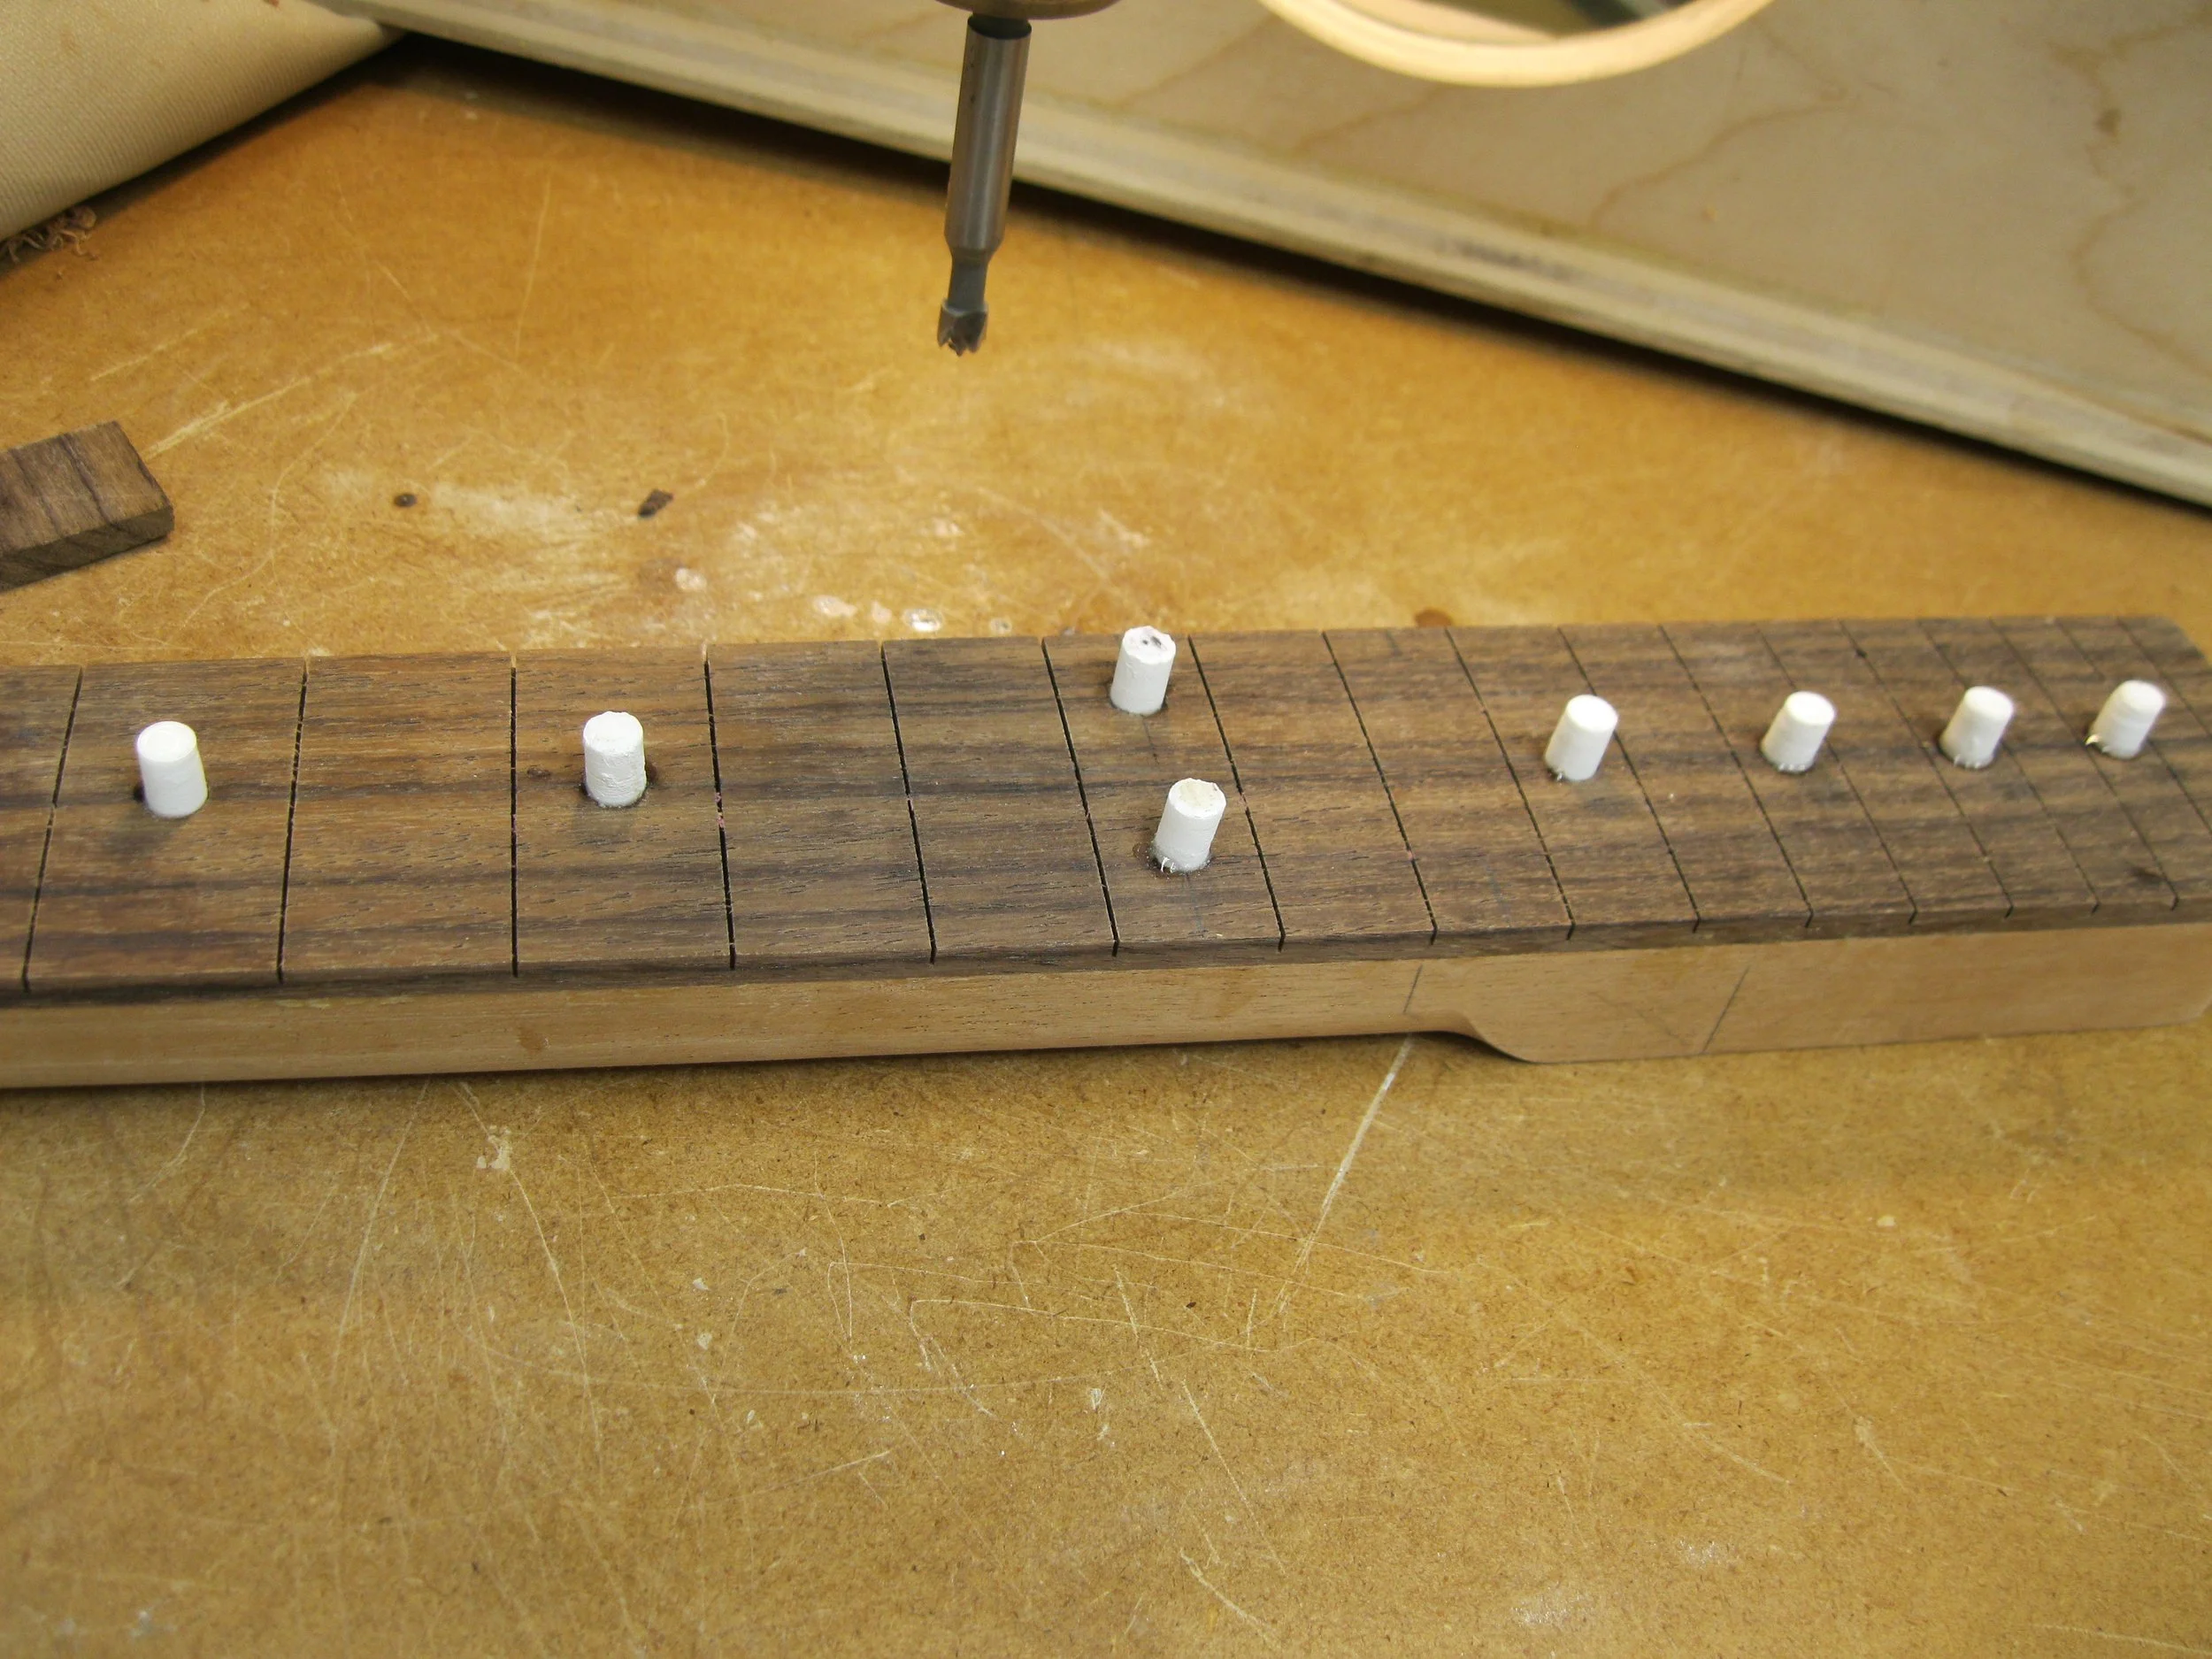
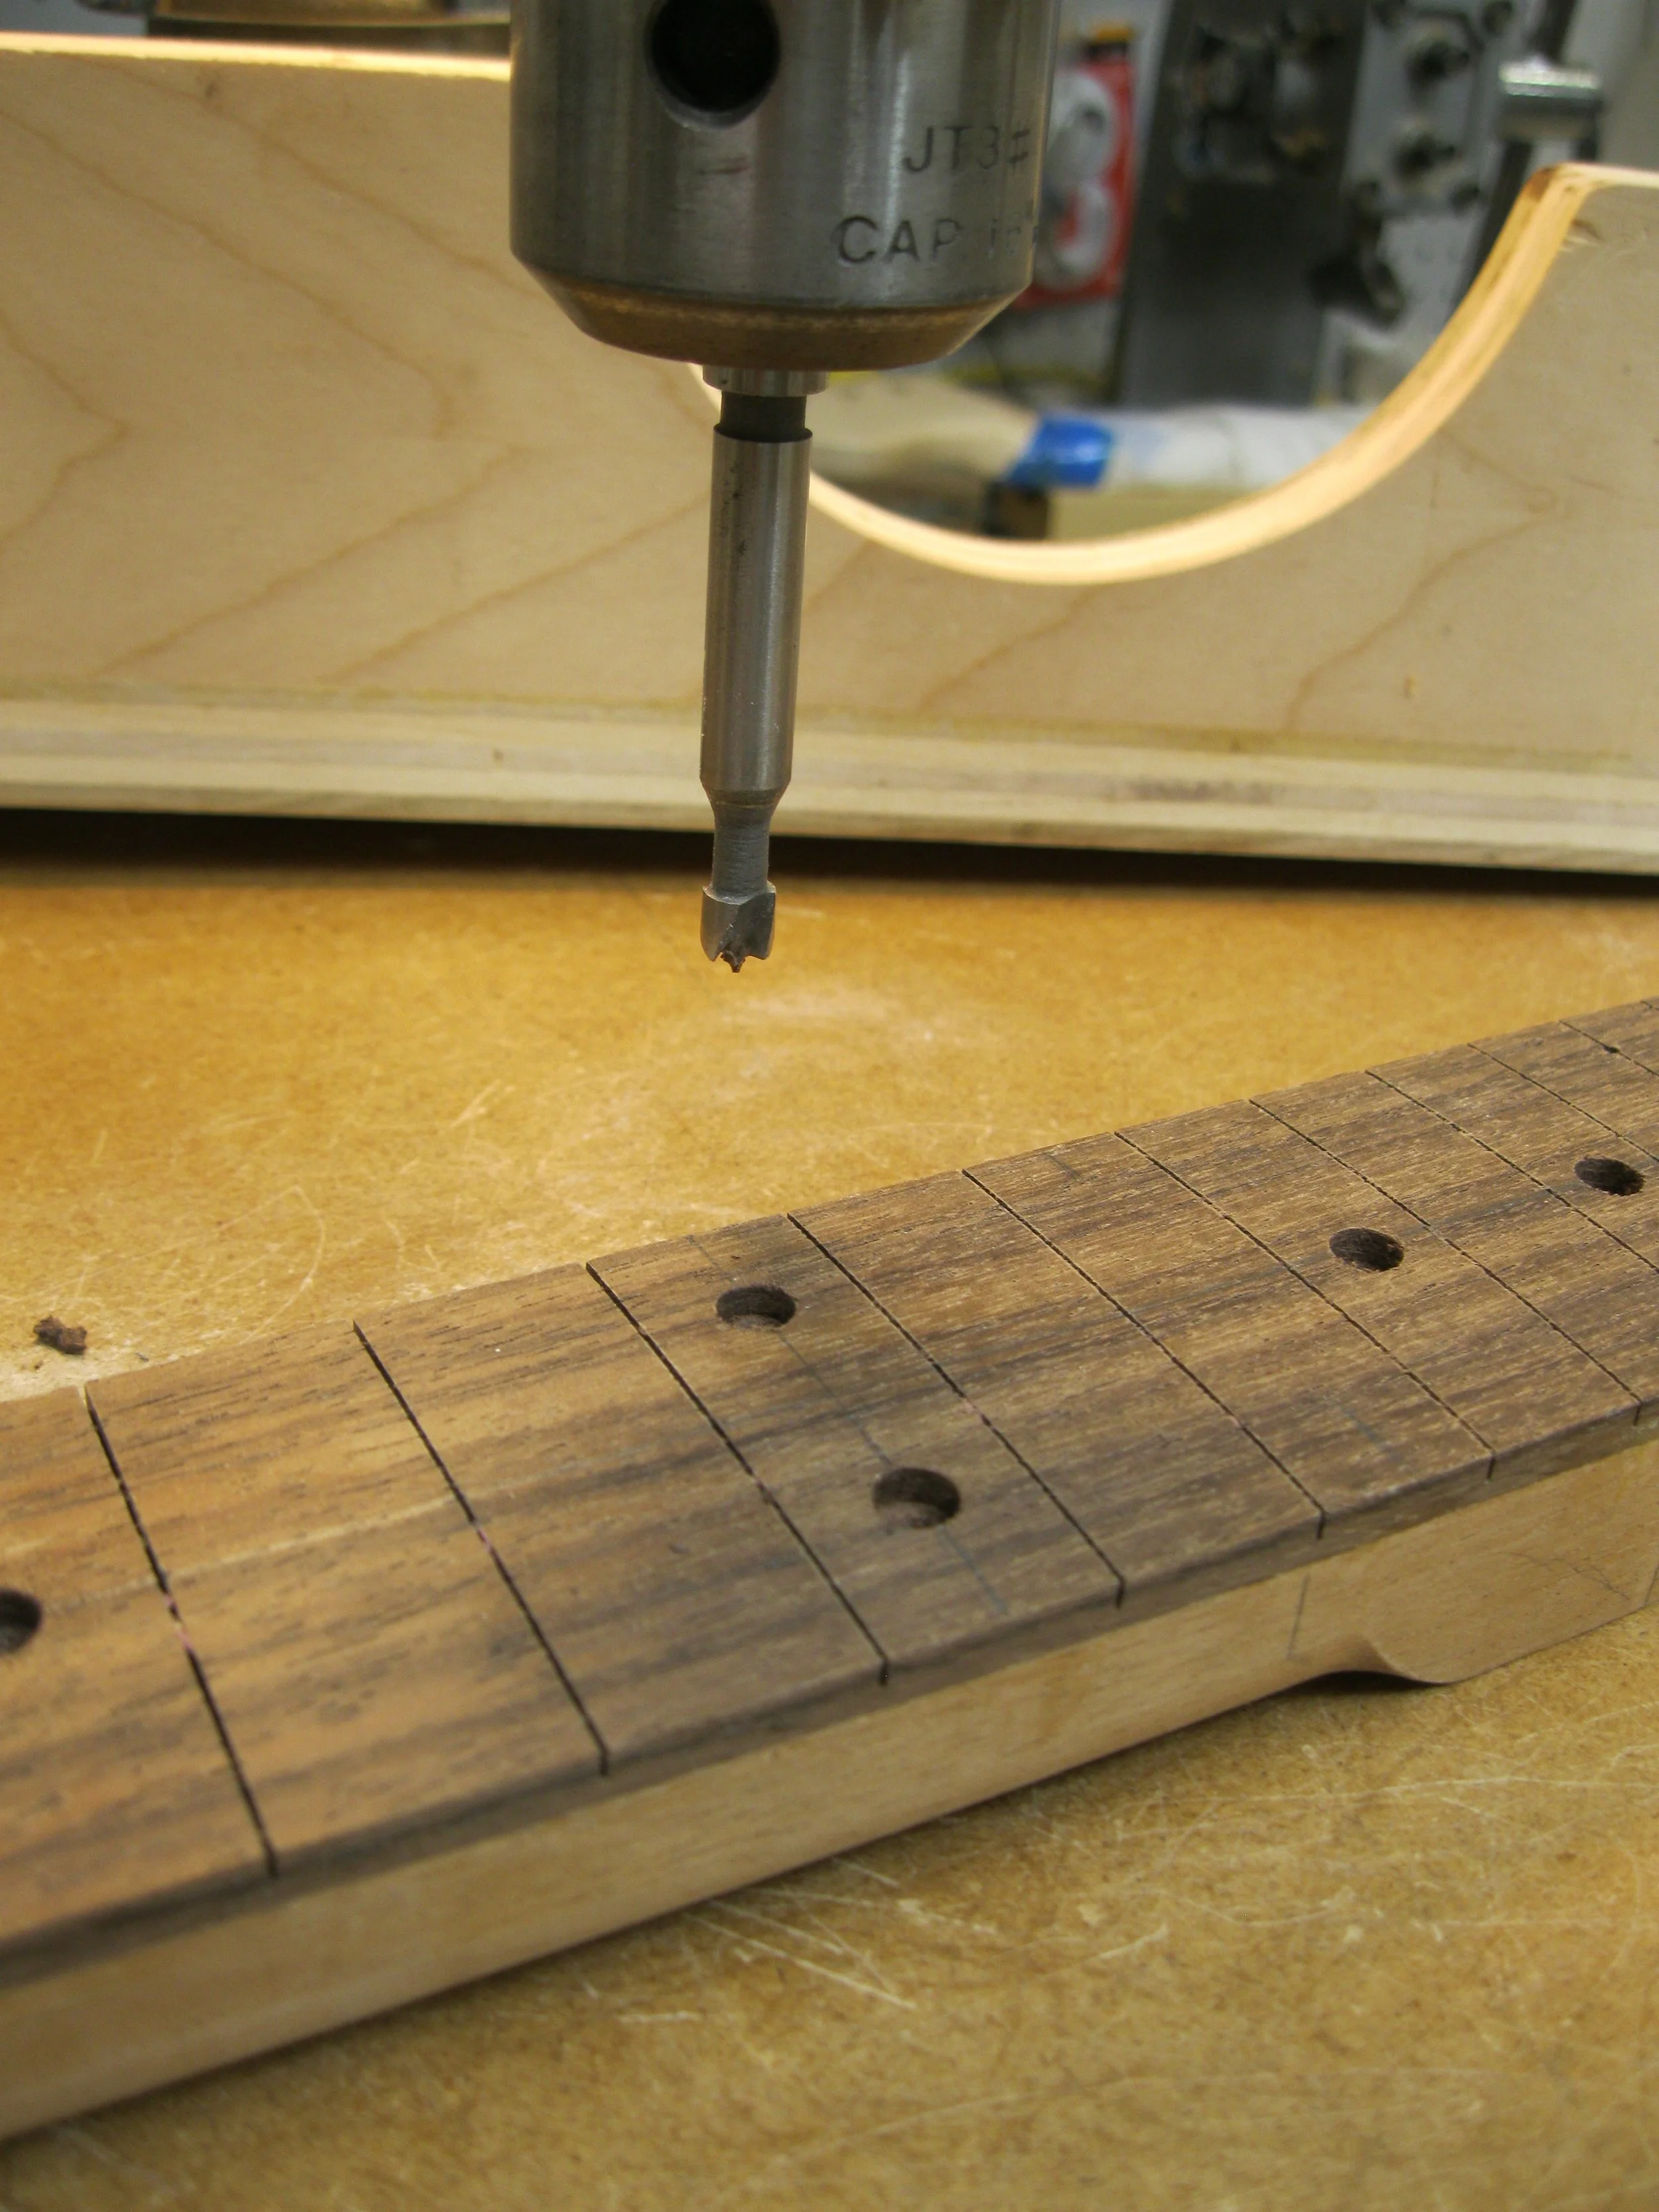
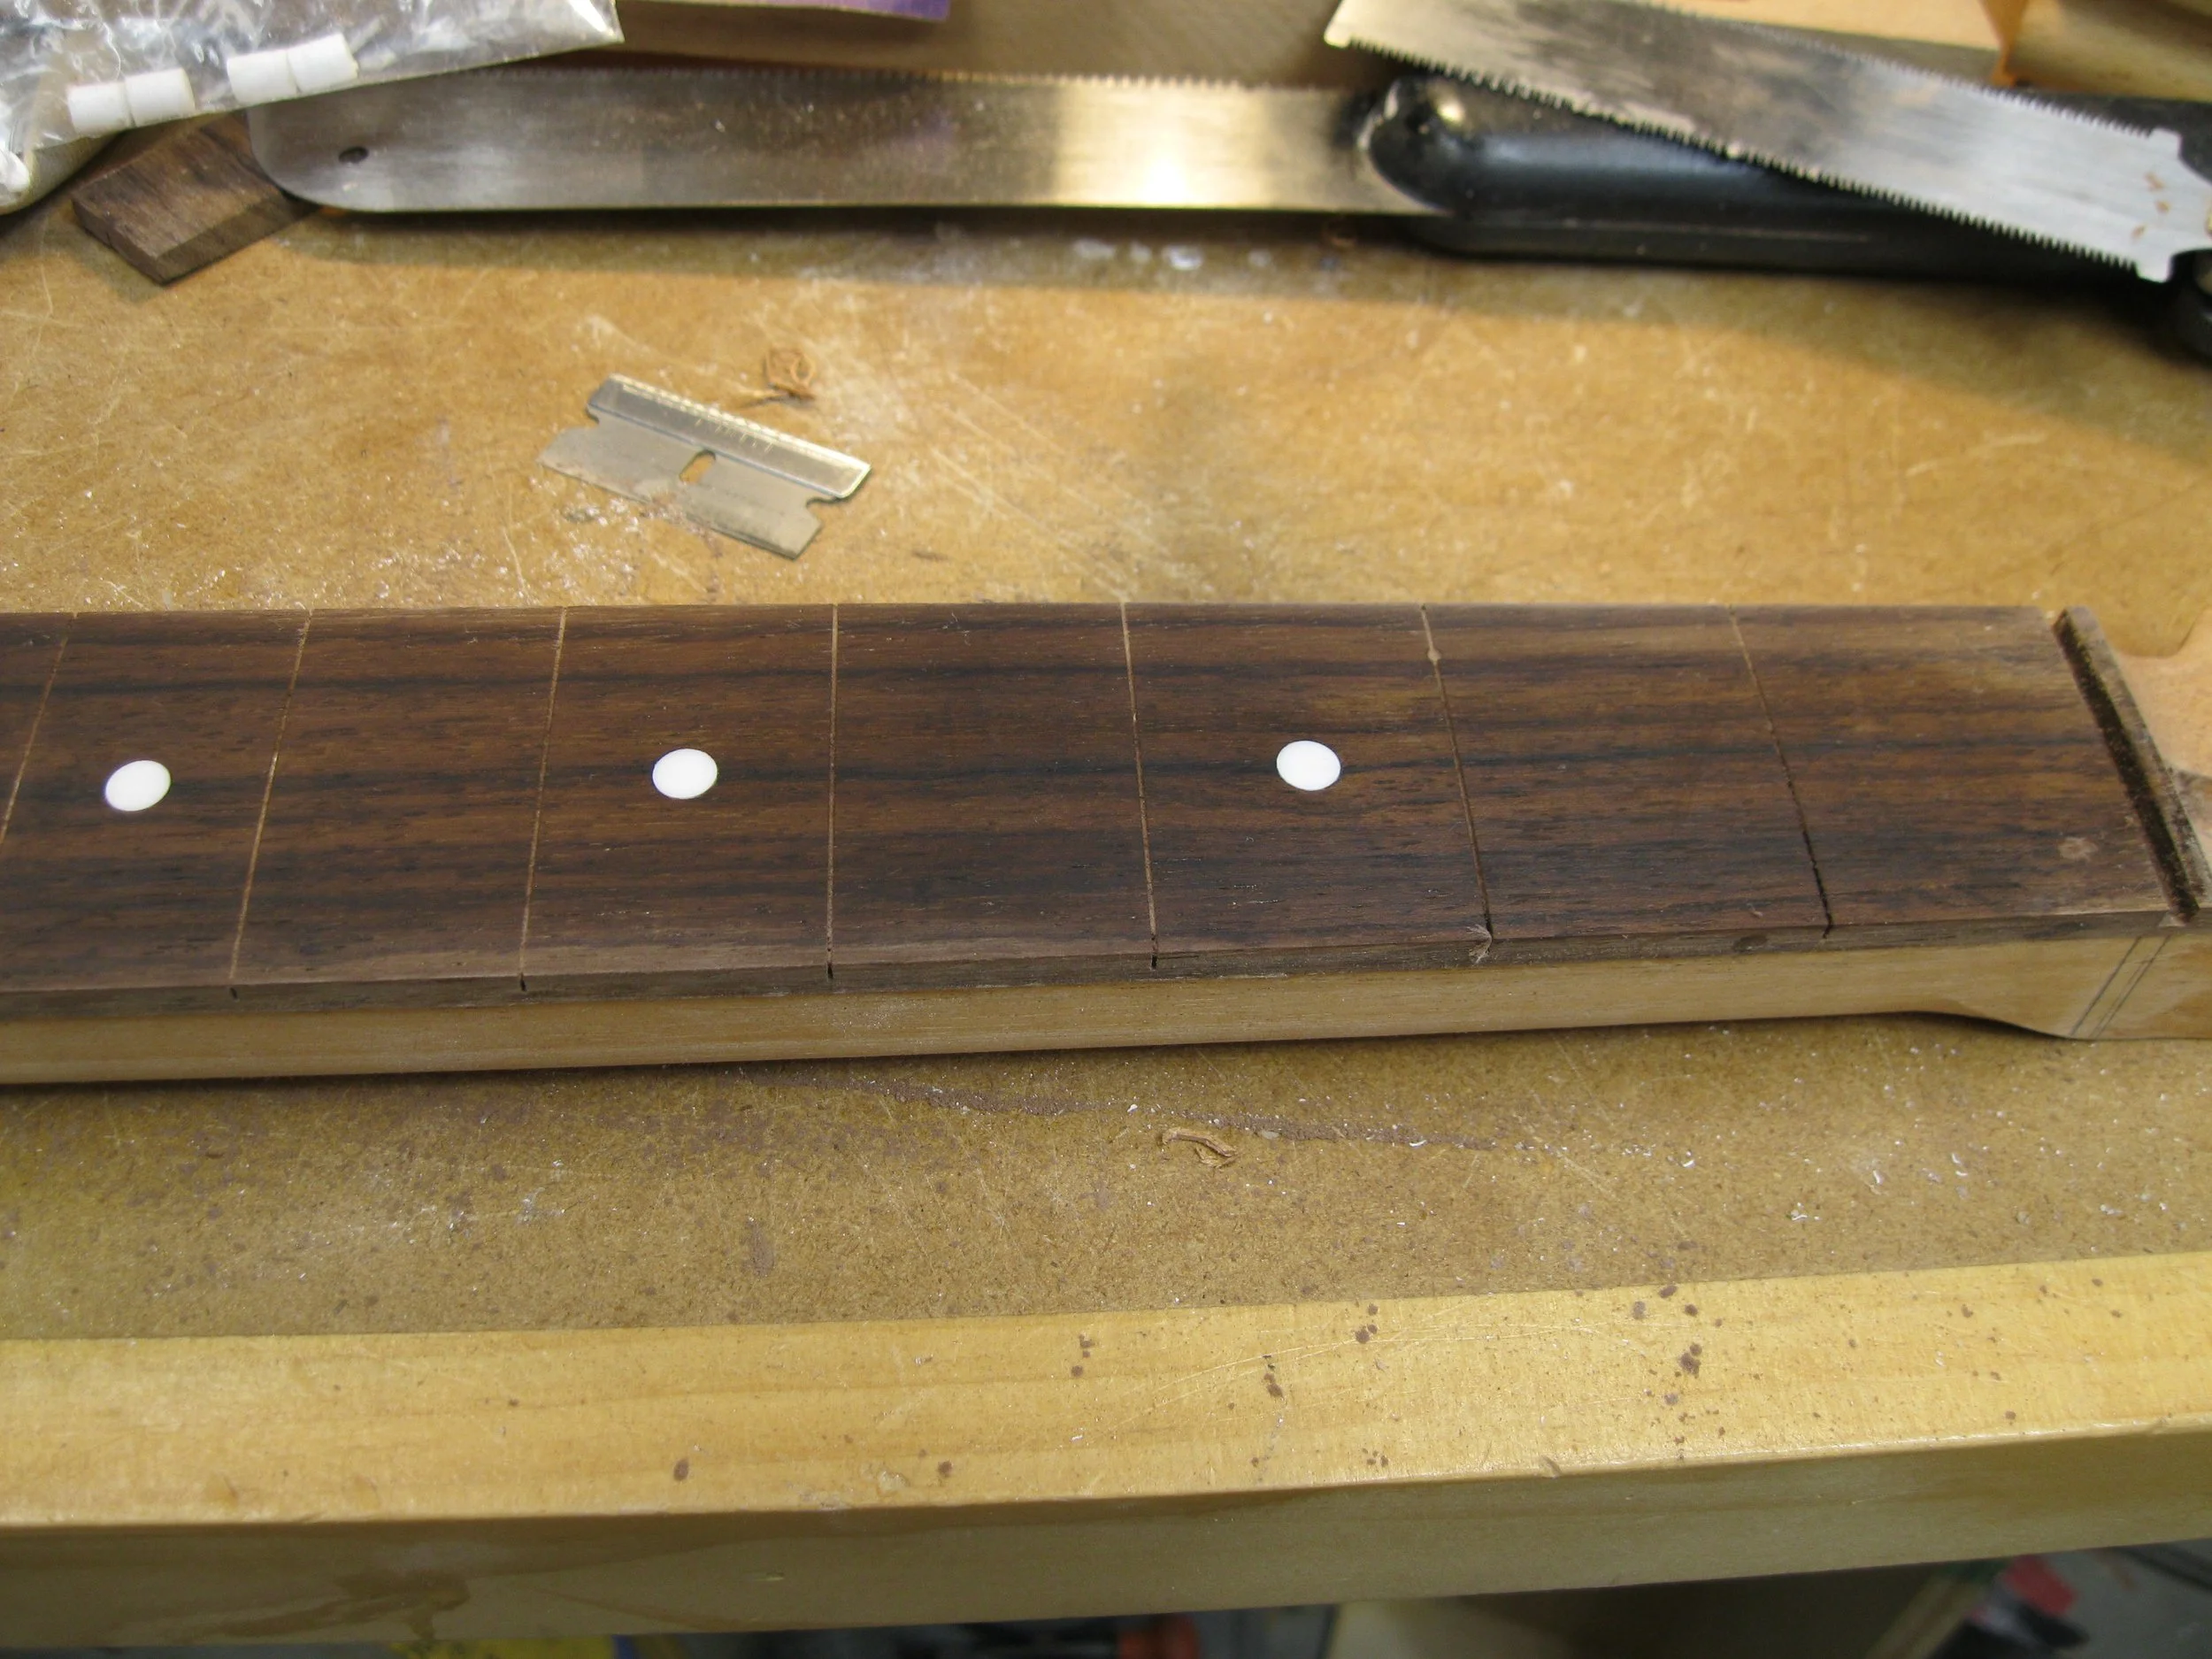
Position markers are cut from scrap Corian countertop material. Here, the markers are glued in and left proud.
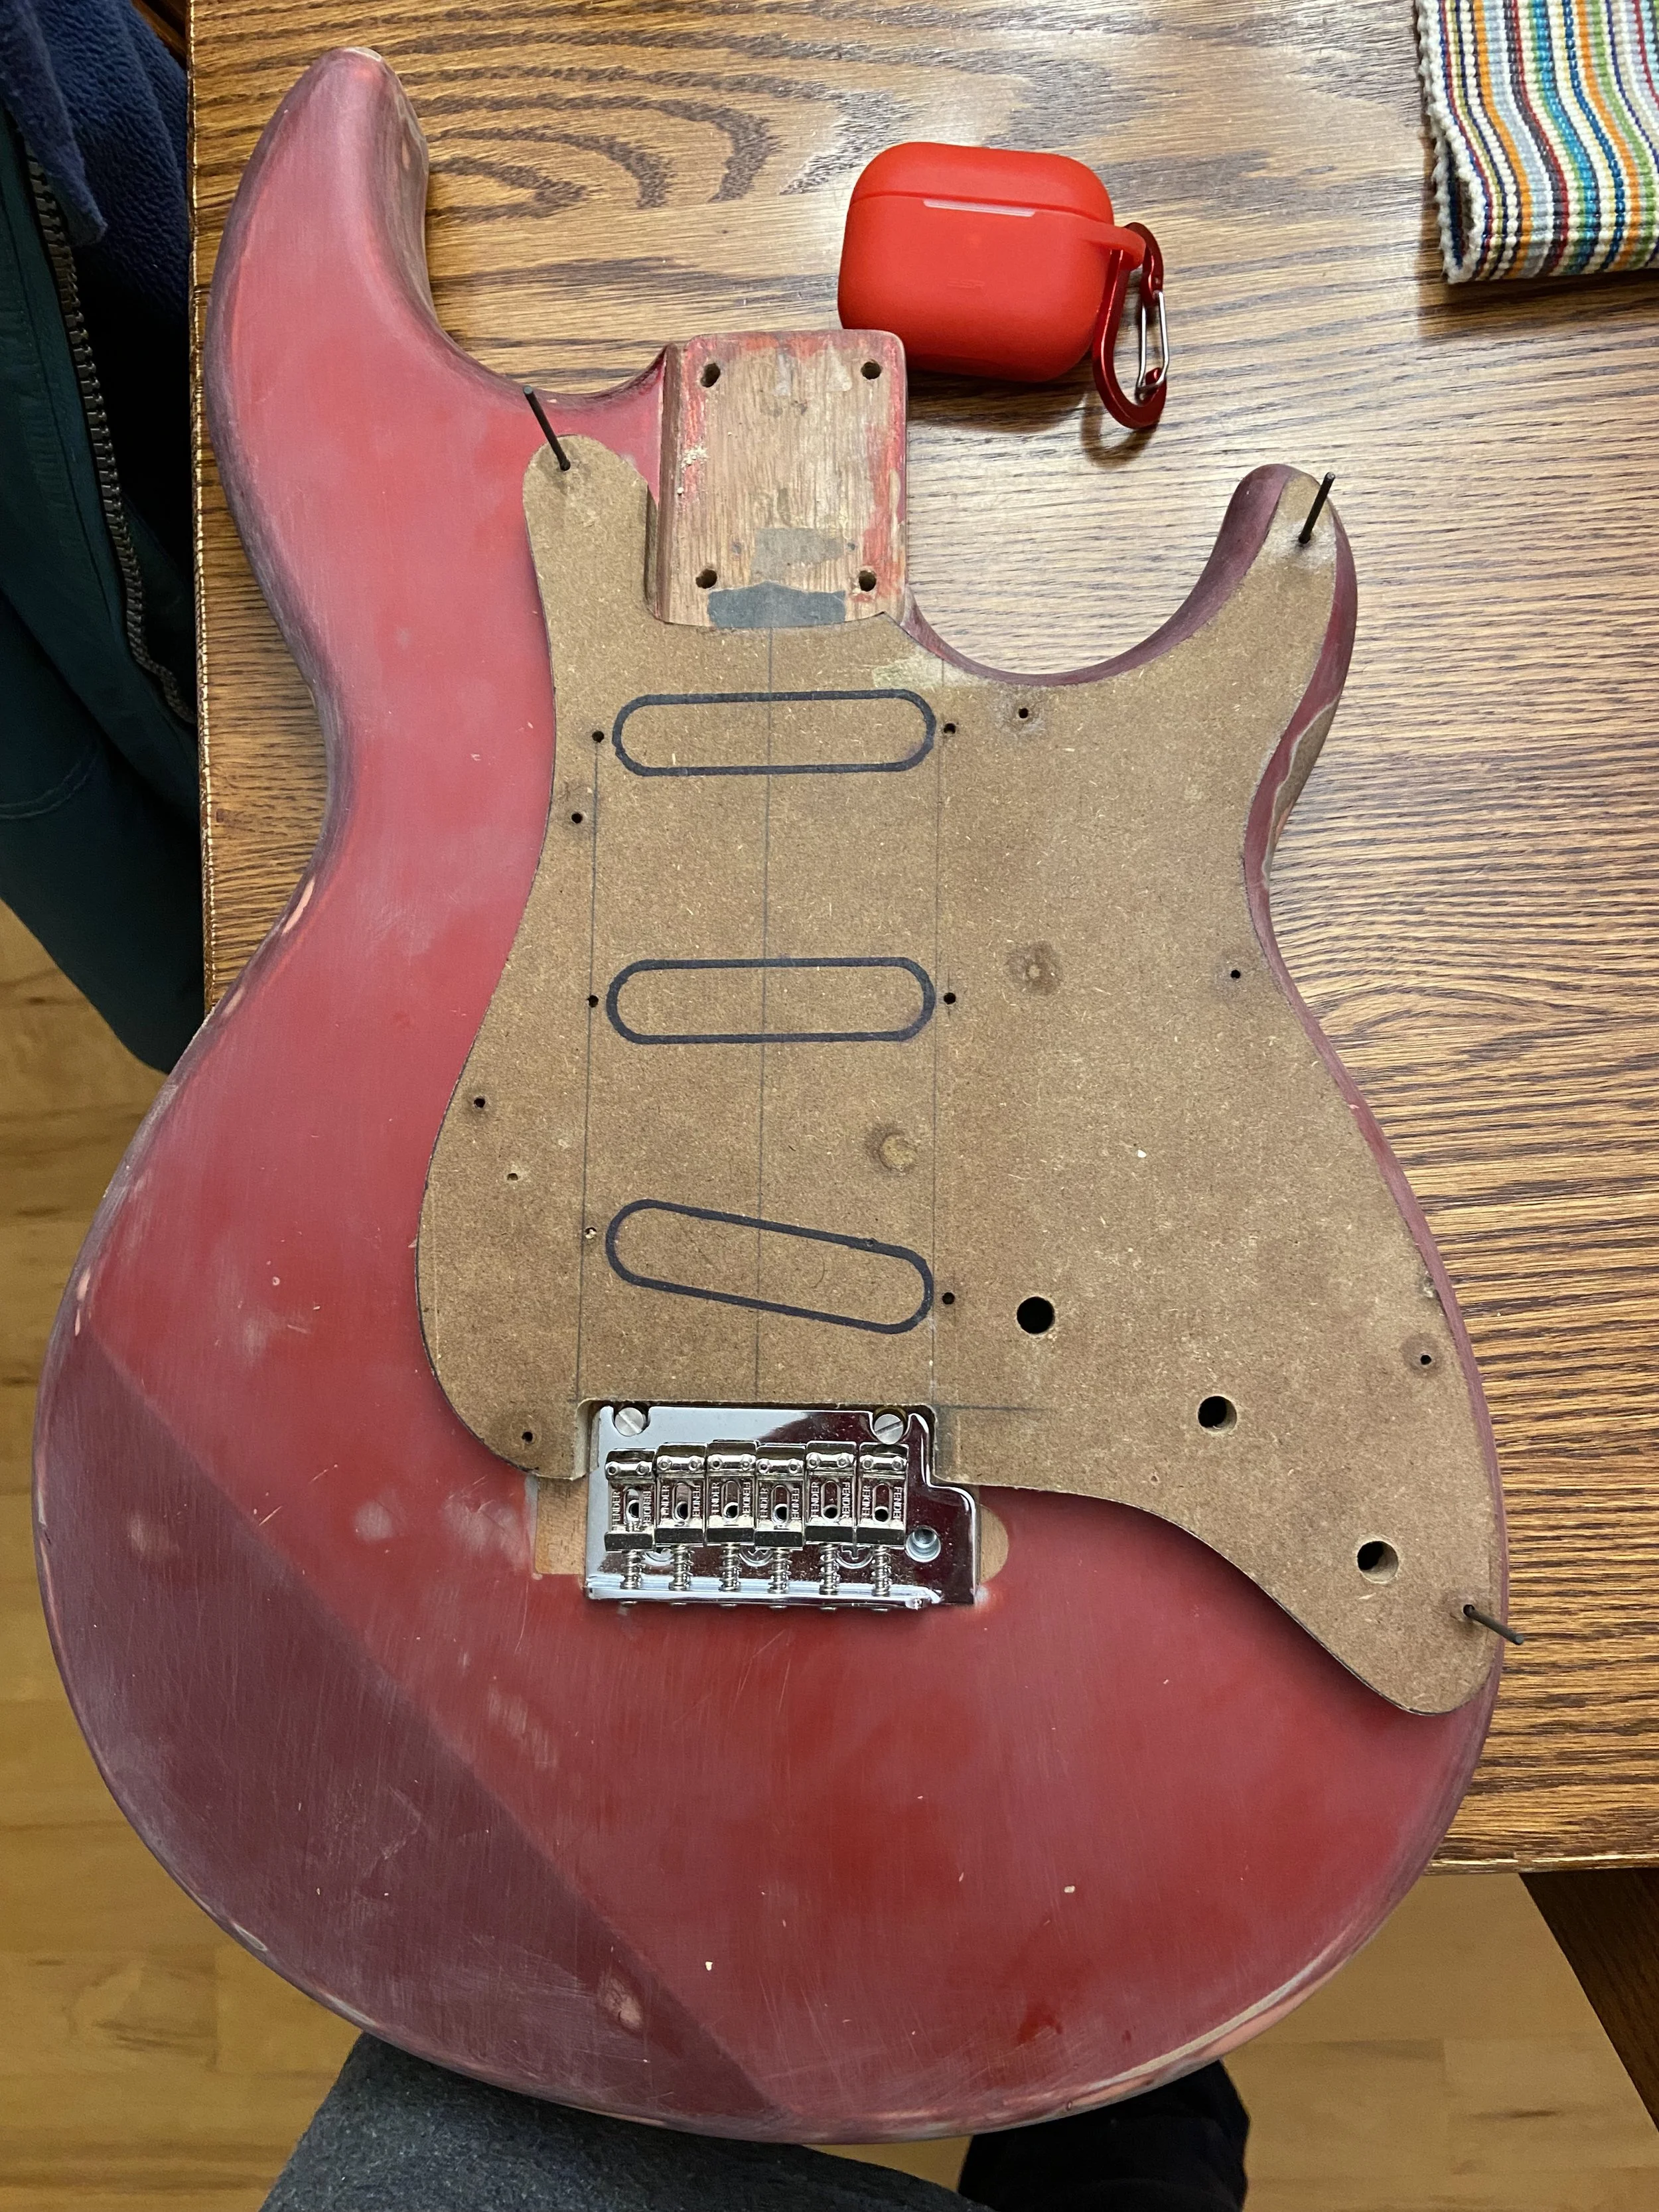
I made a template from MDF in case I ever need/want to make another one of these.
Wiring harness and pickups are wired and ready to drop in.
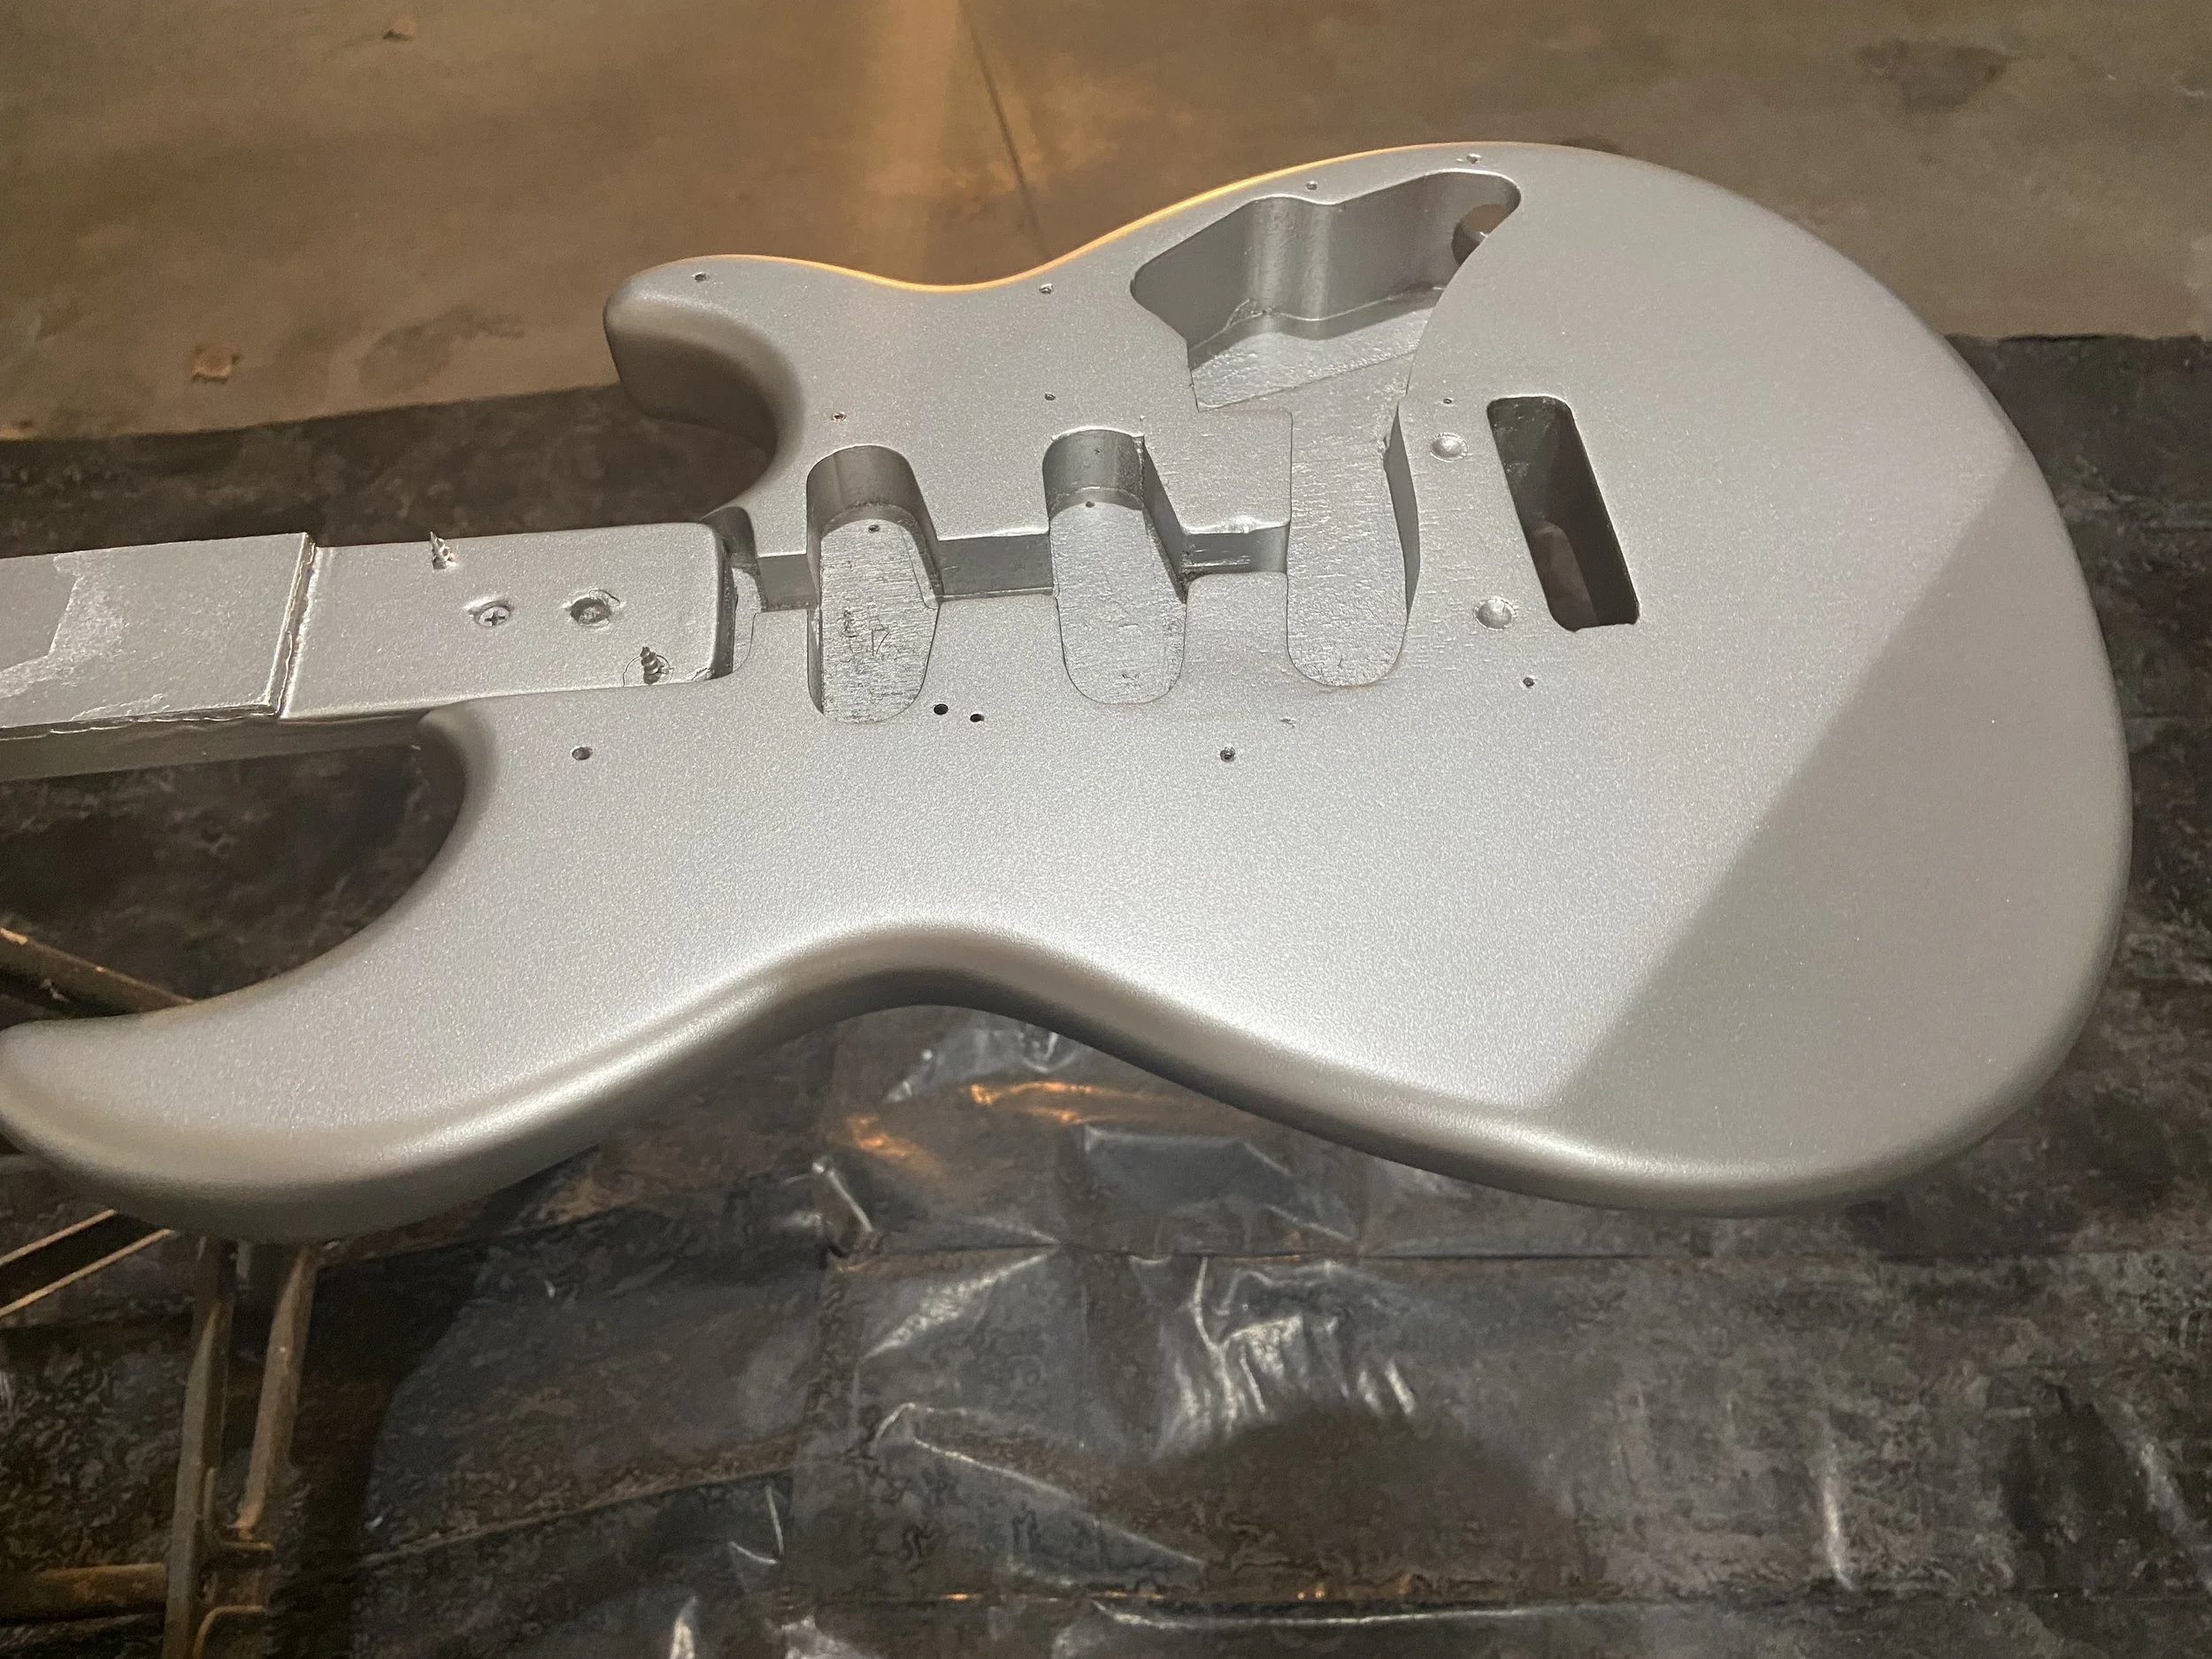
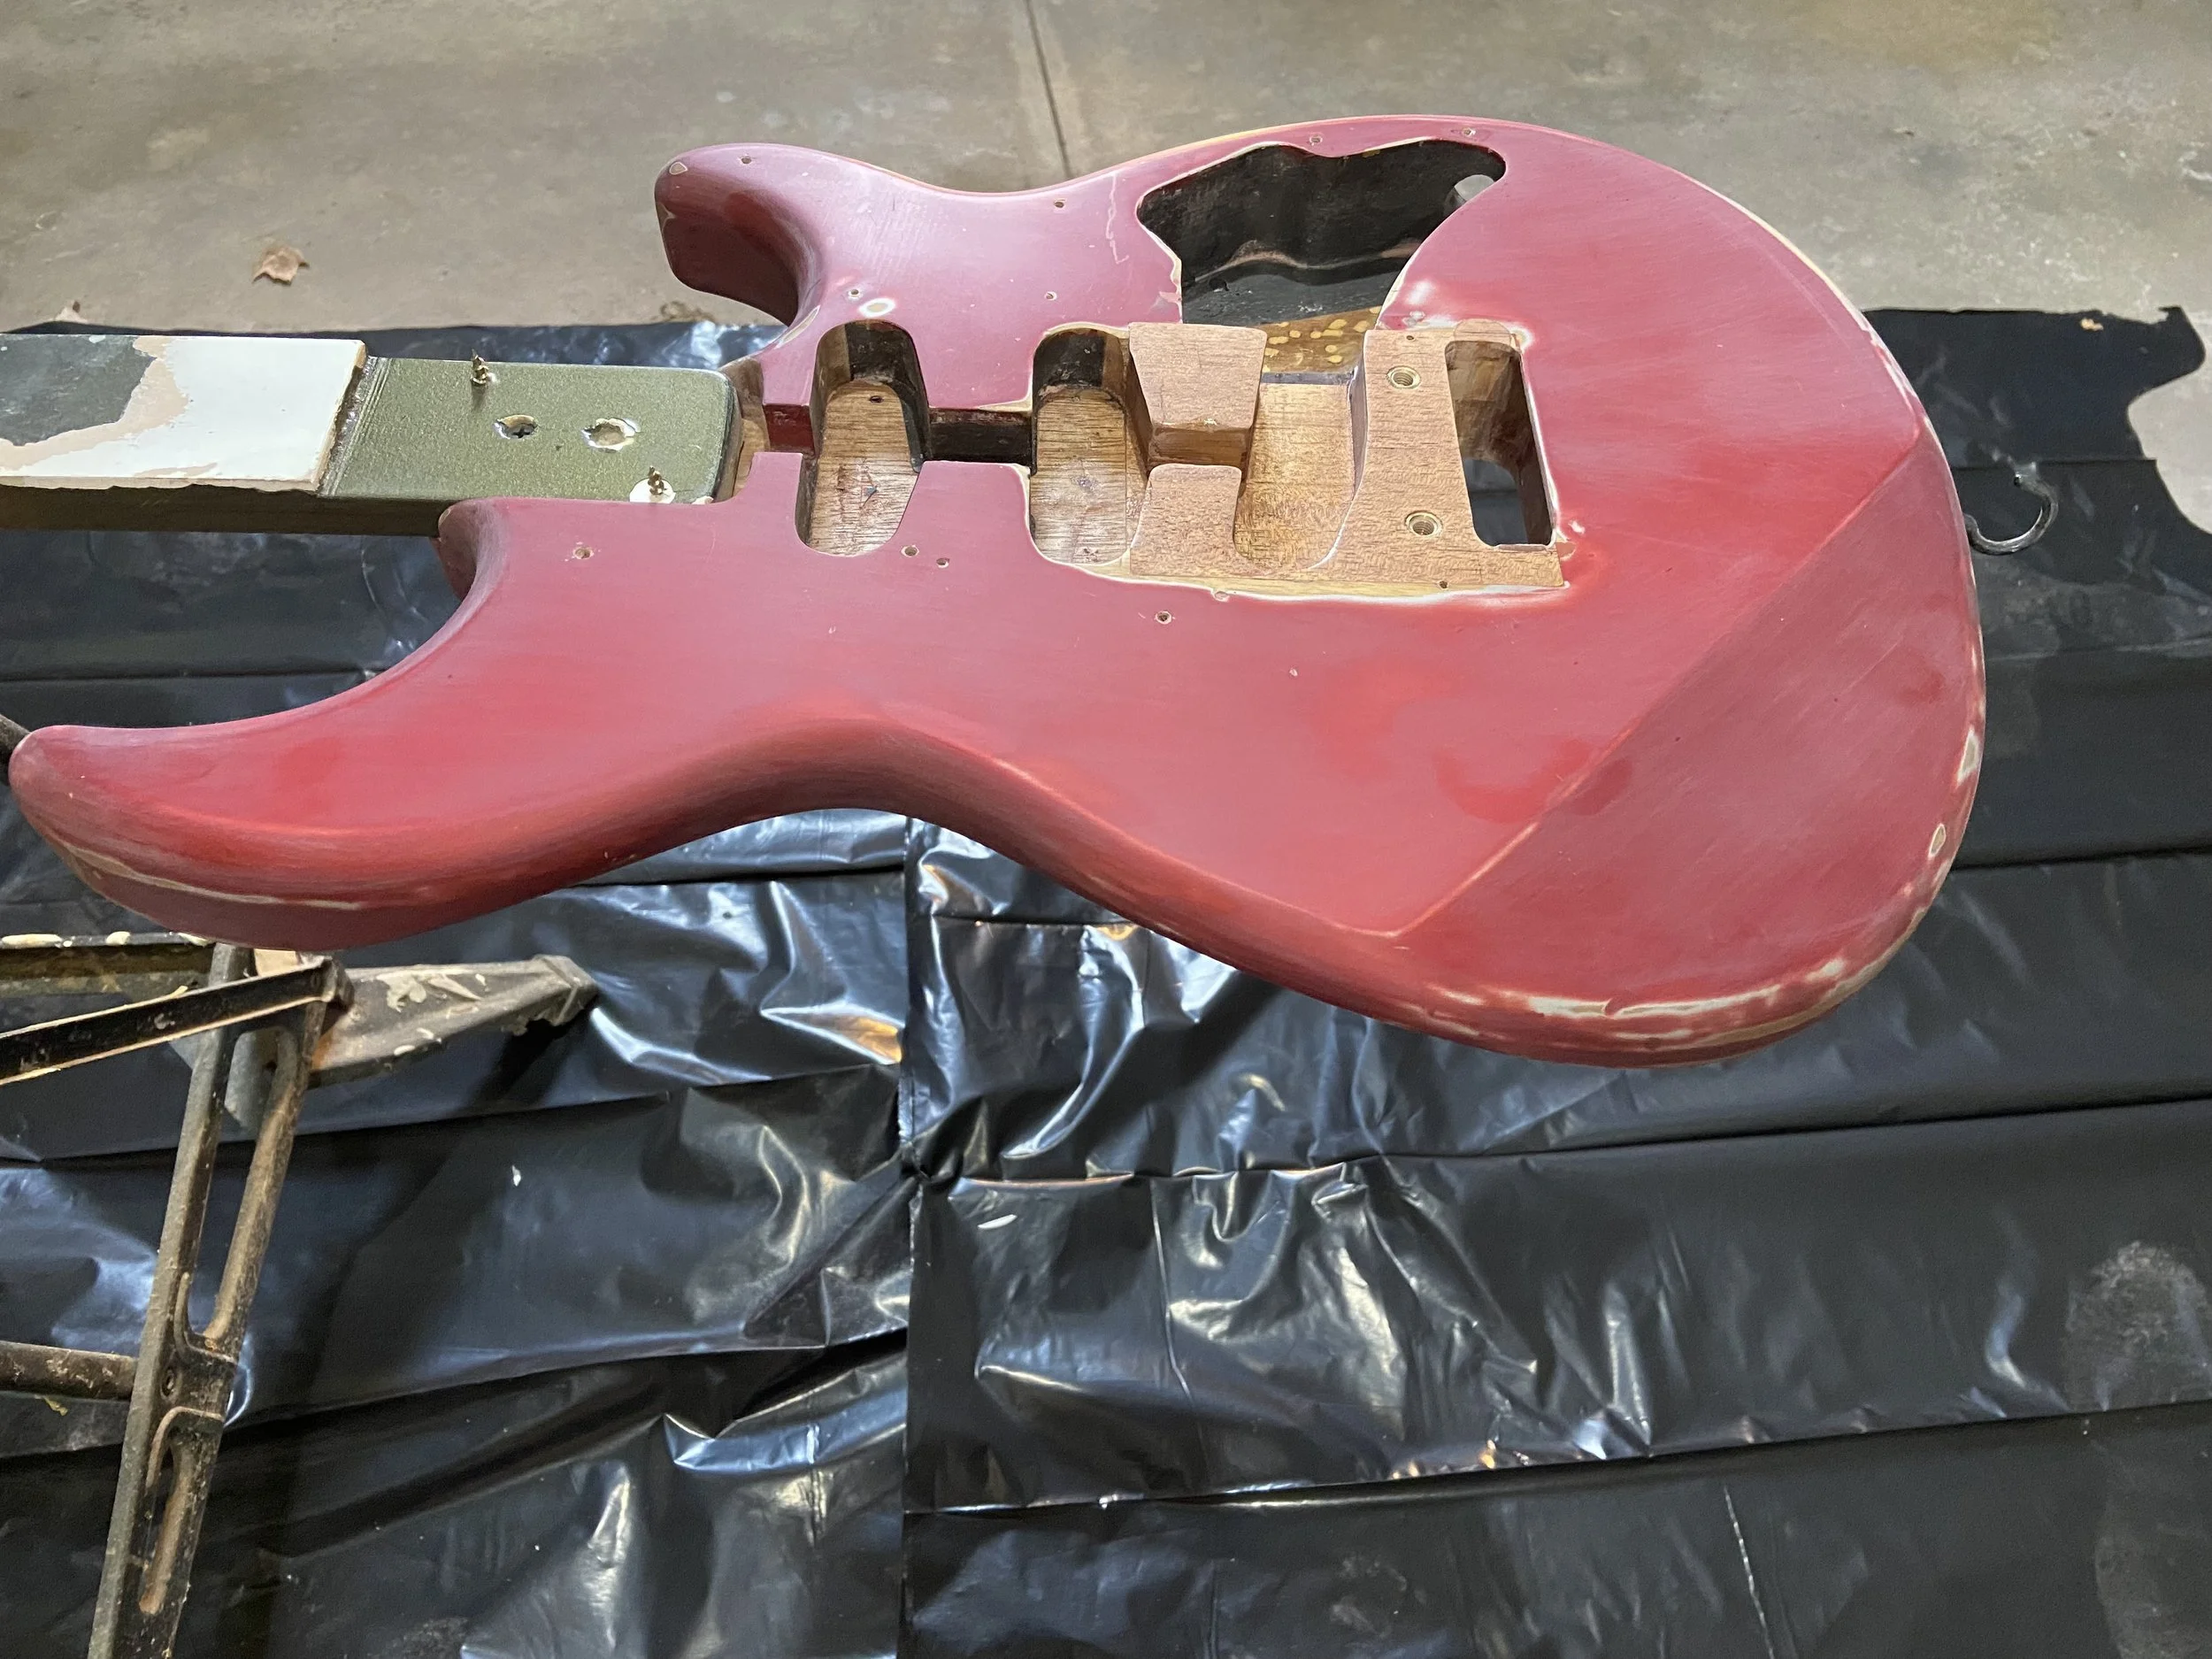
We start with a metallic silver base.
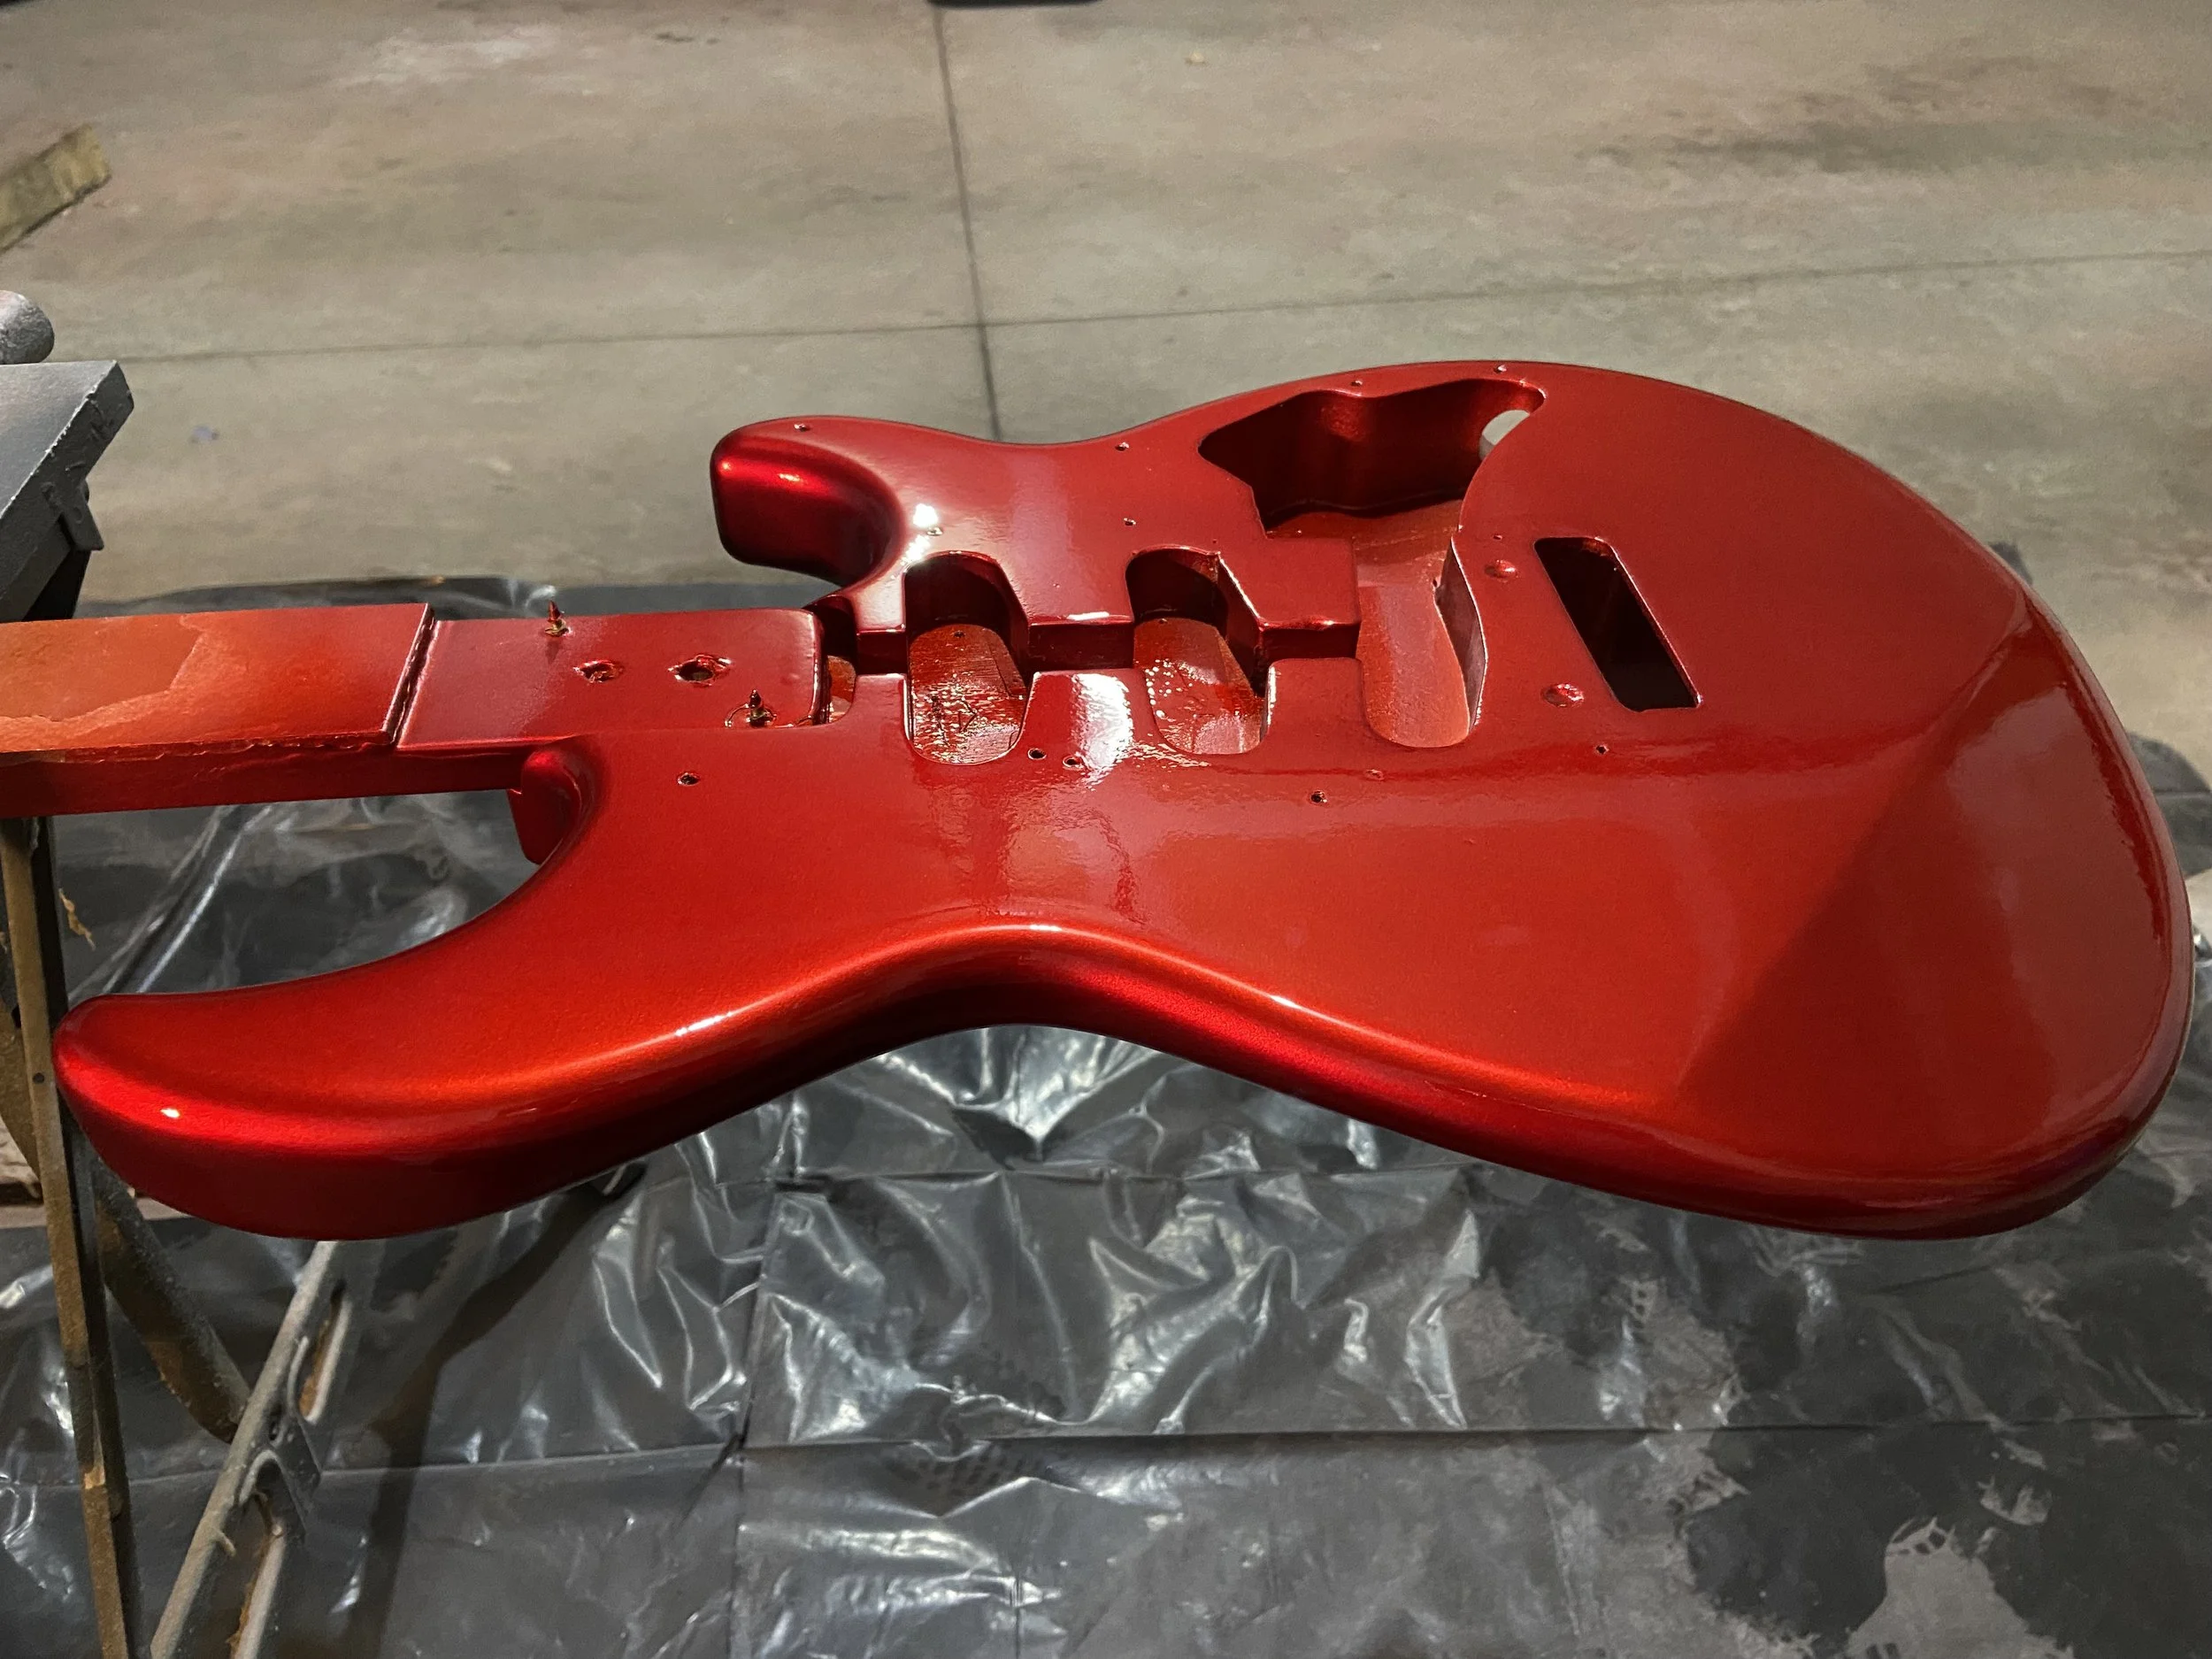
After the red, we lay clearcoats, wait a few weeks, and then sand and buff the finish.
The patch is complete, and new pickup and bridge cavities are routed.
Steel pins will index the necks.
Ready for pattern routing.
Drilling the fingerboard for position markers.
Markers are cut and sanded flush.
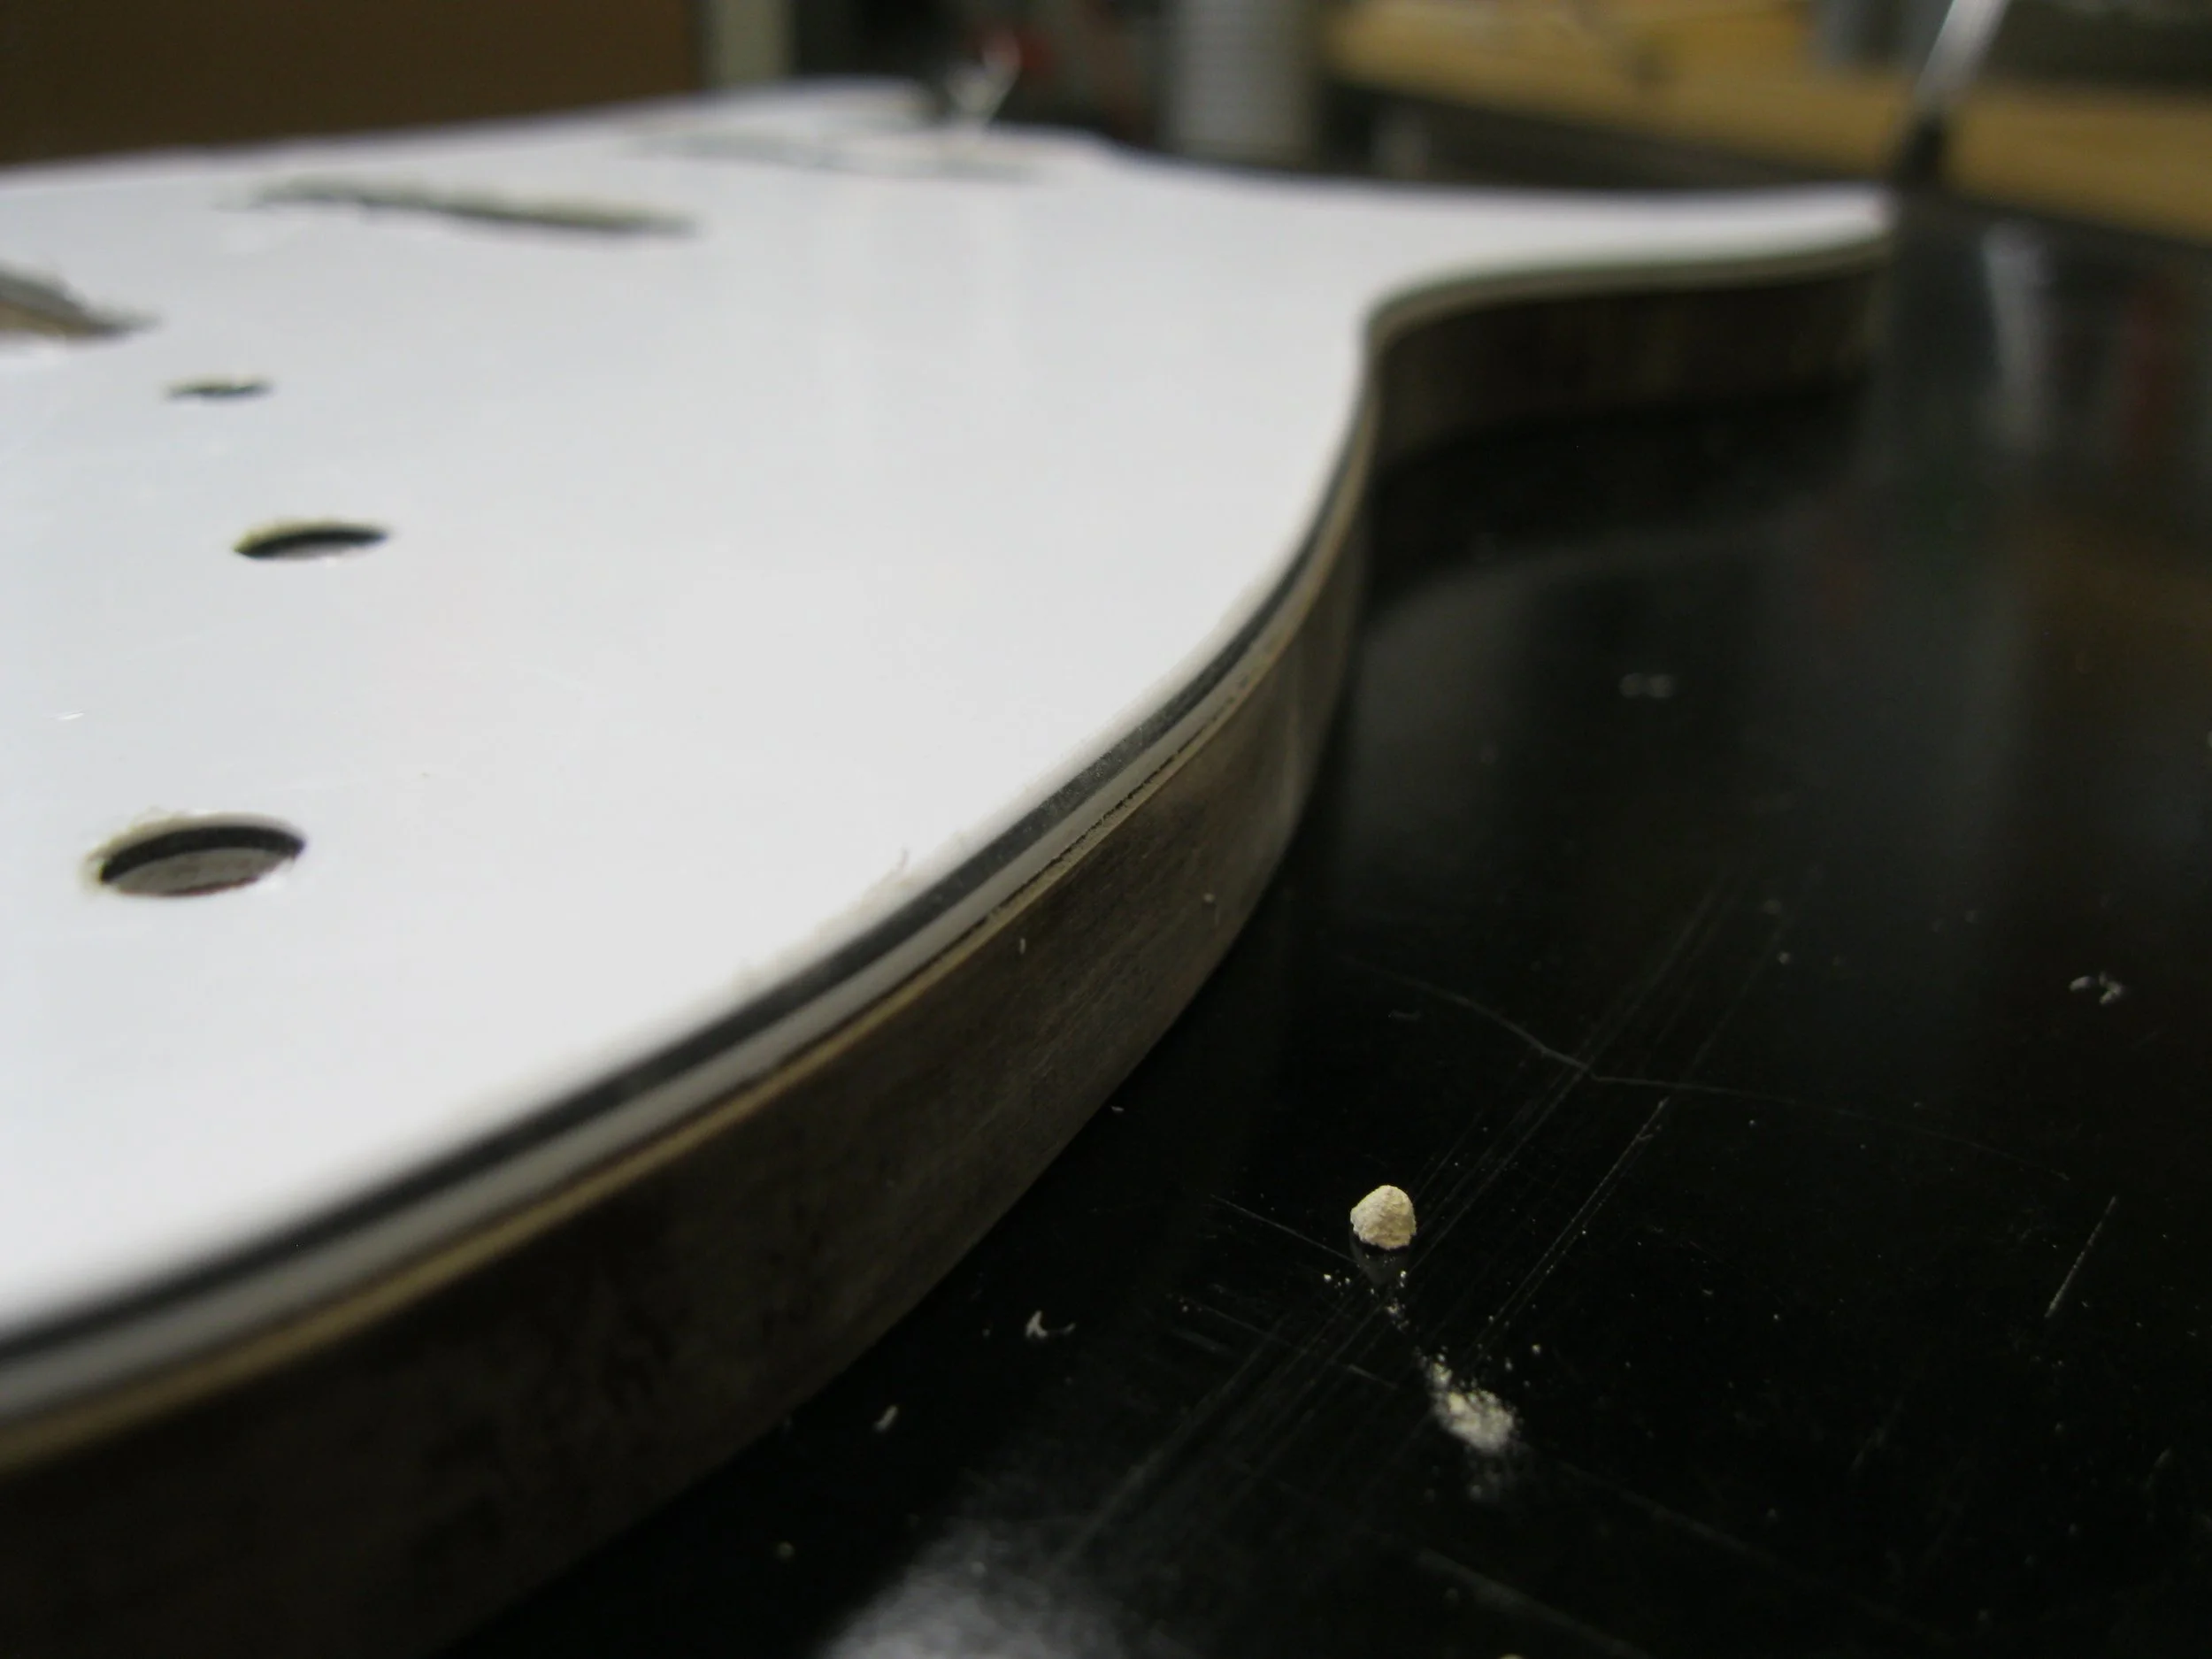
After a little time on the router table with a pattern bit, and we have a new pickguard.
Instead of the typical bevel cut, I used a small roundover bit for a softer look.
Ready for paint.
Translucent red is laid over the silver base.
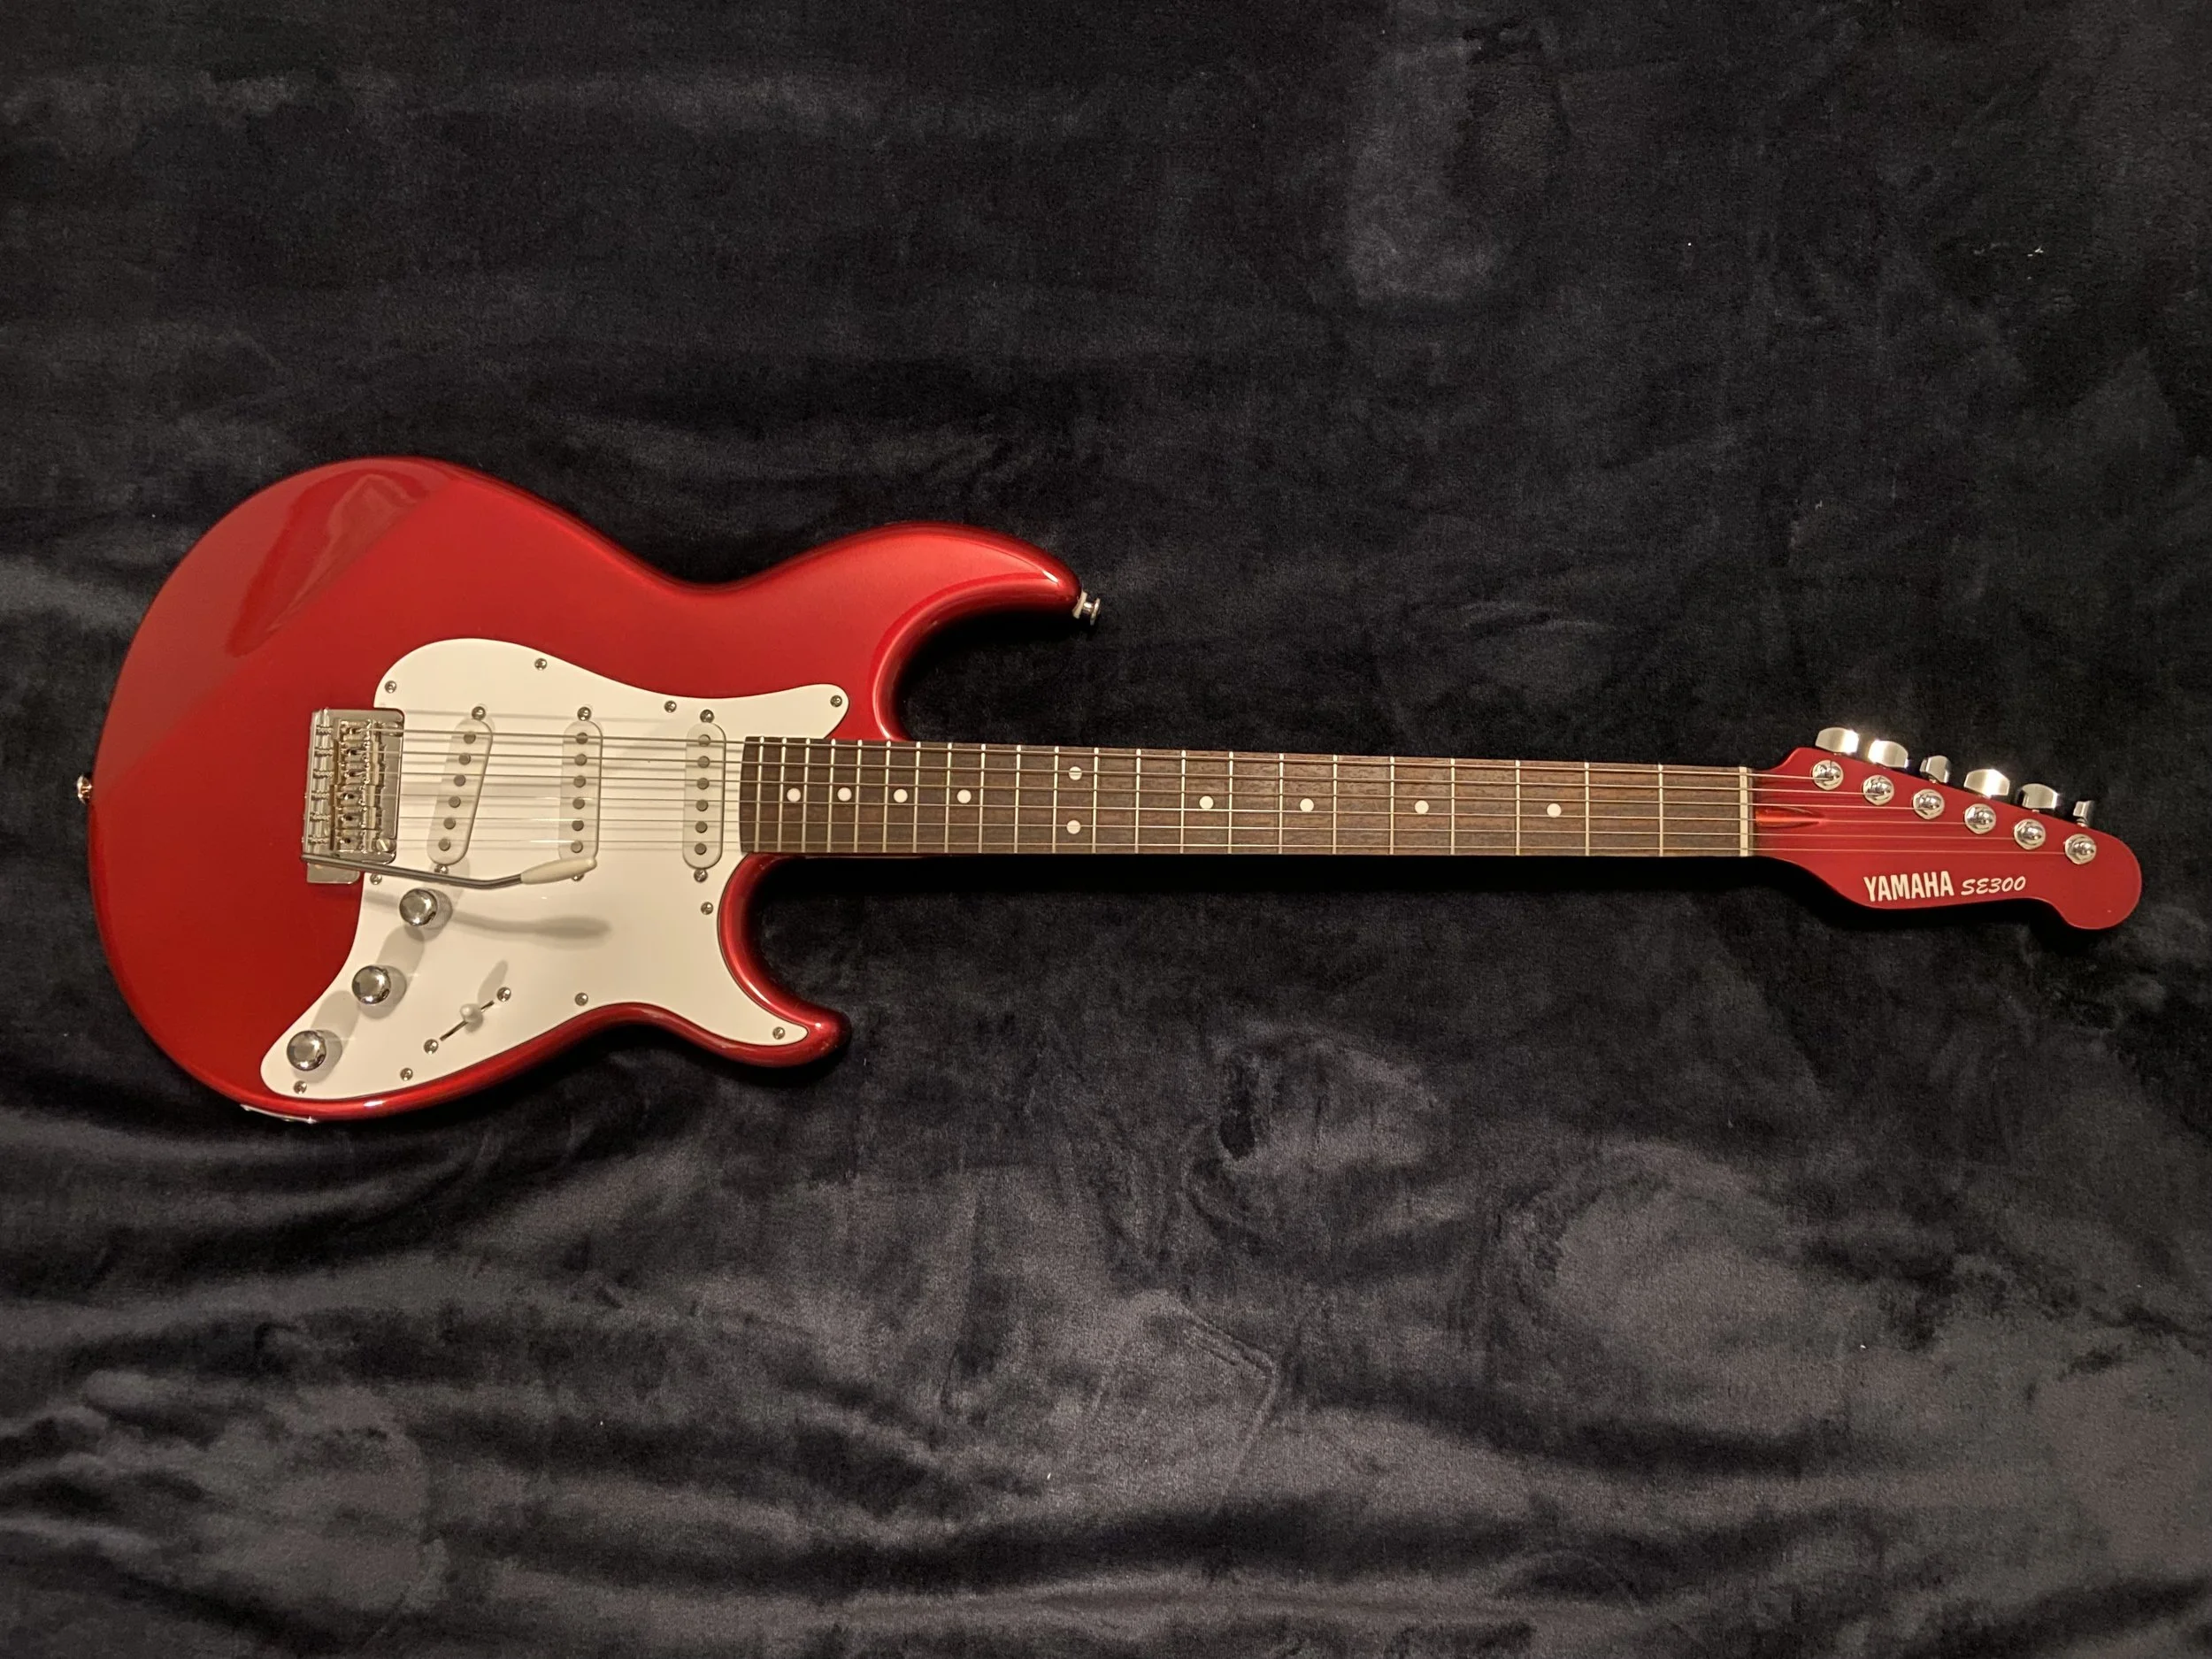
After a couple of decades, it’s playable again, and it plays and sounds better than ever.
The original neck was candy-apple red along the entire playing surface, but a thin satin finish just feels better.
