Octave Mandolin
The octave mandolin is — you guessed it — a mandolin, but it’s built with a larger, deeper body than a standard mandolin, and it’s tuned an octave lower. The scale length is also longer to accommodate the lower tuning.
This one will be built with a mahogany back and sides, a spruce top, and top and back plates that are built with a 15’ domed radius rather than a carved top.
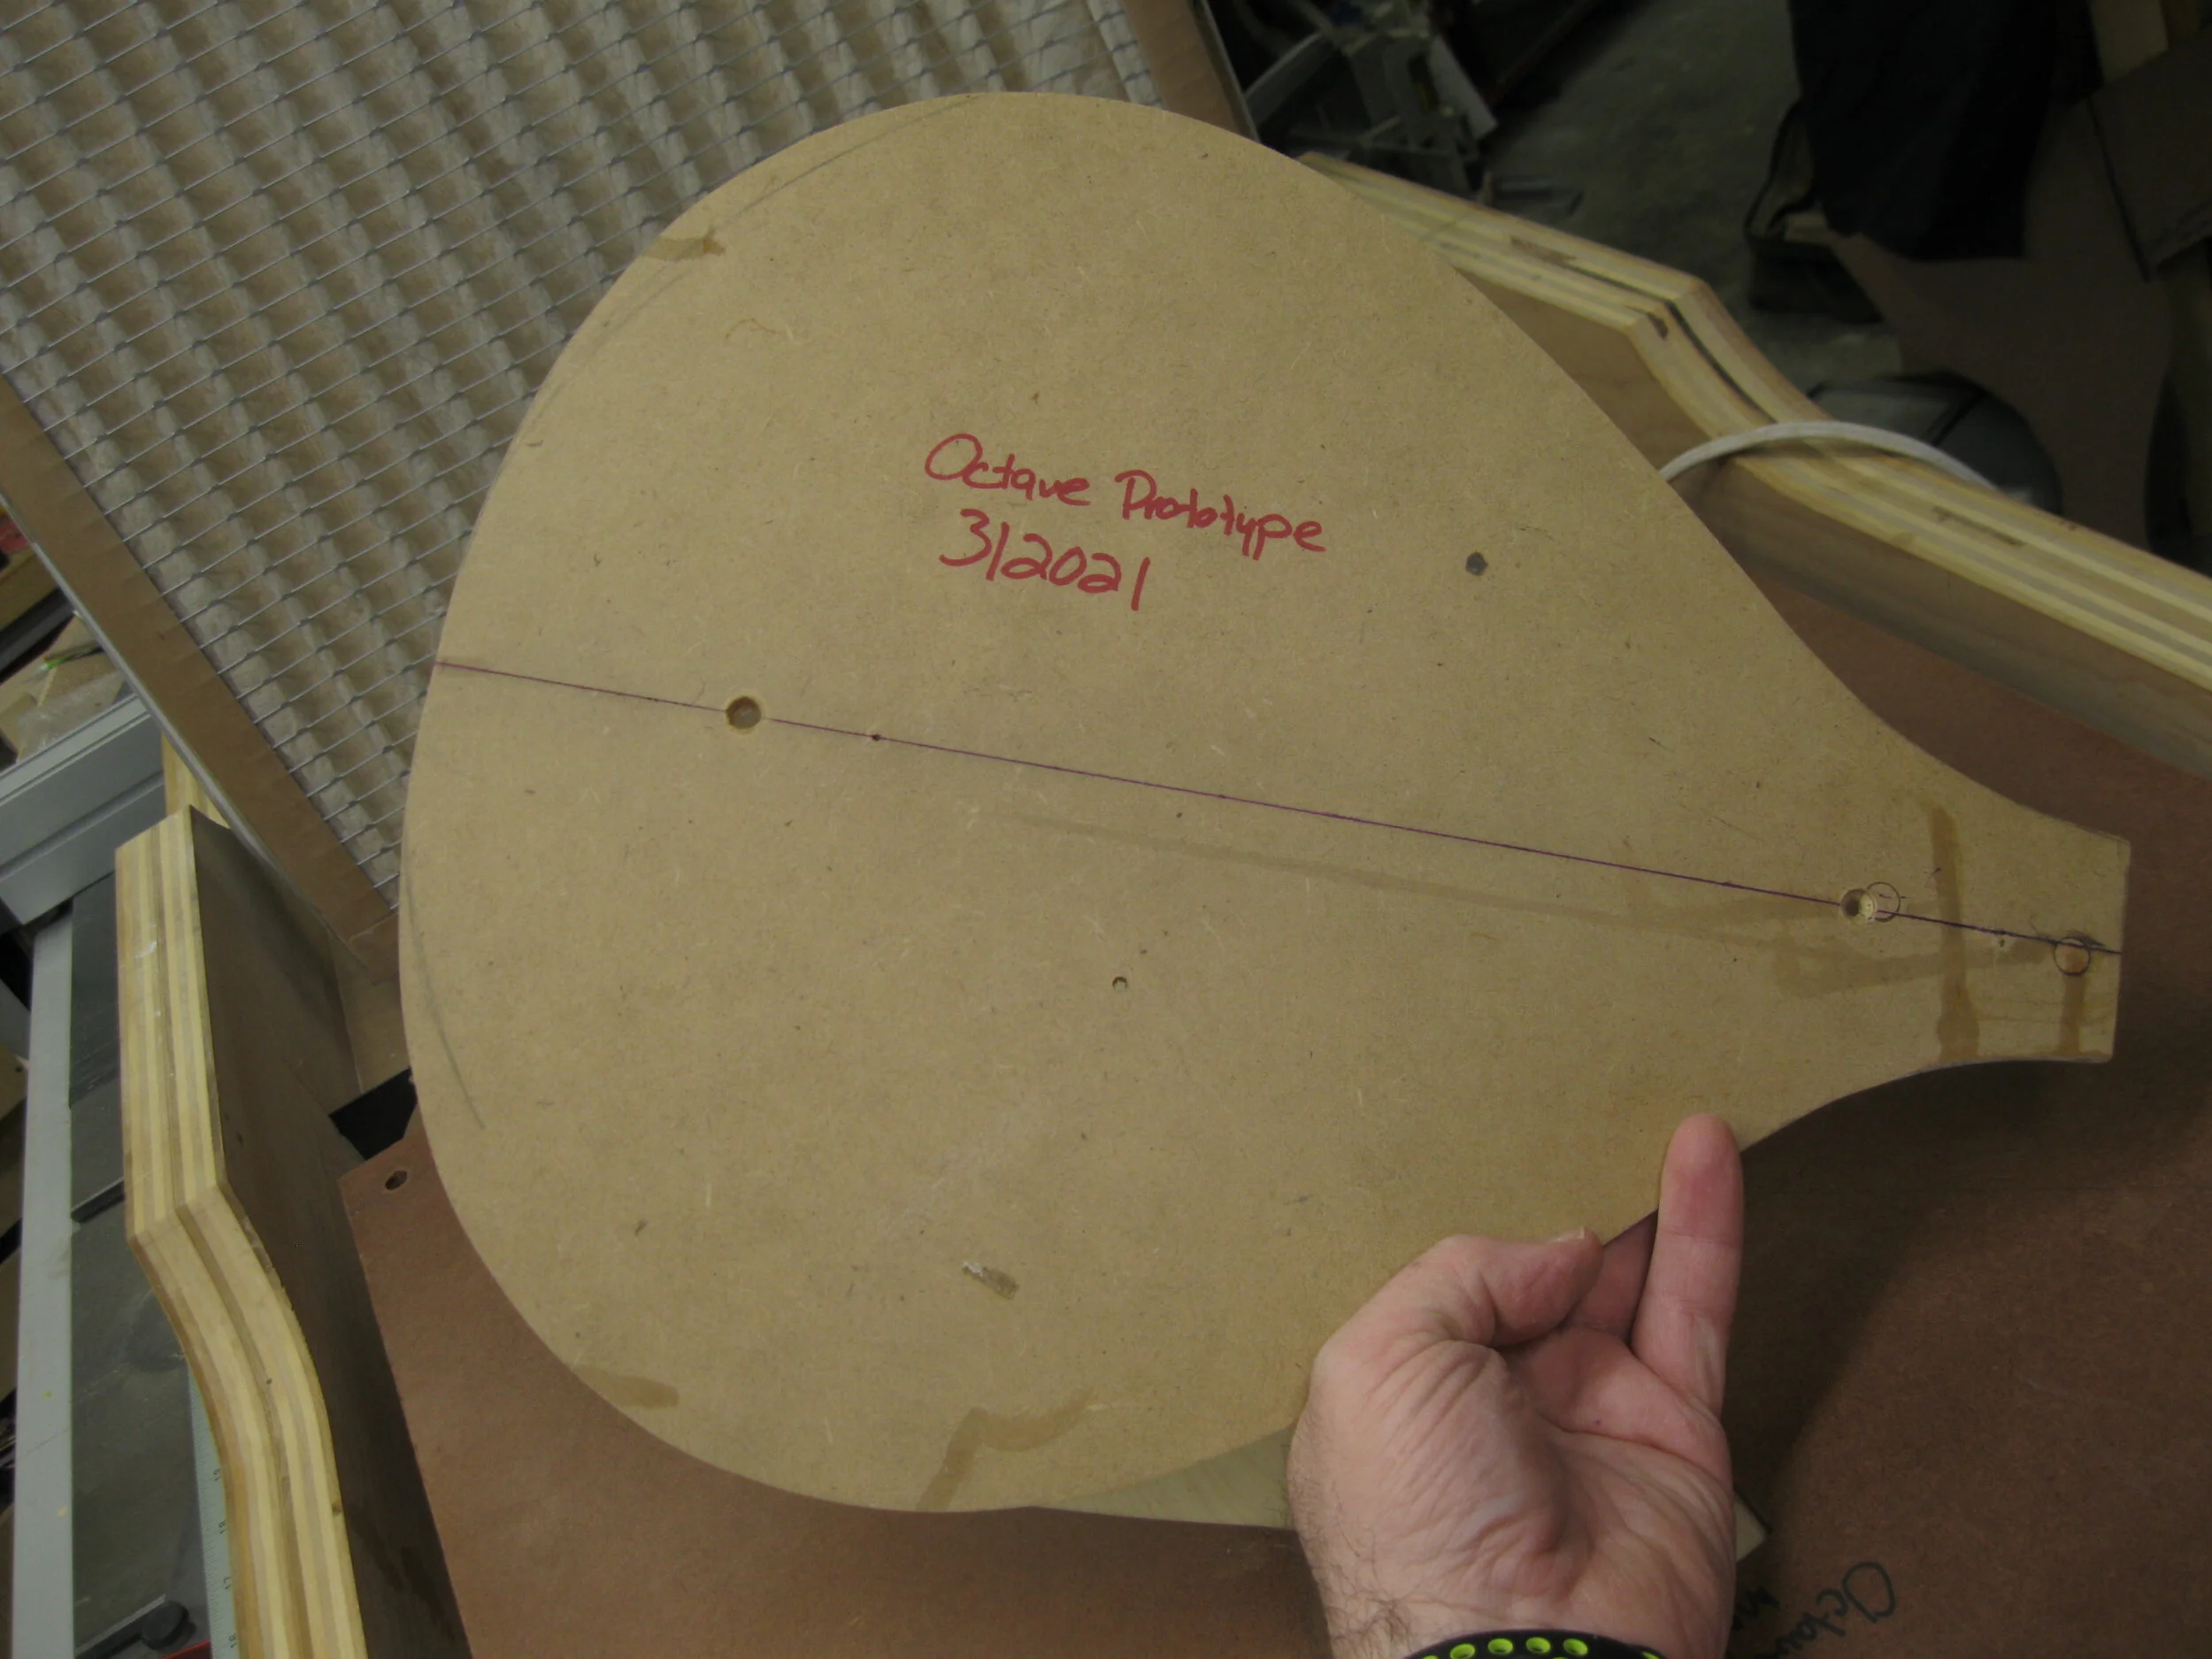
Start by making a hardboard template of the body shape — it’s an A-bodied mandolin, but bigger.
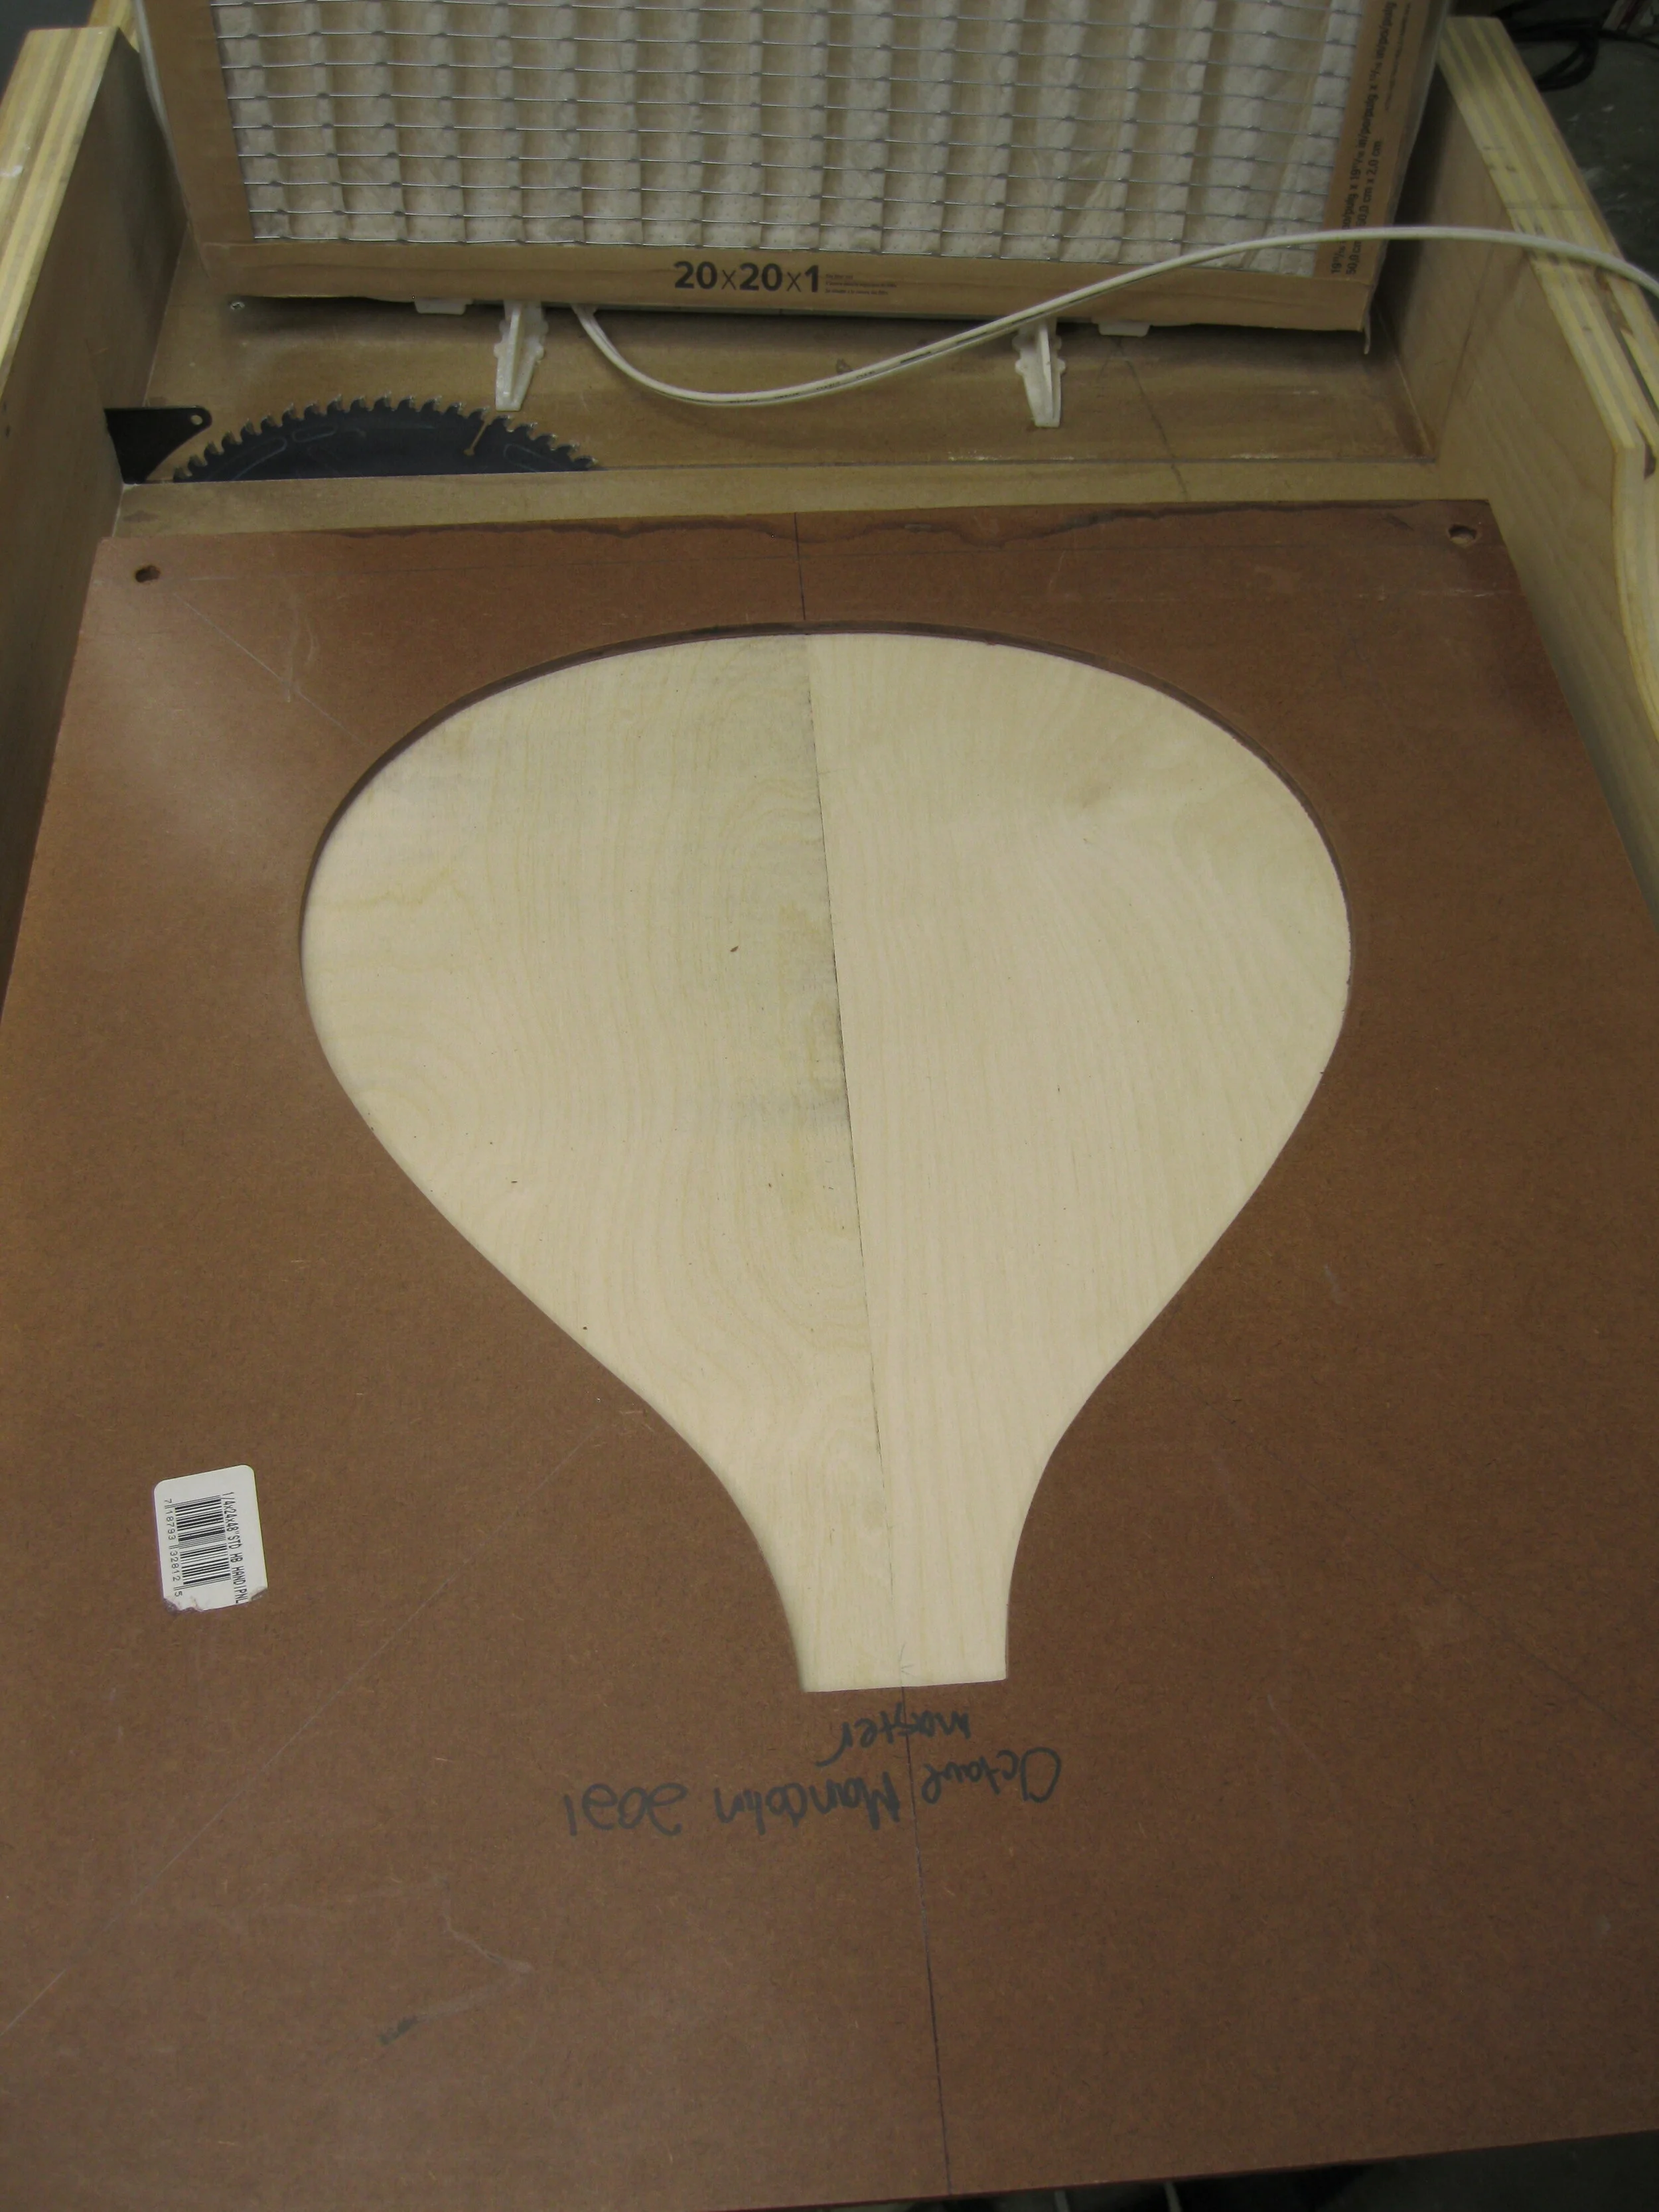
Next, we make a female version of the template for the outline of the body.
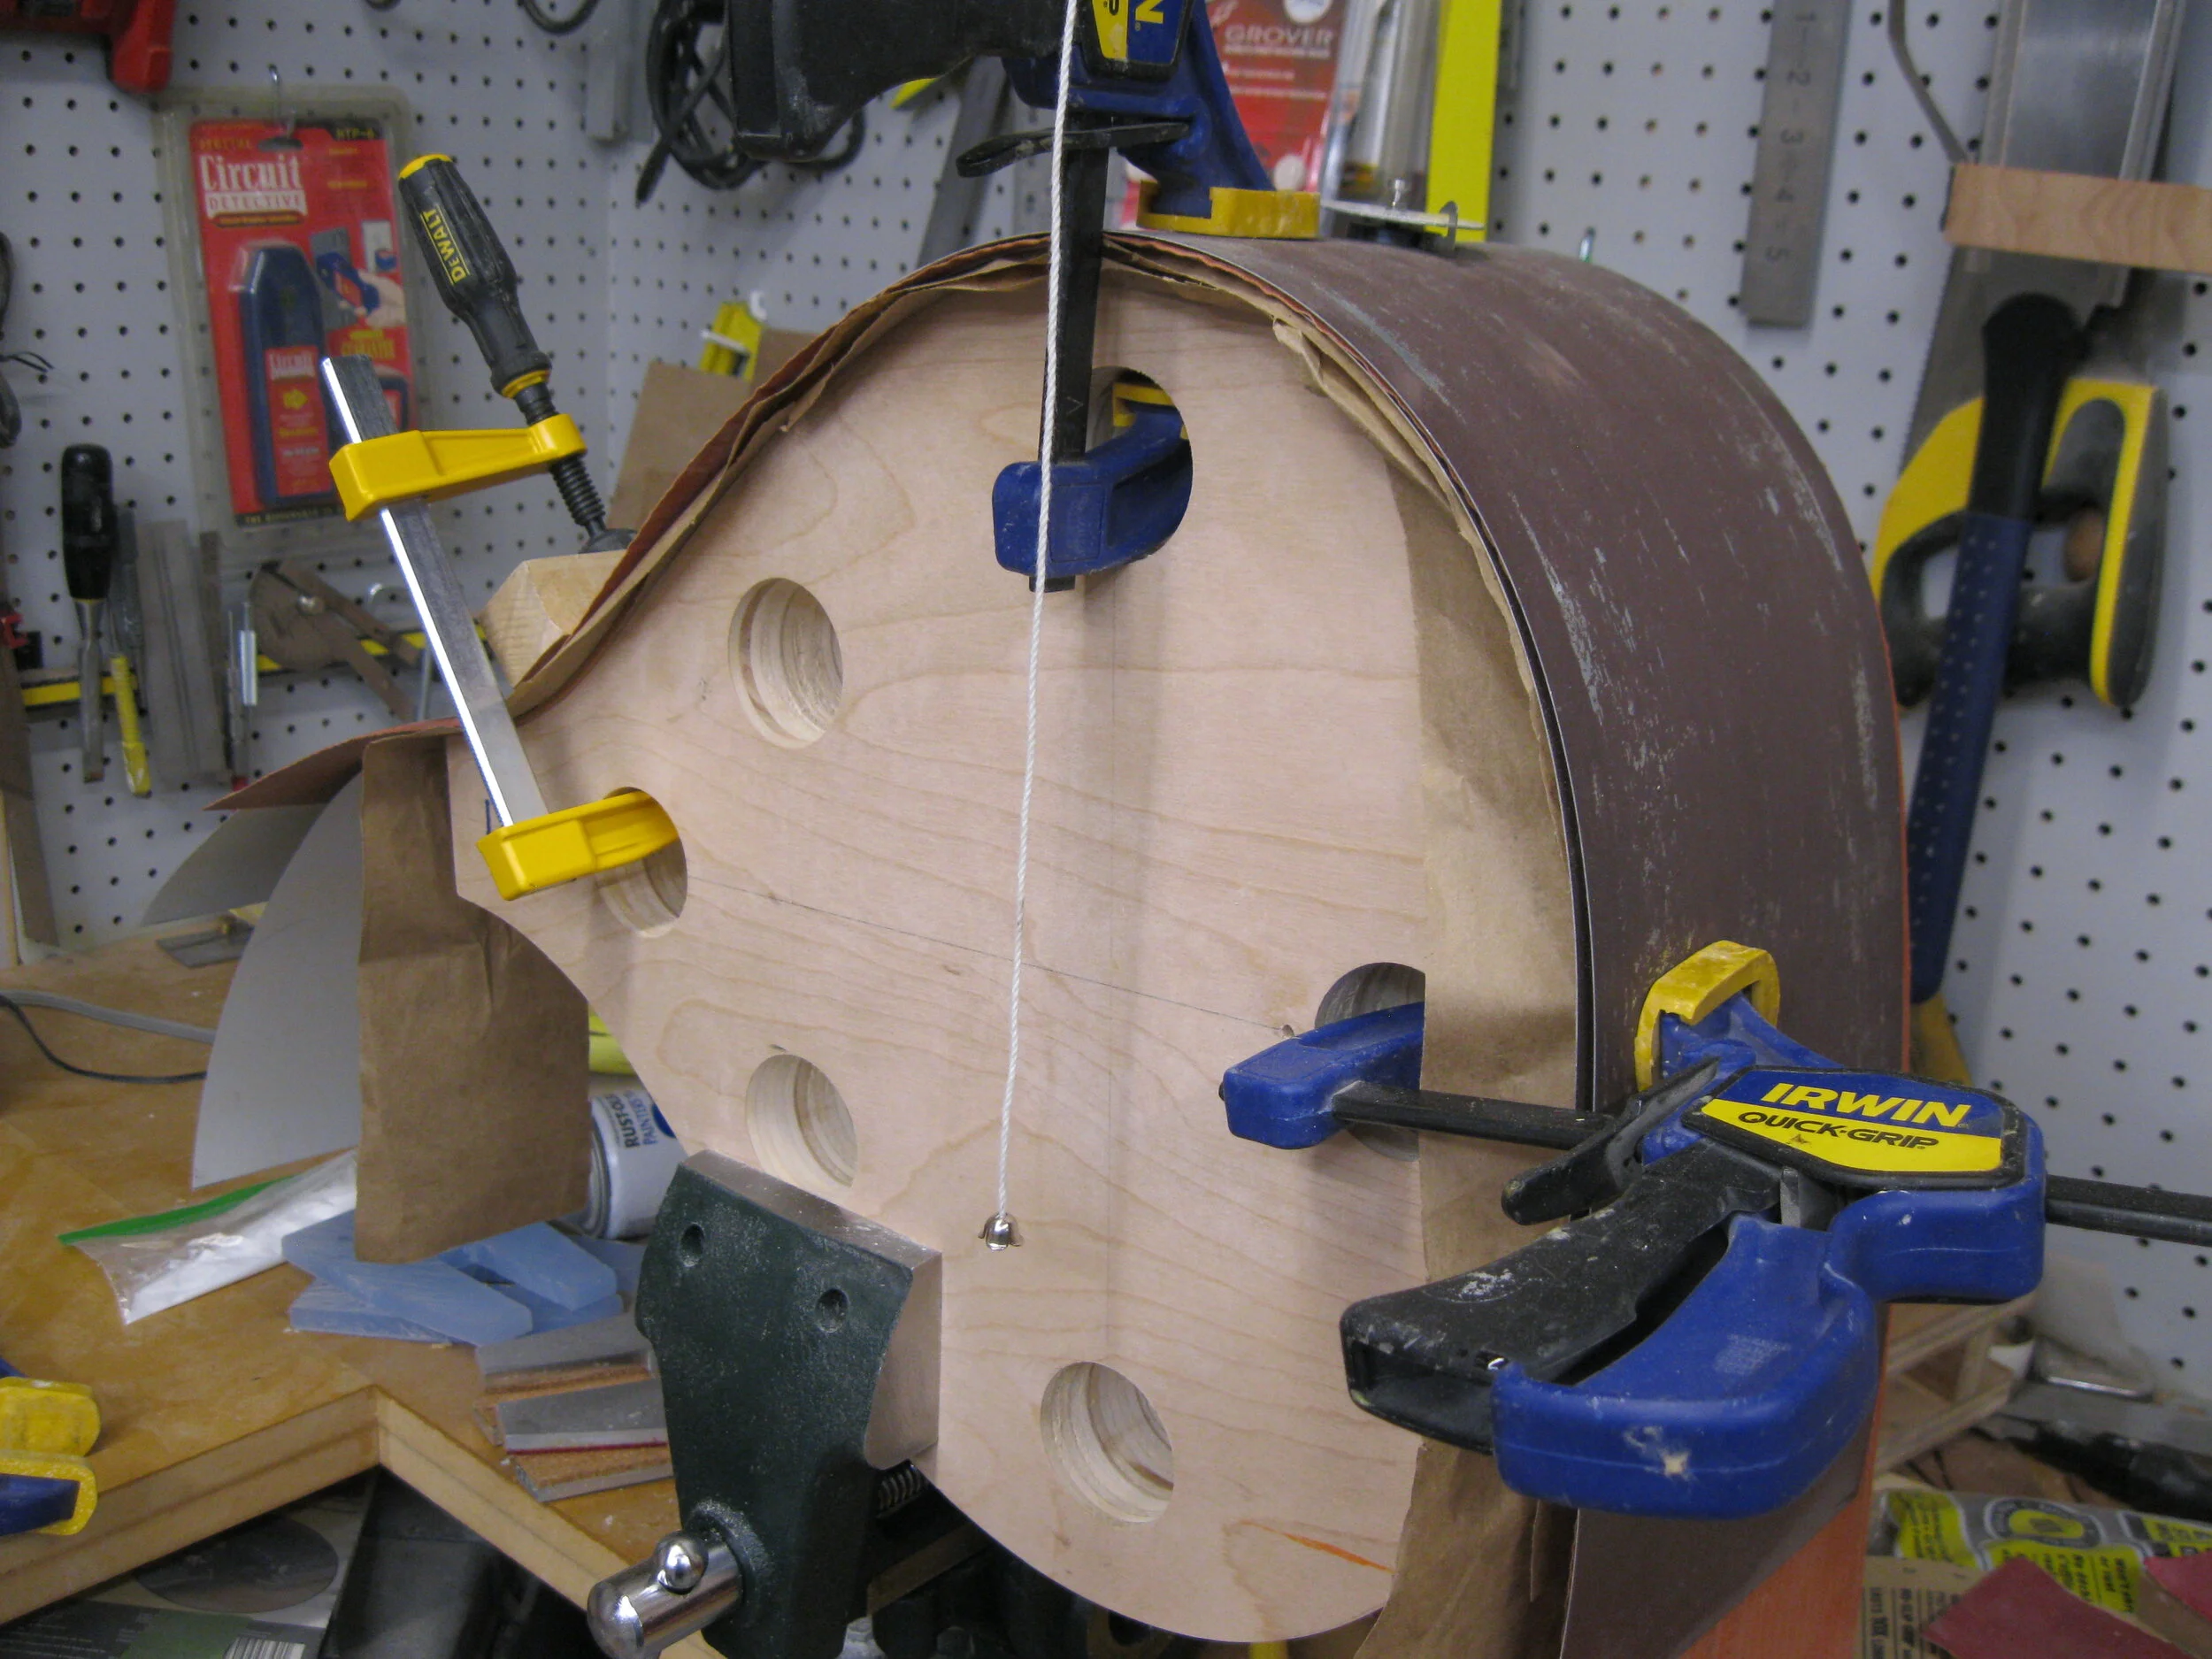
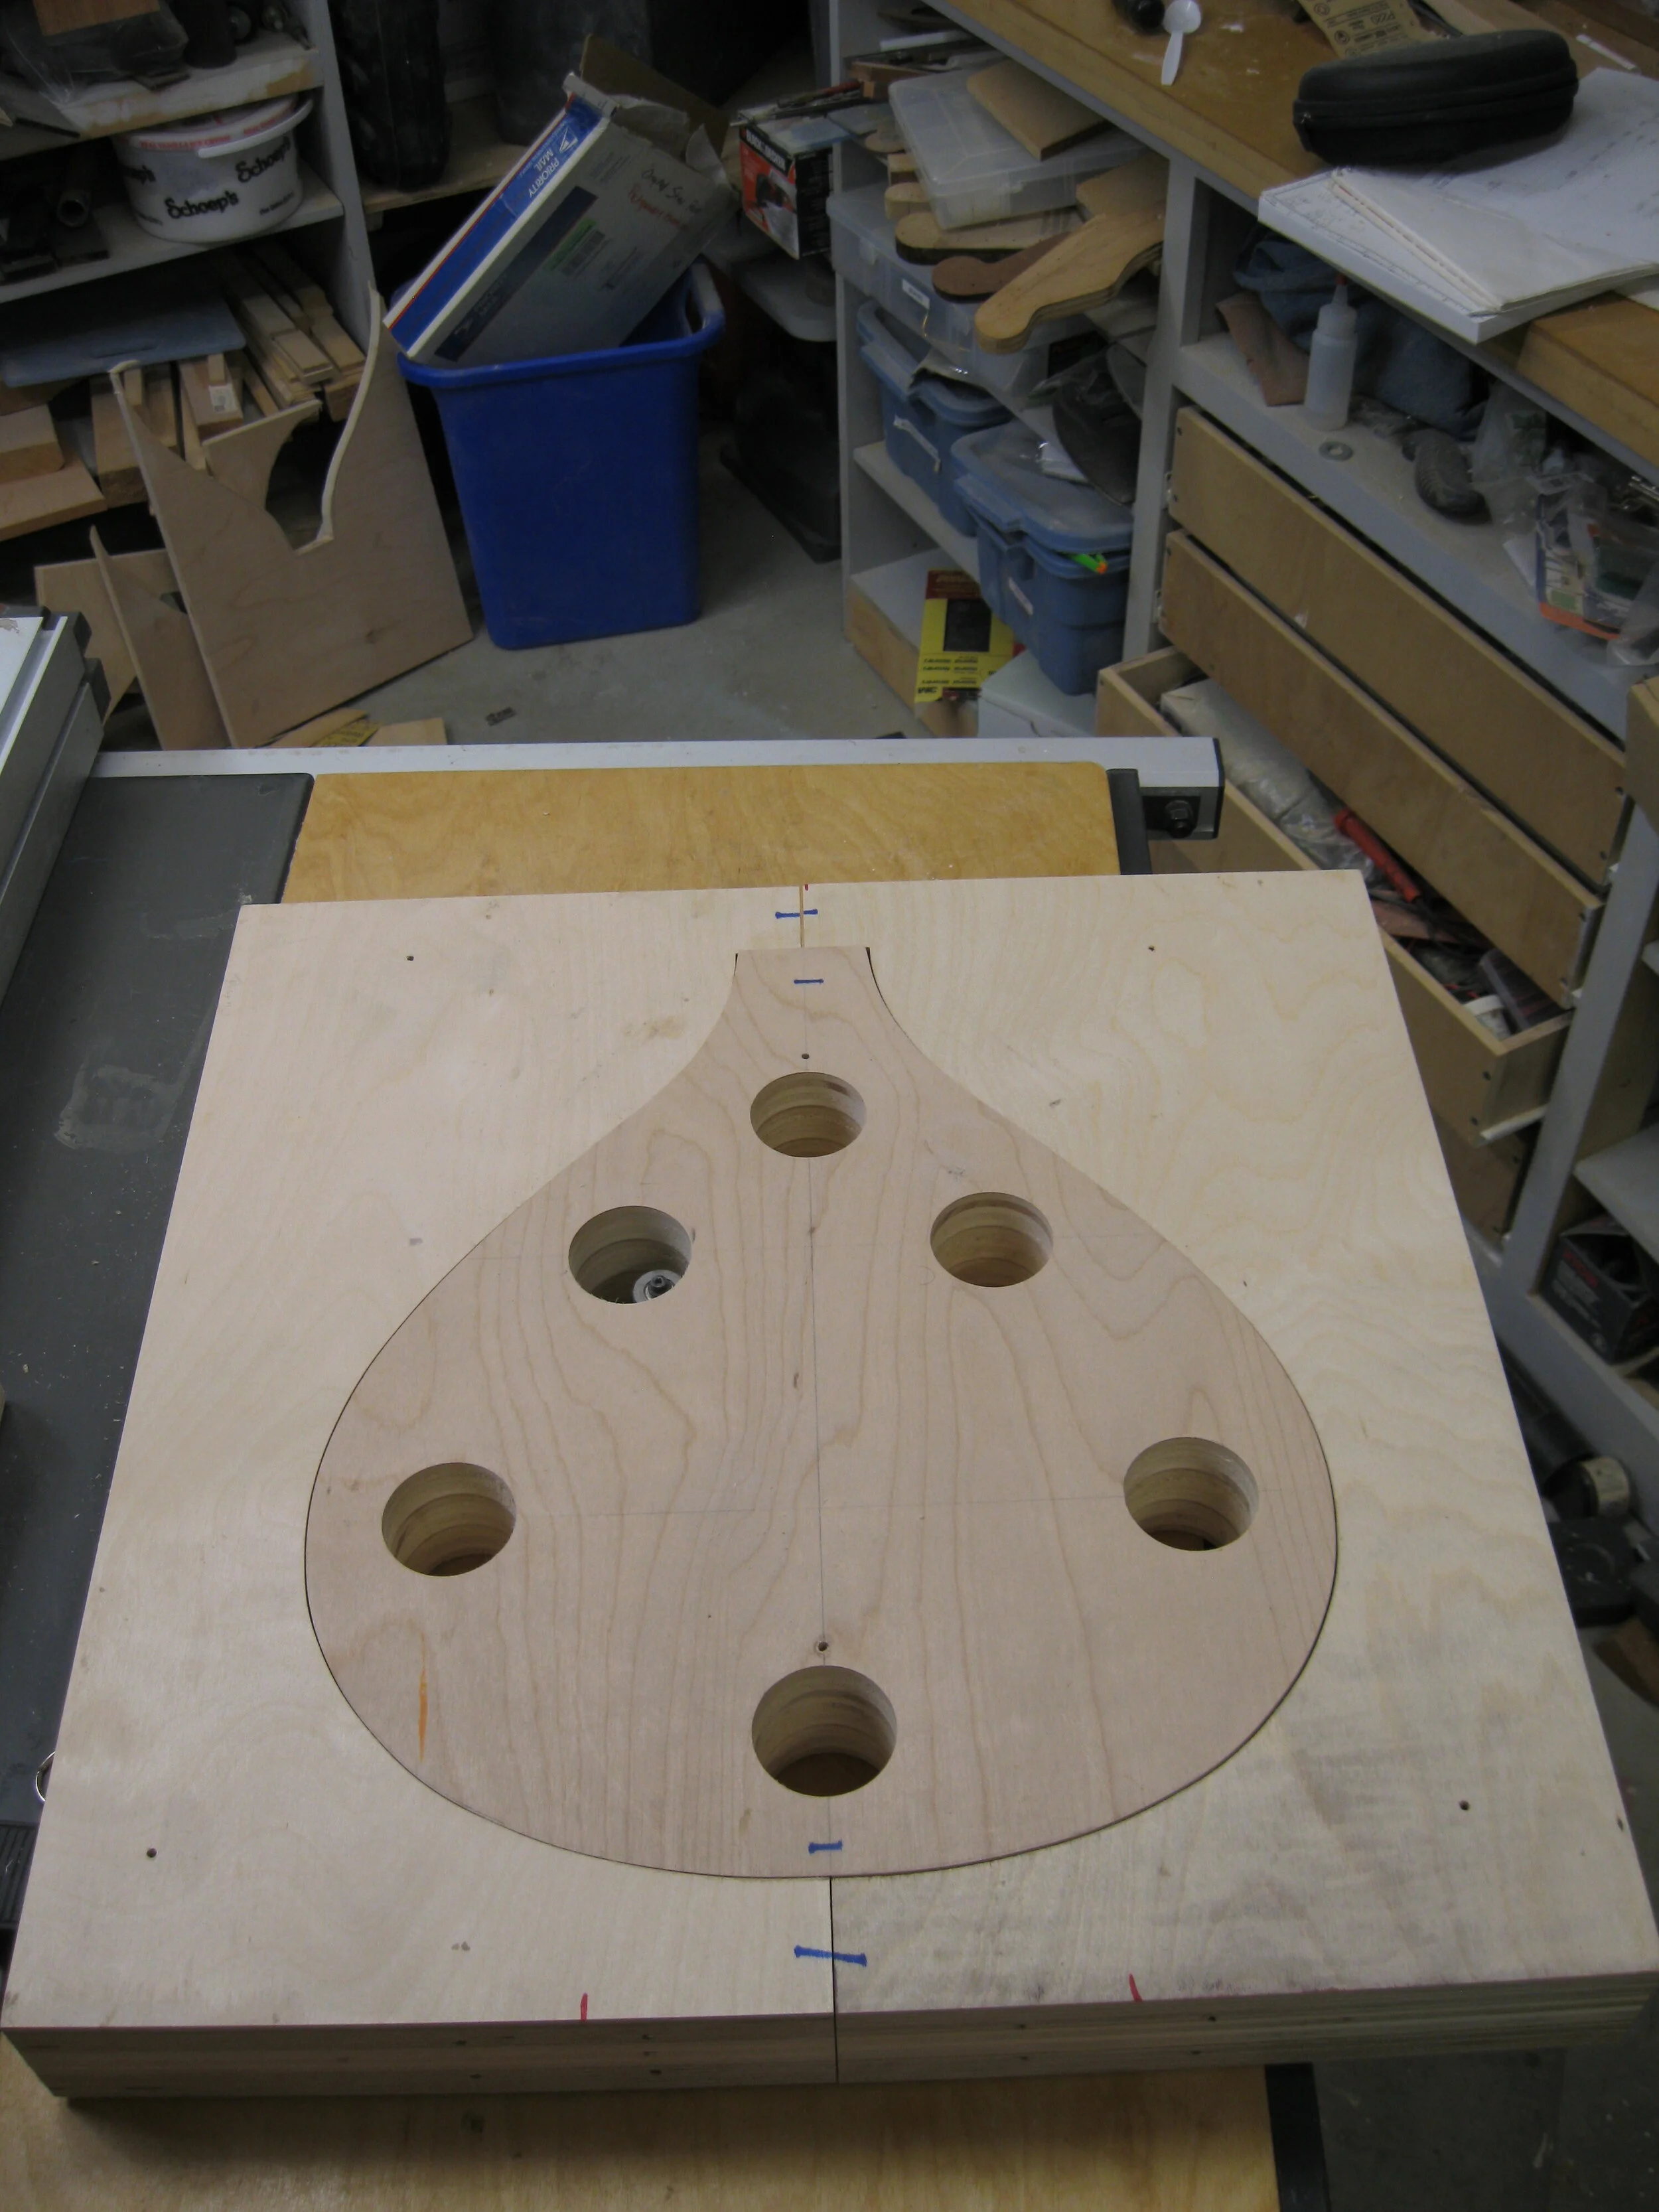
We use the templates to make male and female versions of the template out of birch plywood. These will be our working molds.
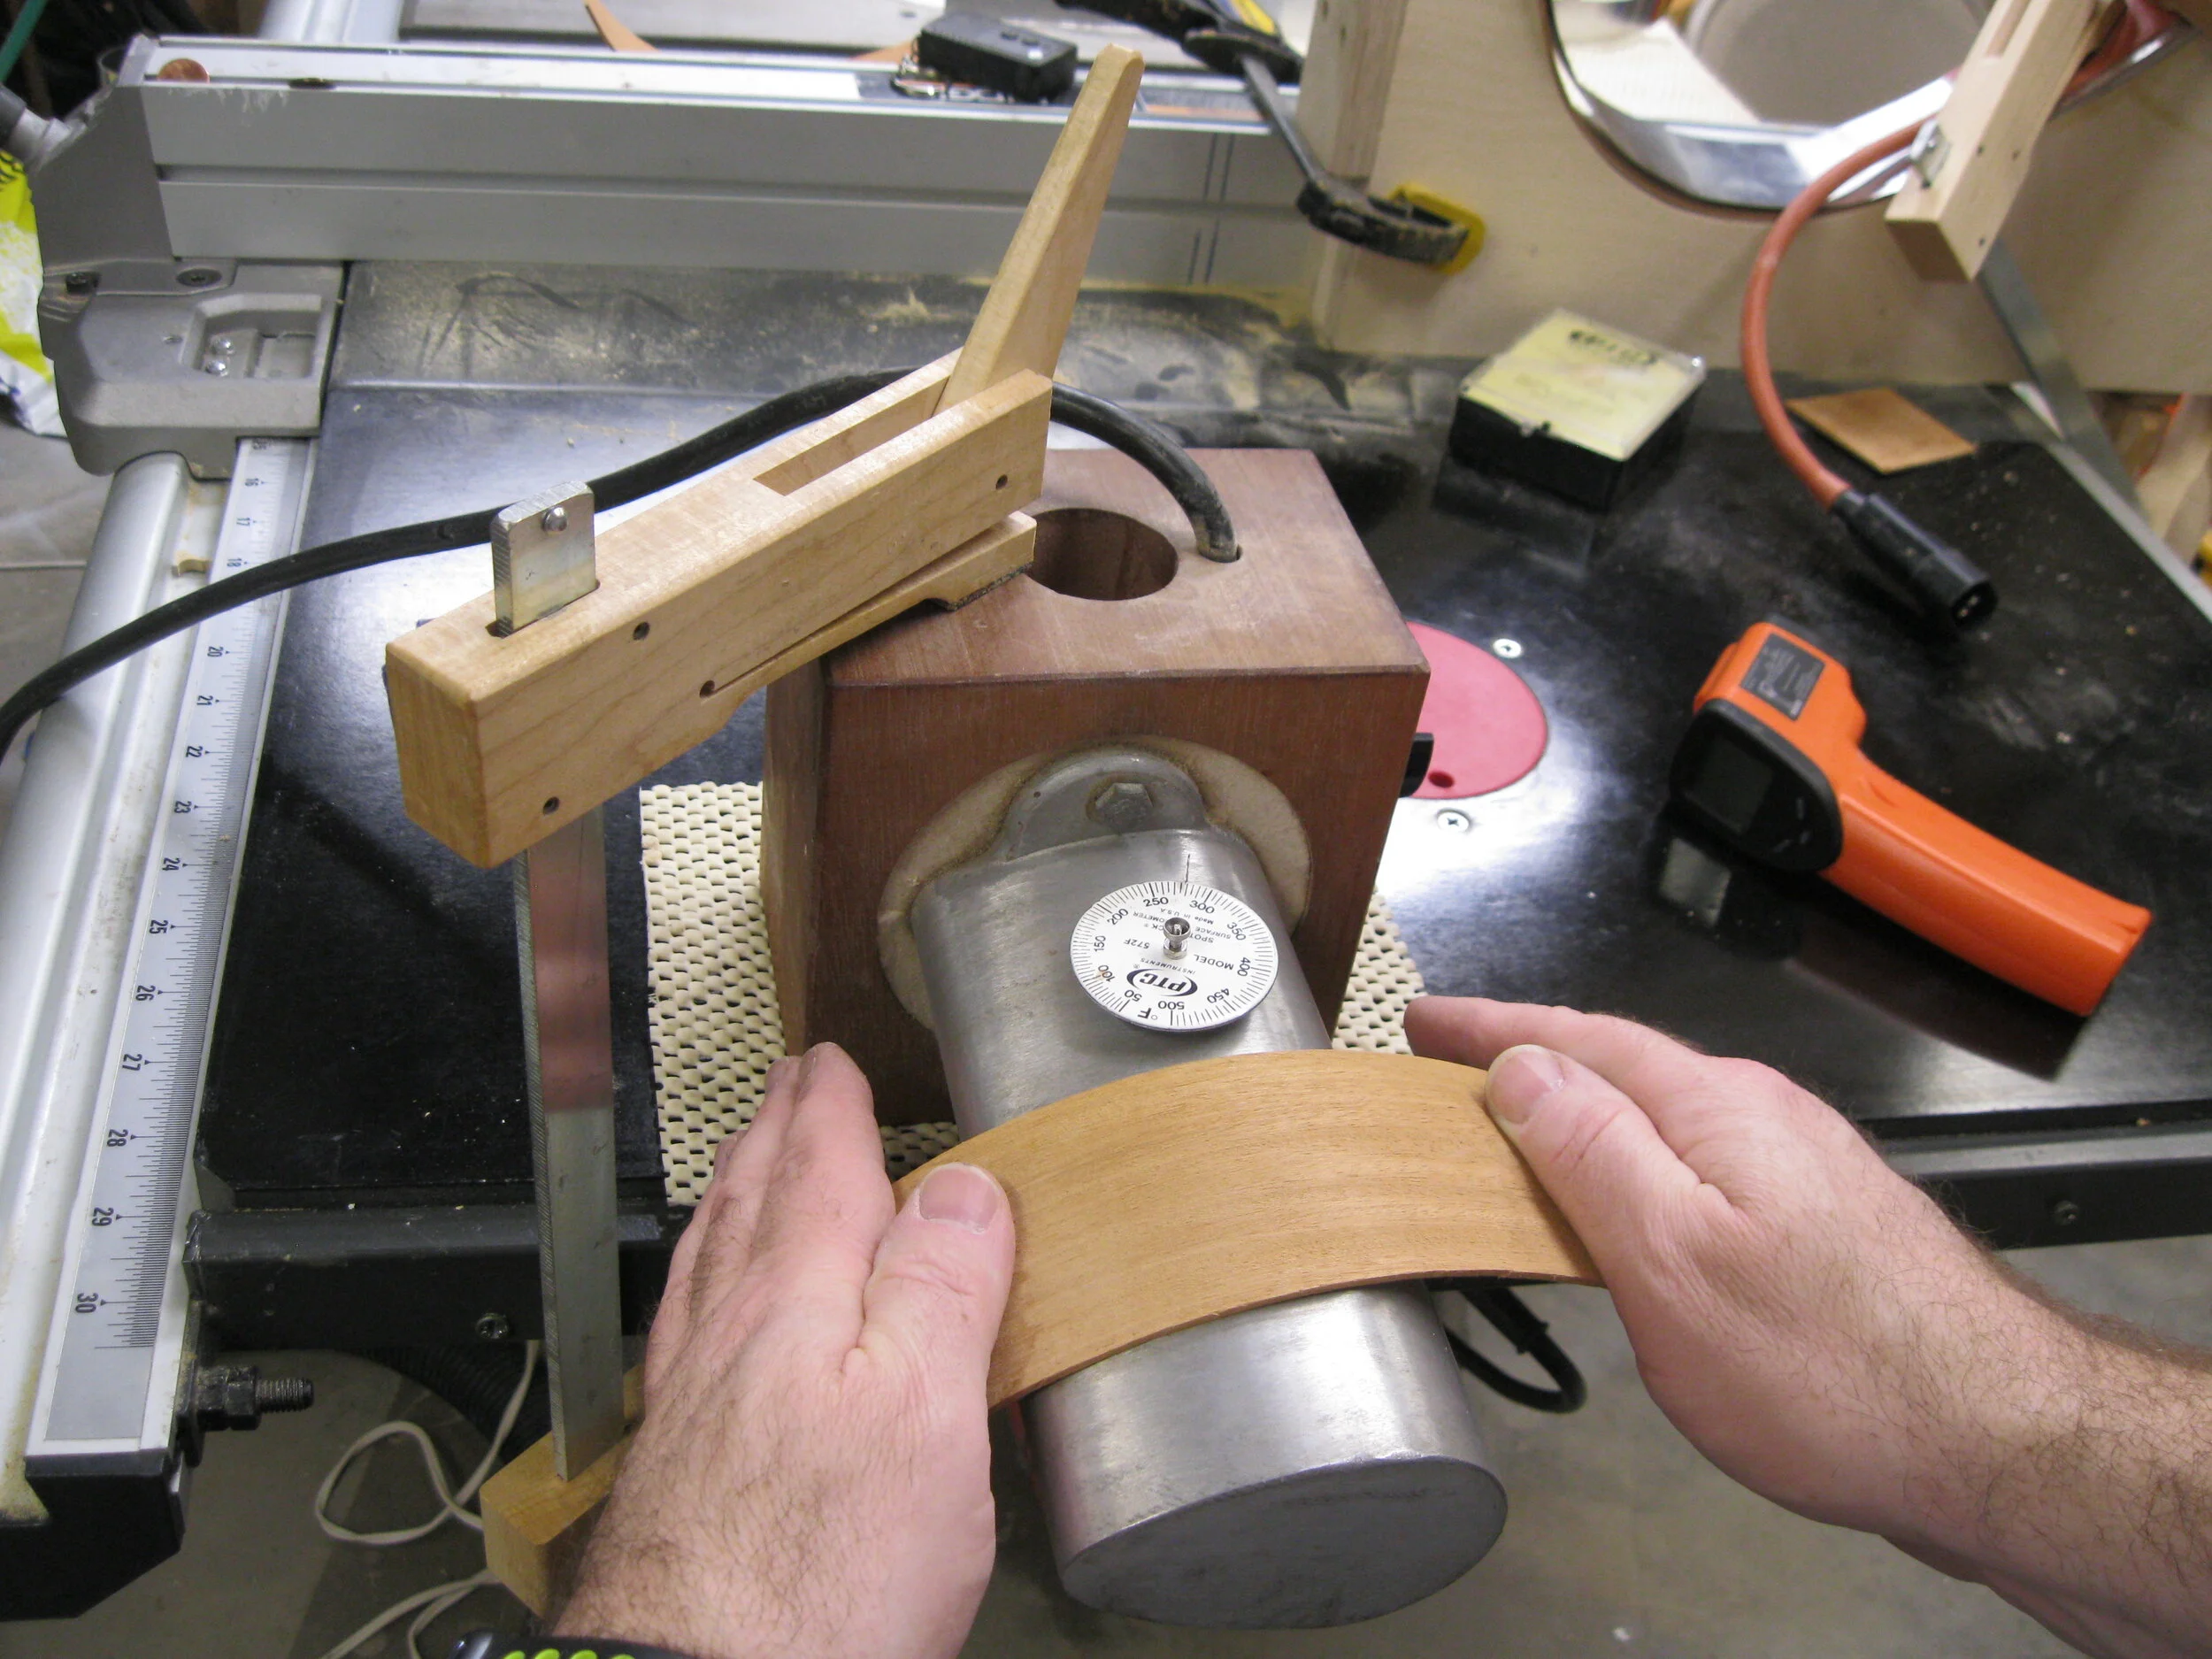
The mahogany sides are heated with a silicone blanket and bent around the body form.
After a lot of routing and shaping, we have a three-piece jigsaw puzzle consisting of a body form and body mold..
We touch up the bends on a hot pipe.
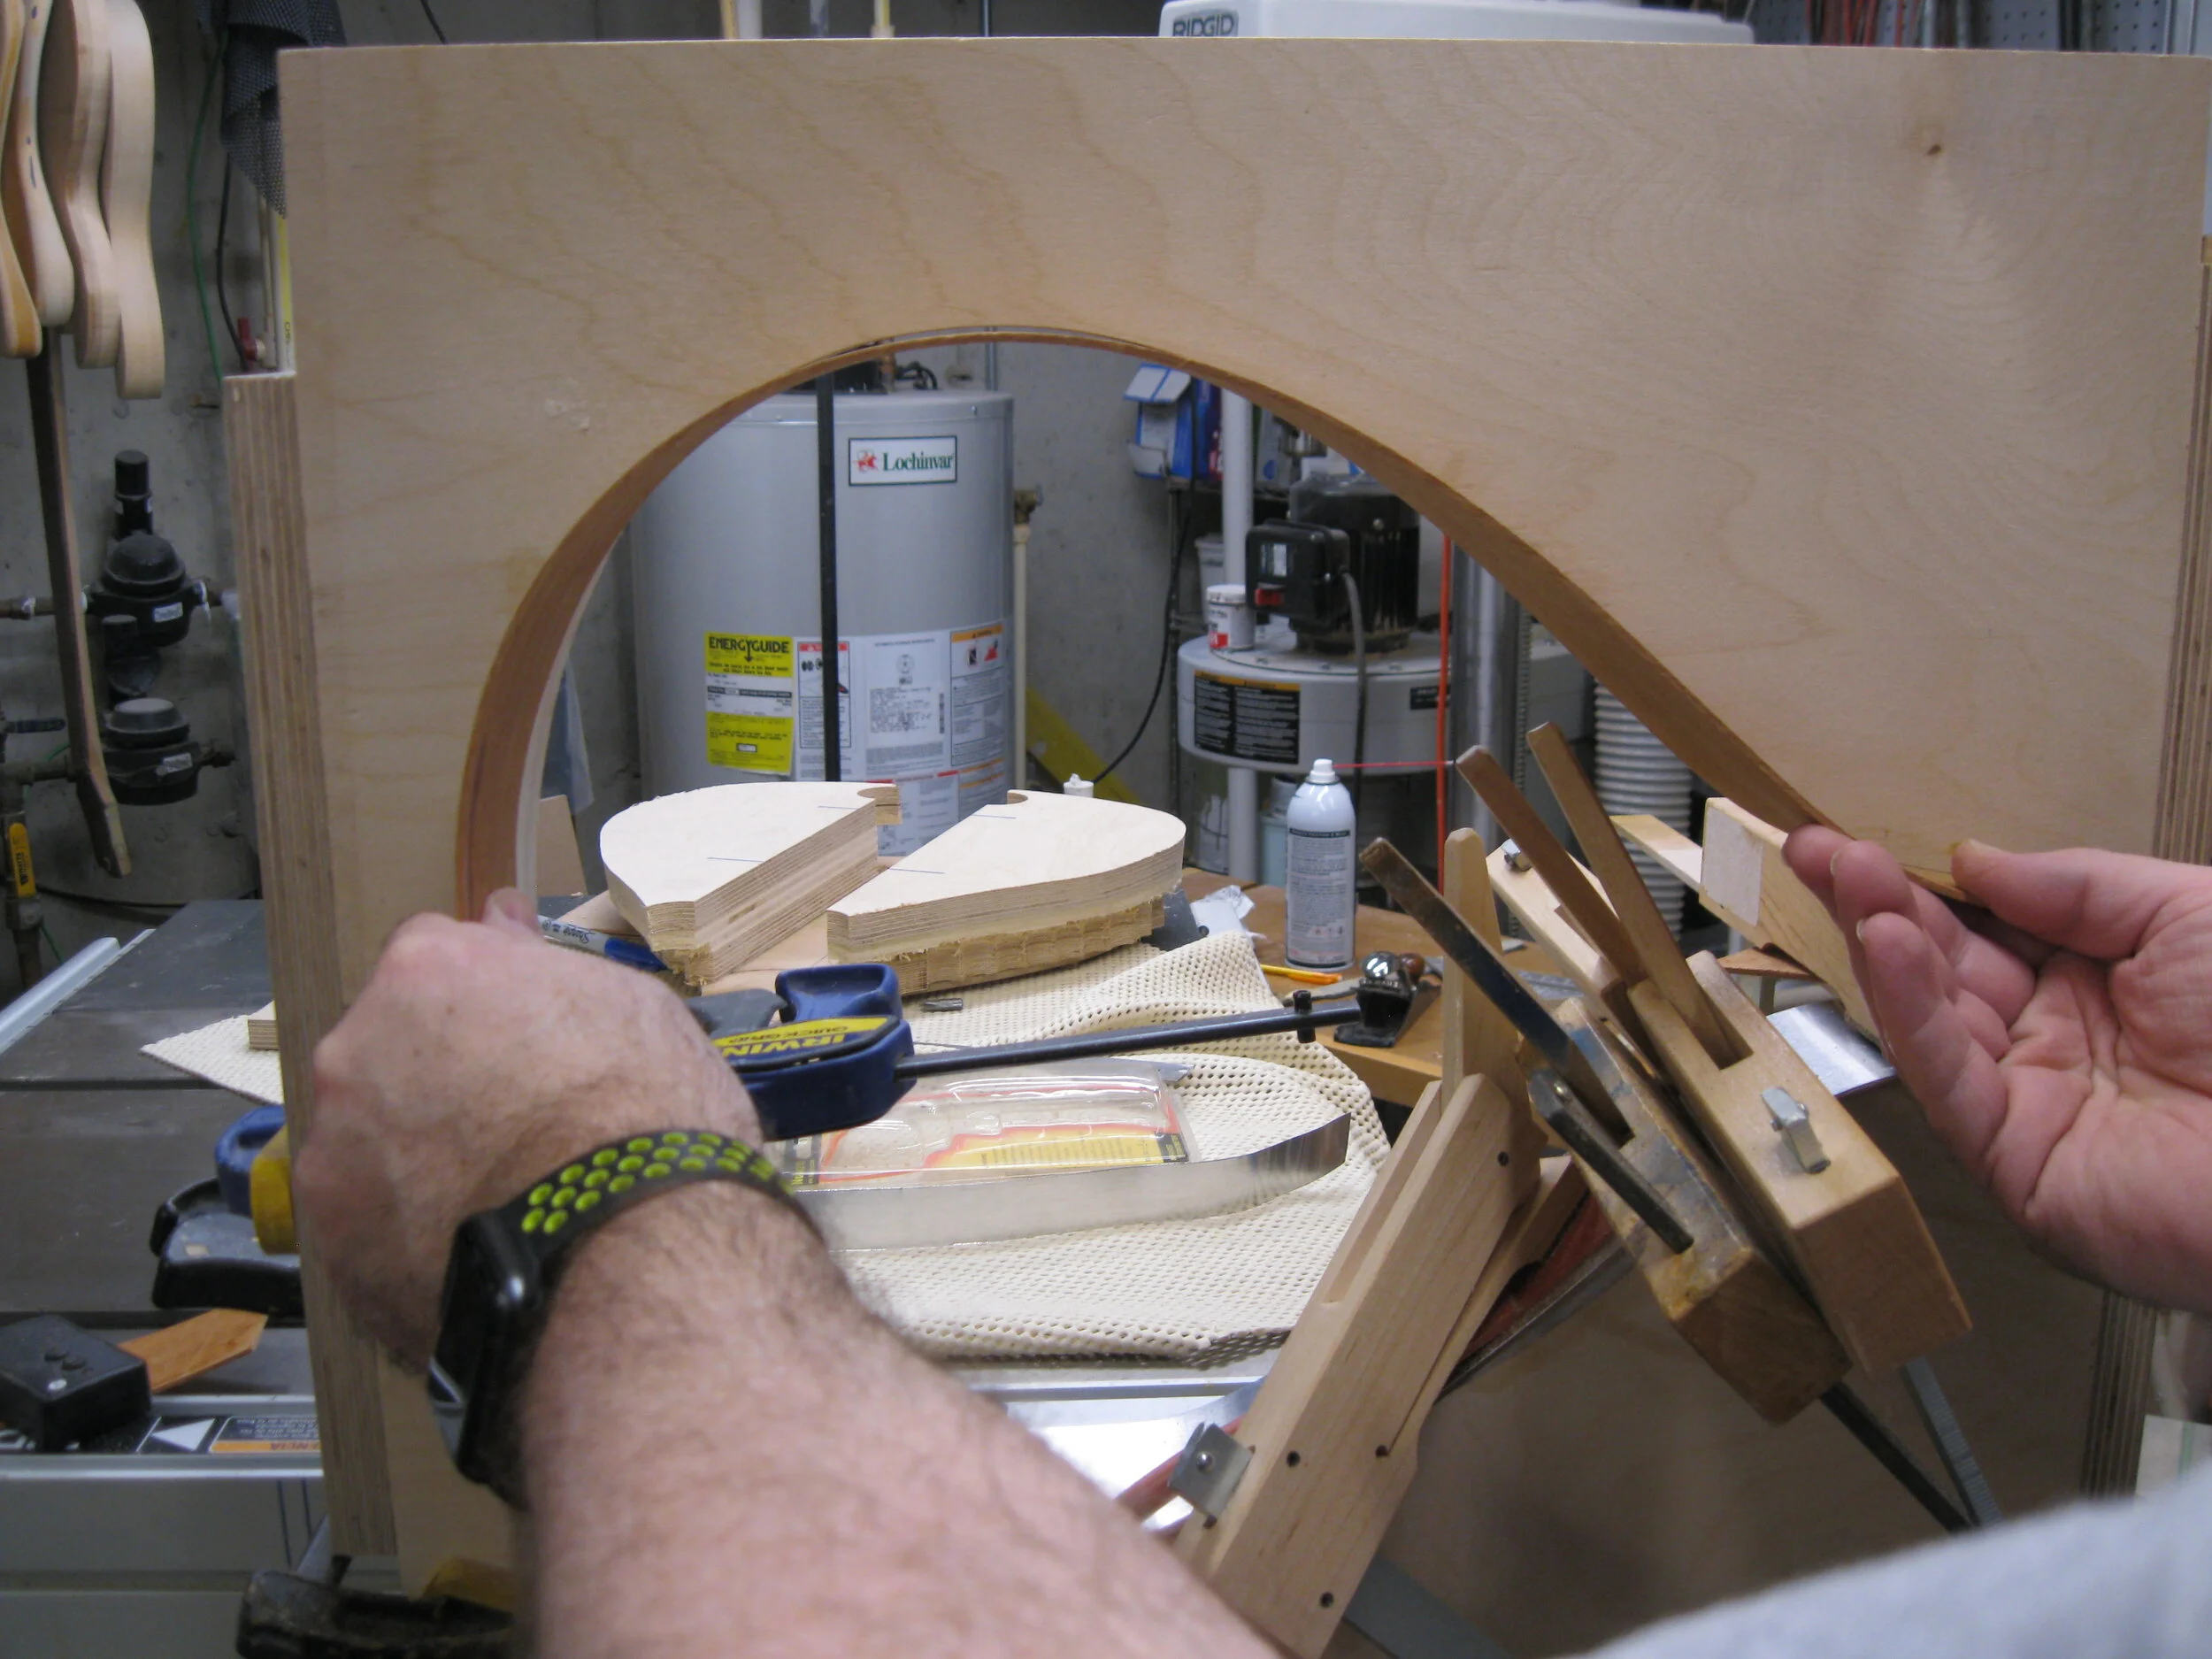
. . . and fit them into the body mold.
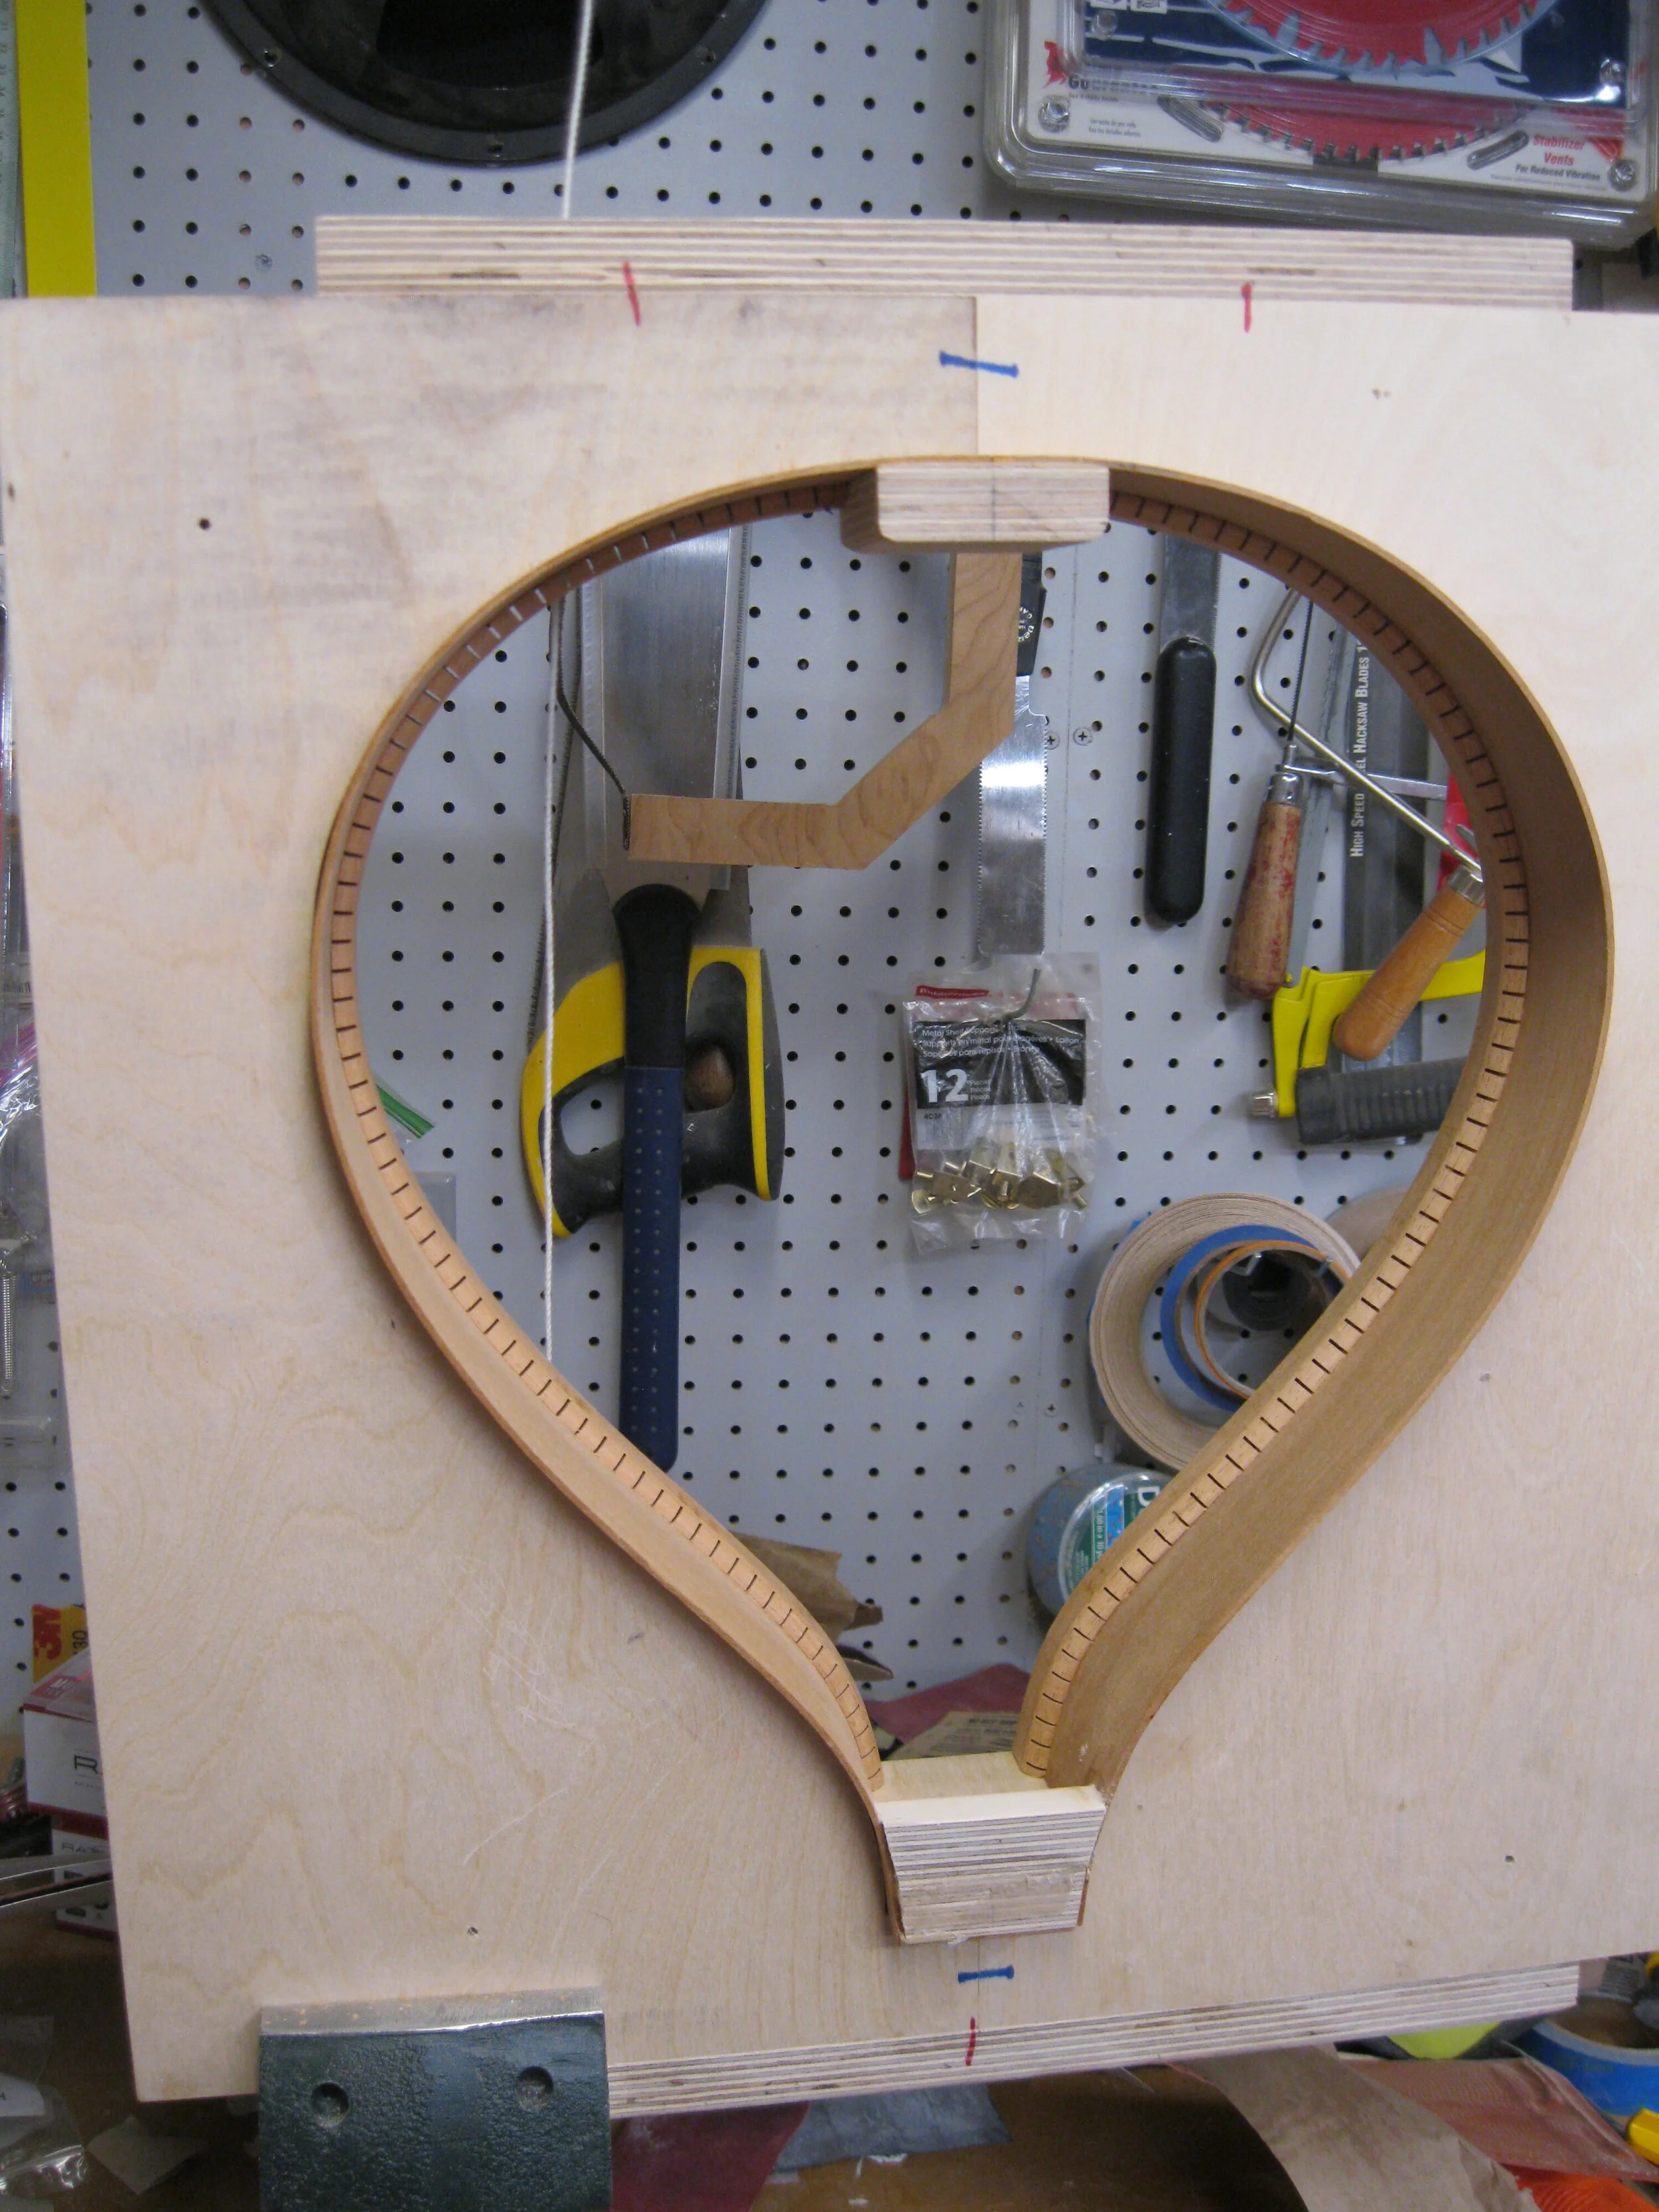
The headblock, tailblock, and back linings are installed. The headblock has an extra foot to support the fingerboard extension.
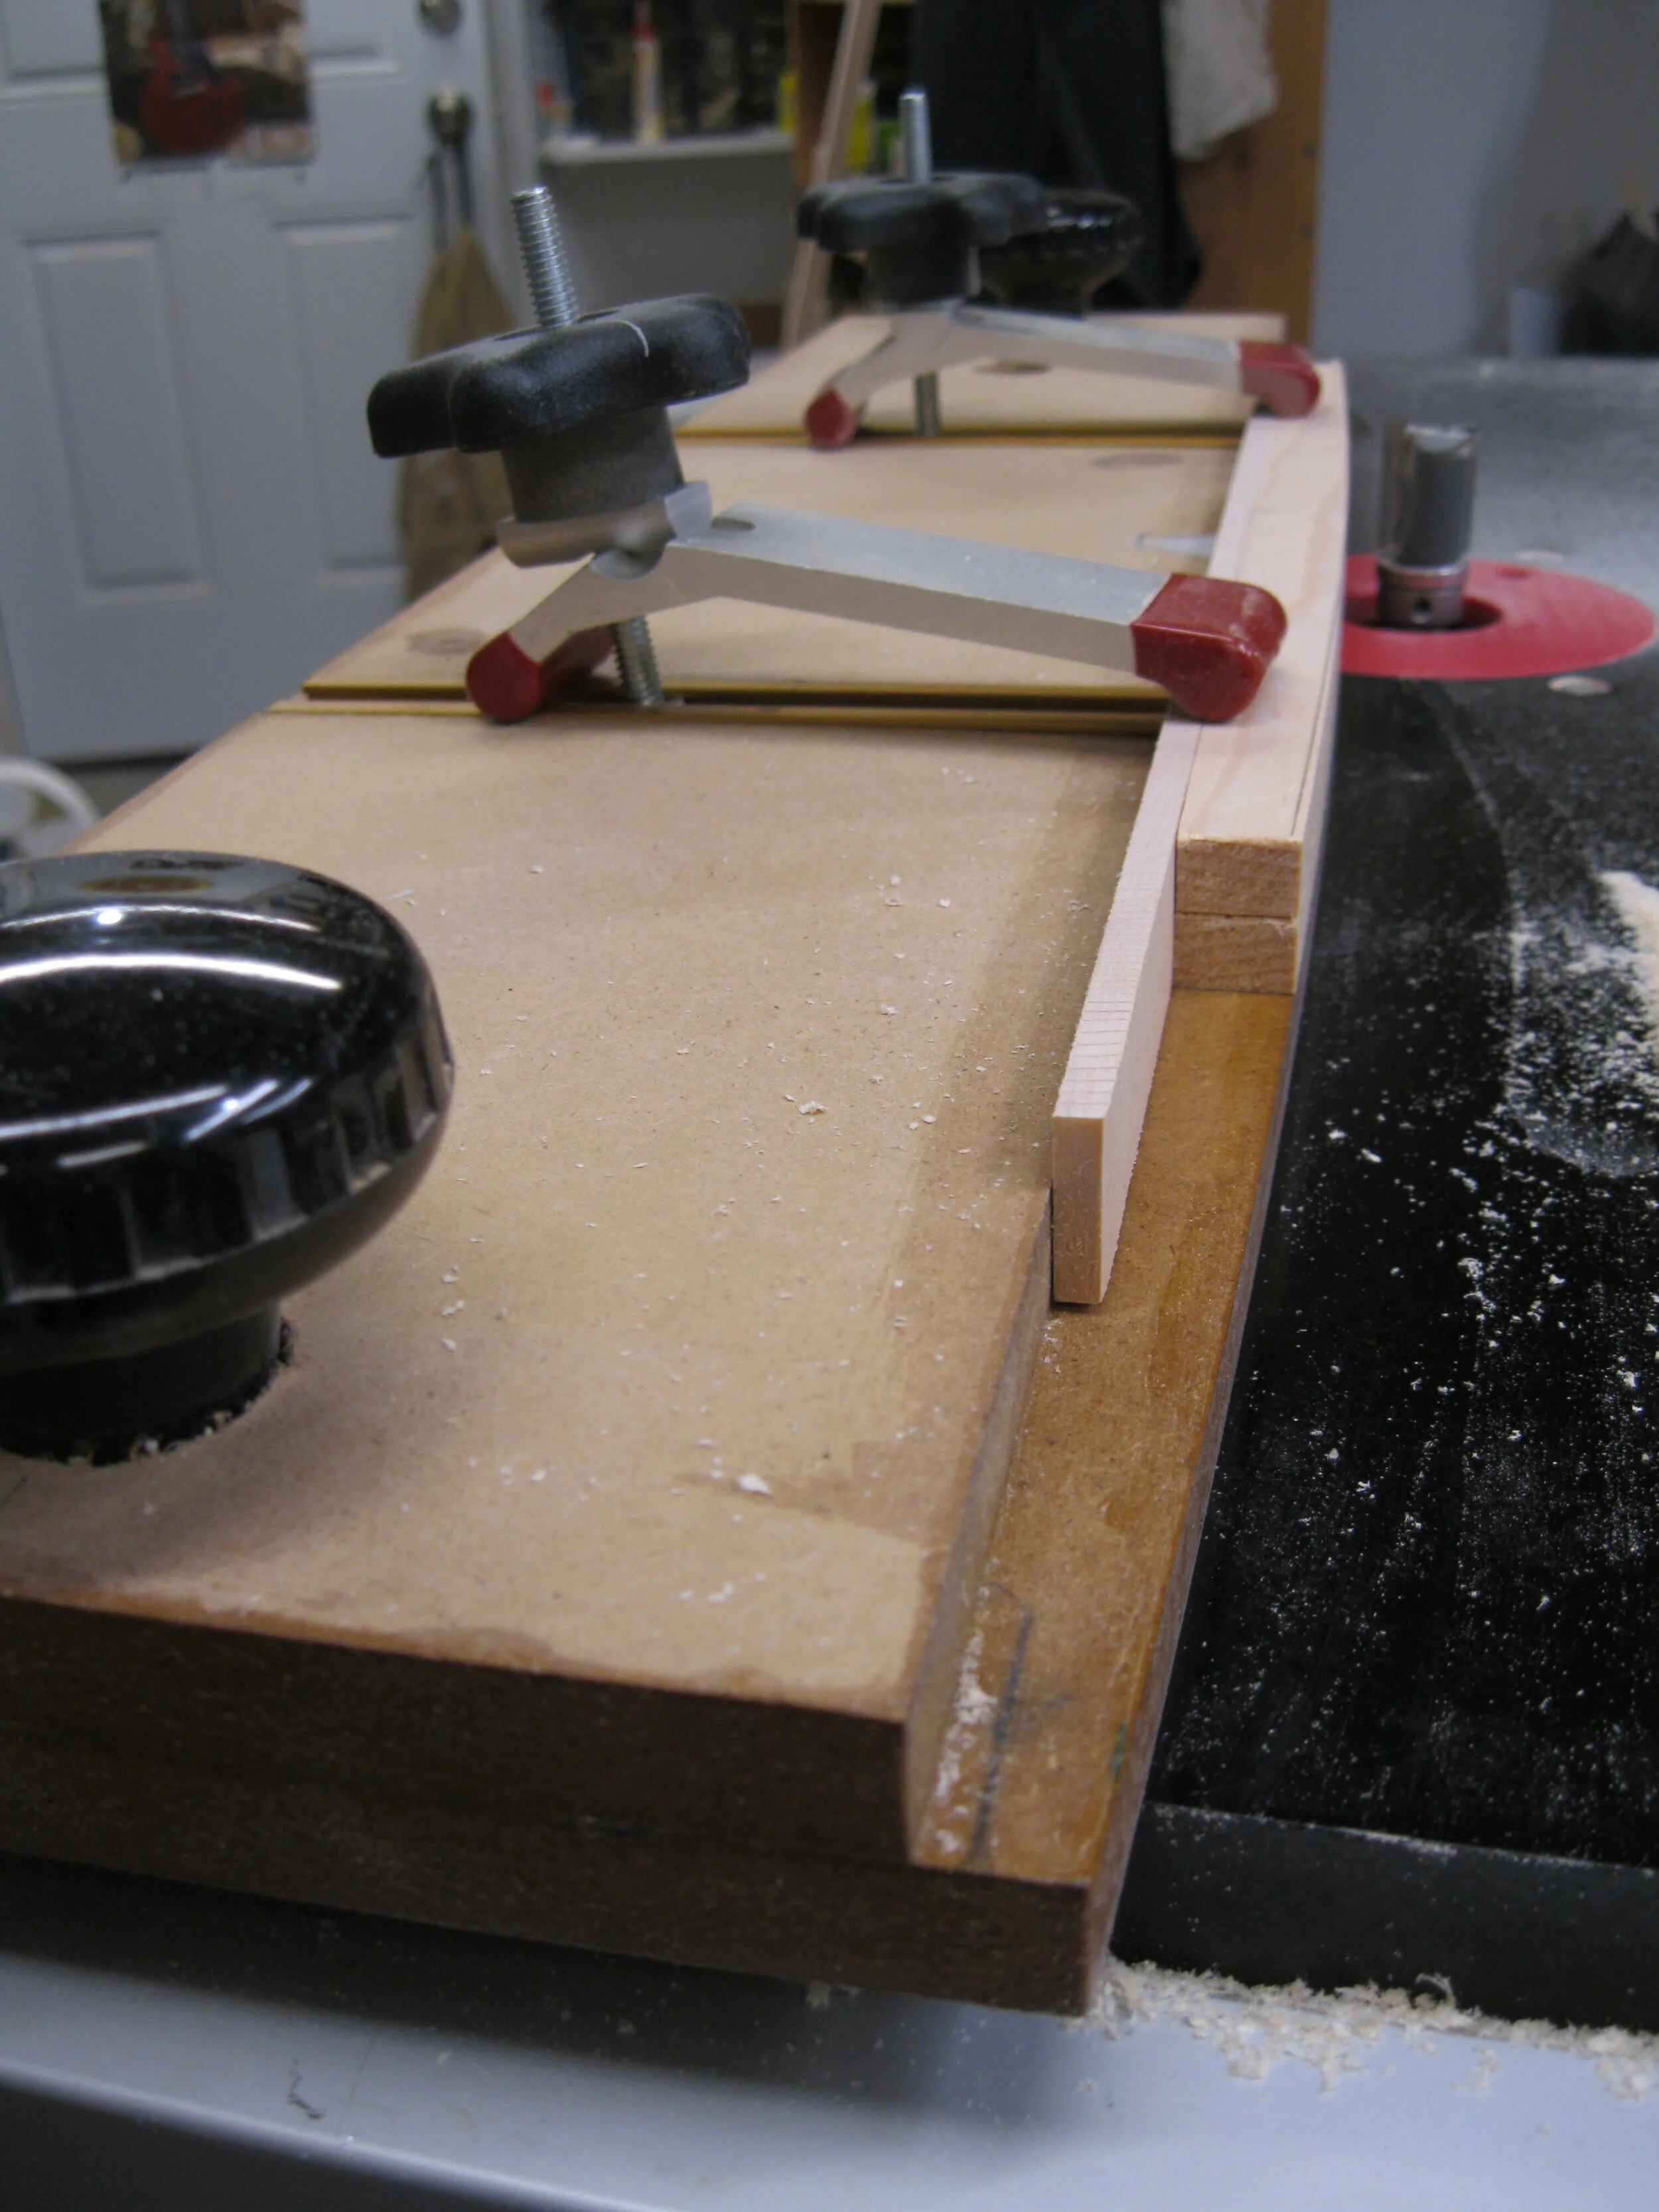
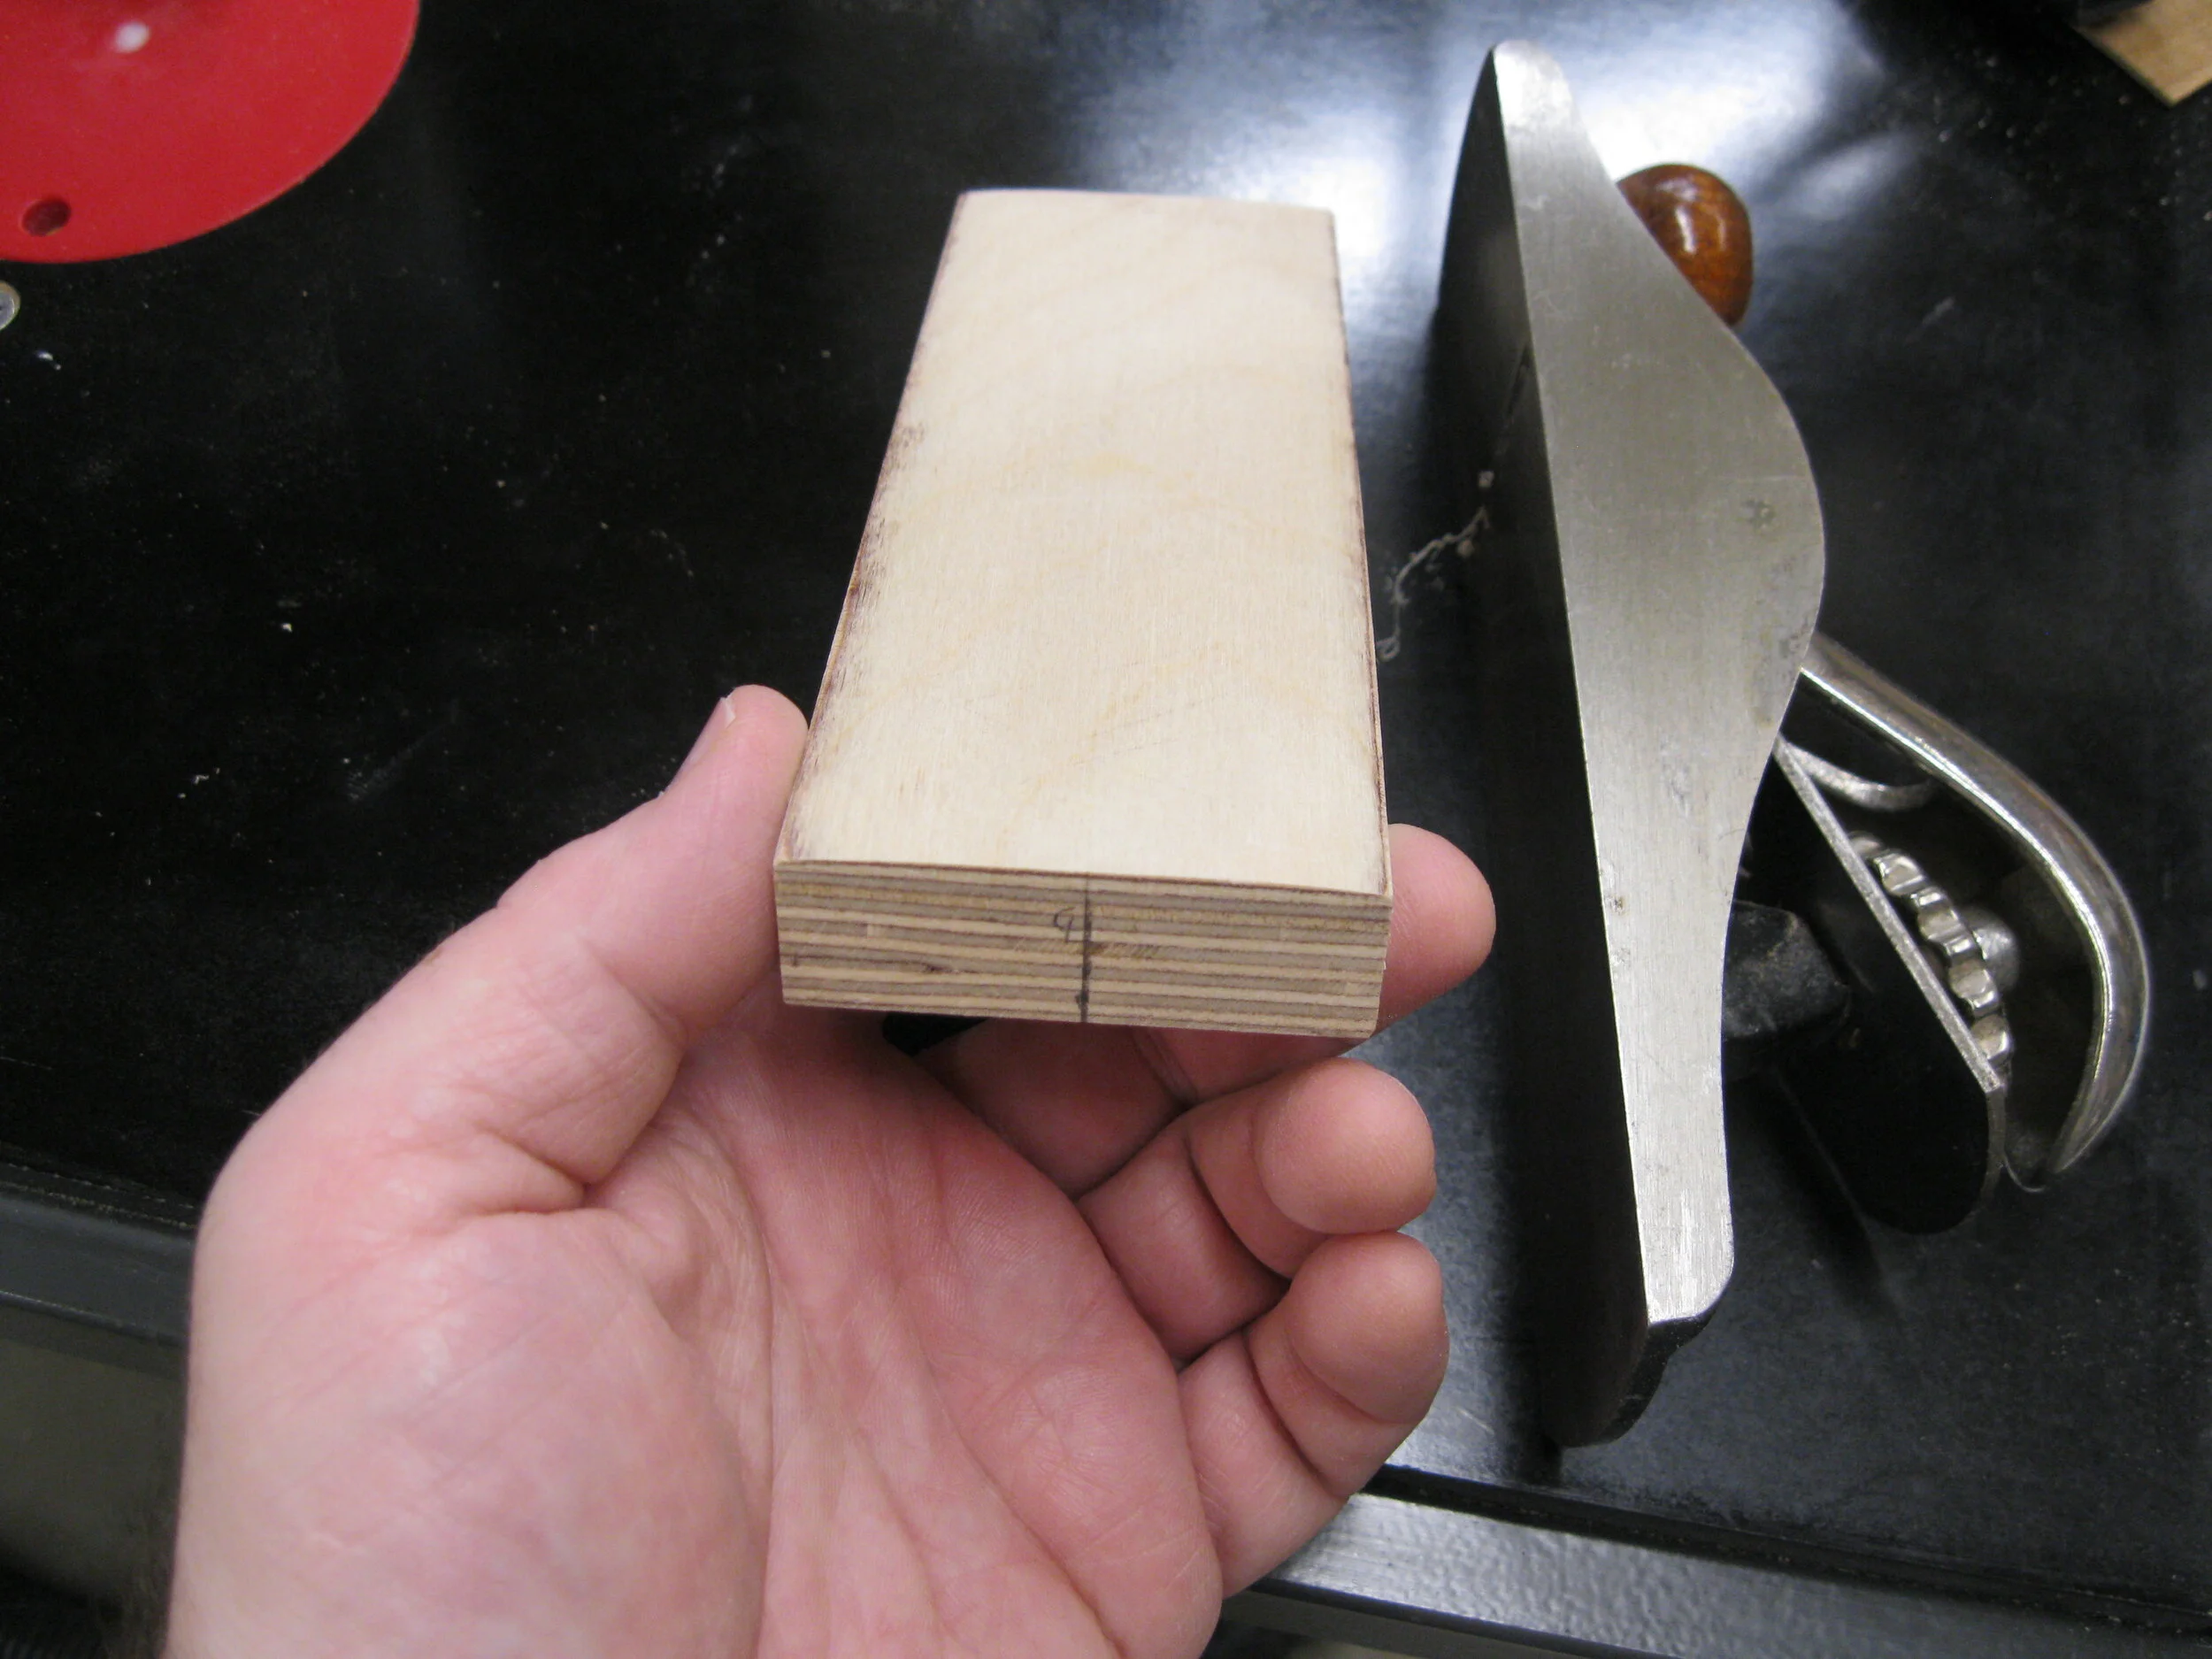
The shooting board prepares the edges of the back for jointing.
This jig lets me cut a 15-foot radius into the back braces. I just true them up on my hollow form (a big dish with — you guessed it — a 15-foot concave shape).
The tailblock and headlock are birch plywood. Though it seems like an odd choice in contrast with the body’s mahogany and spruce, plywood blocks provide cross-grain support to the sides and will never split when we install an endpin.
Gluing the linings into the top. The linings stiffen the ribs and provide a gluing surface for the top and back plates.
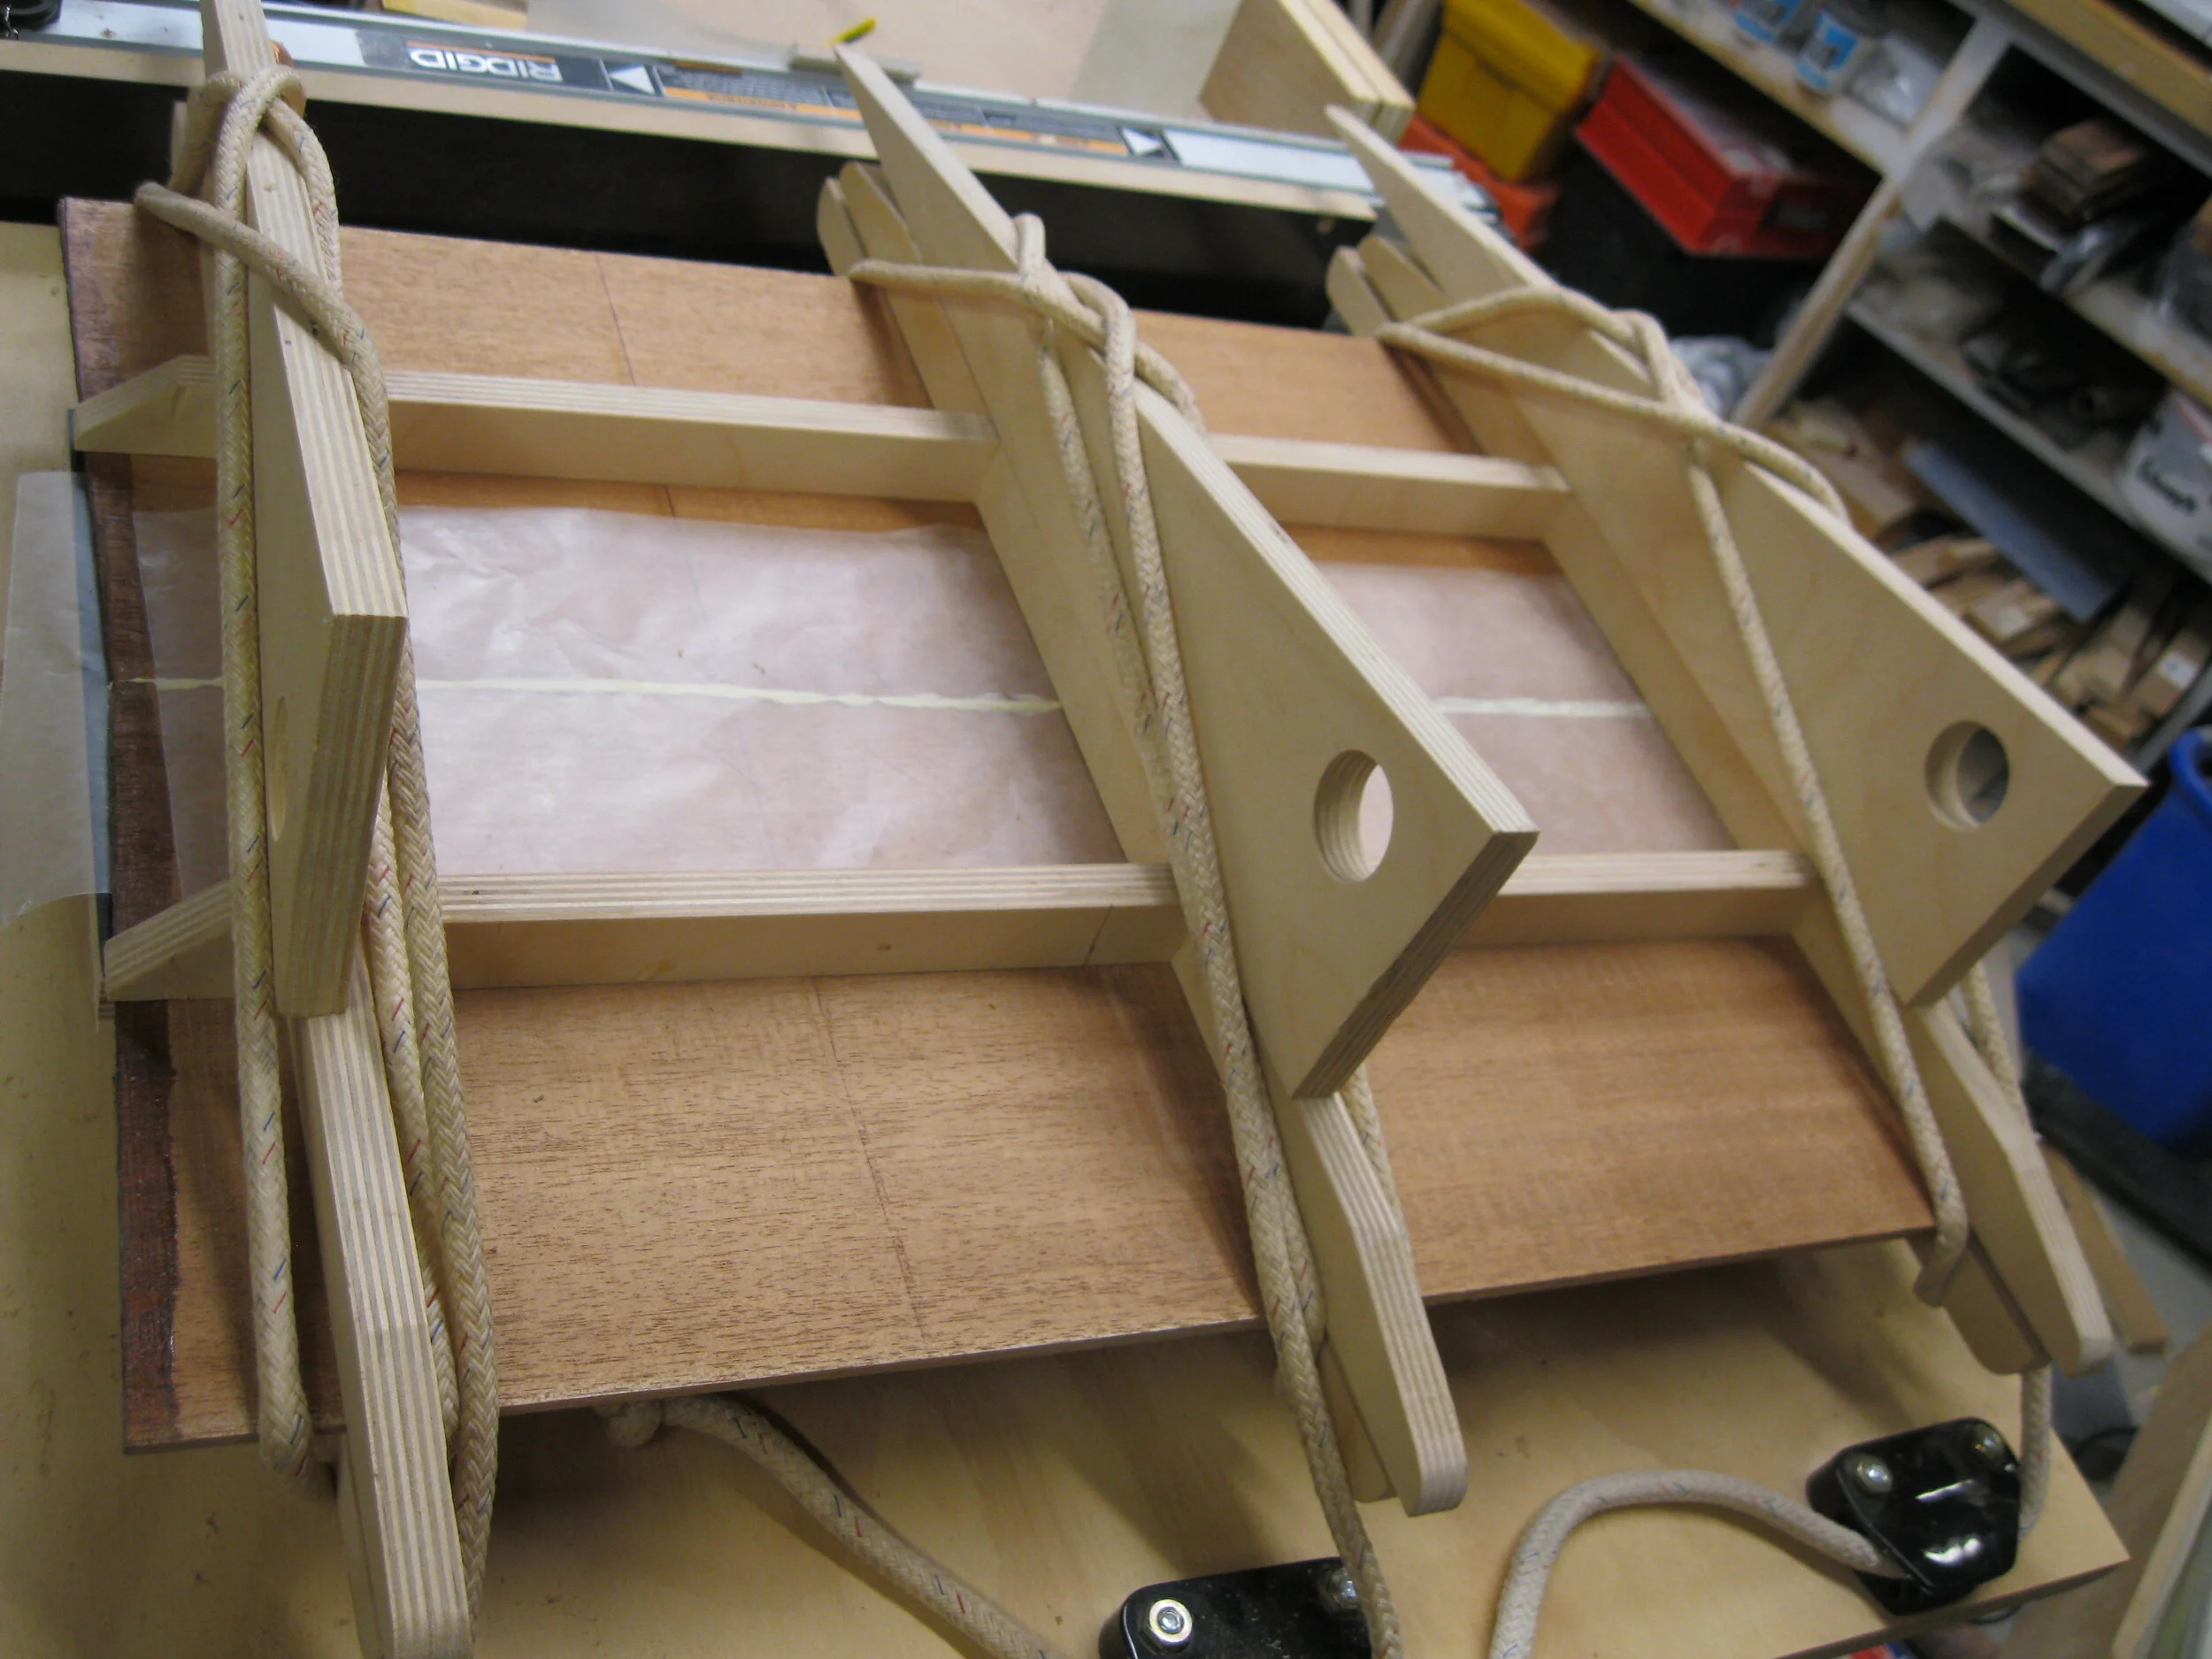
The back plates are joined with ropes and wedges. Very old school.
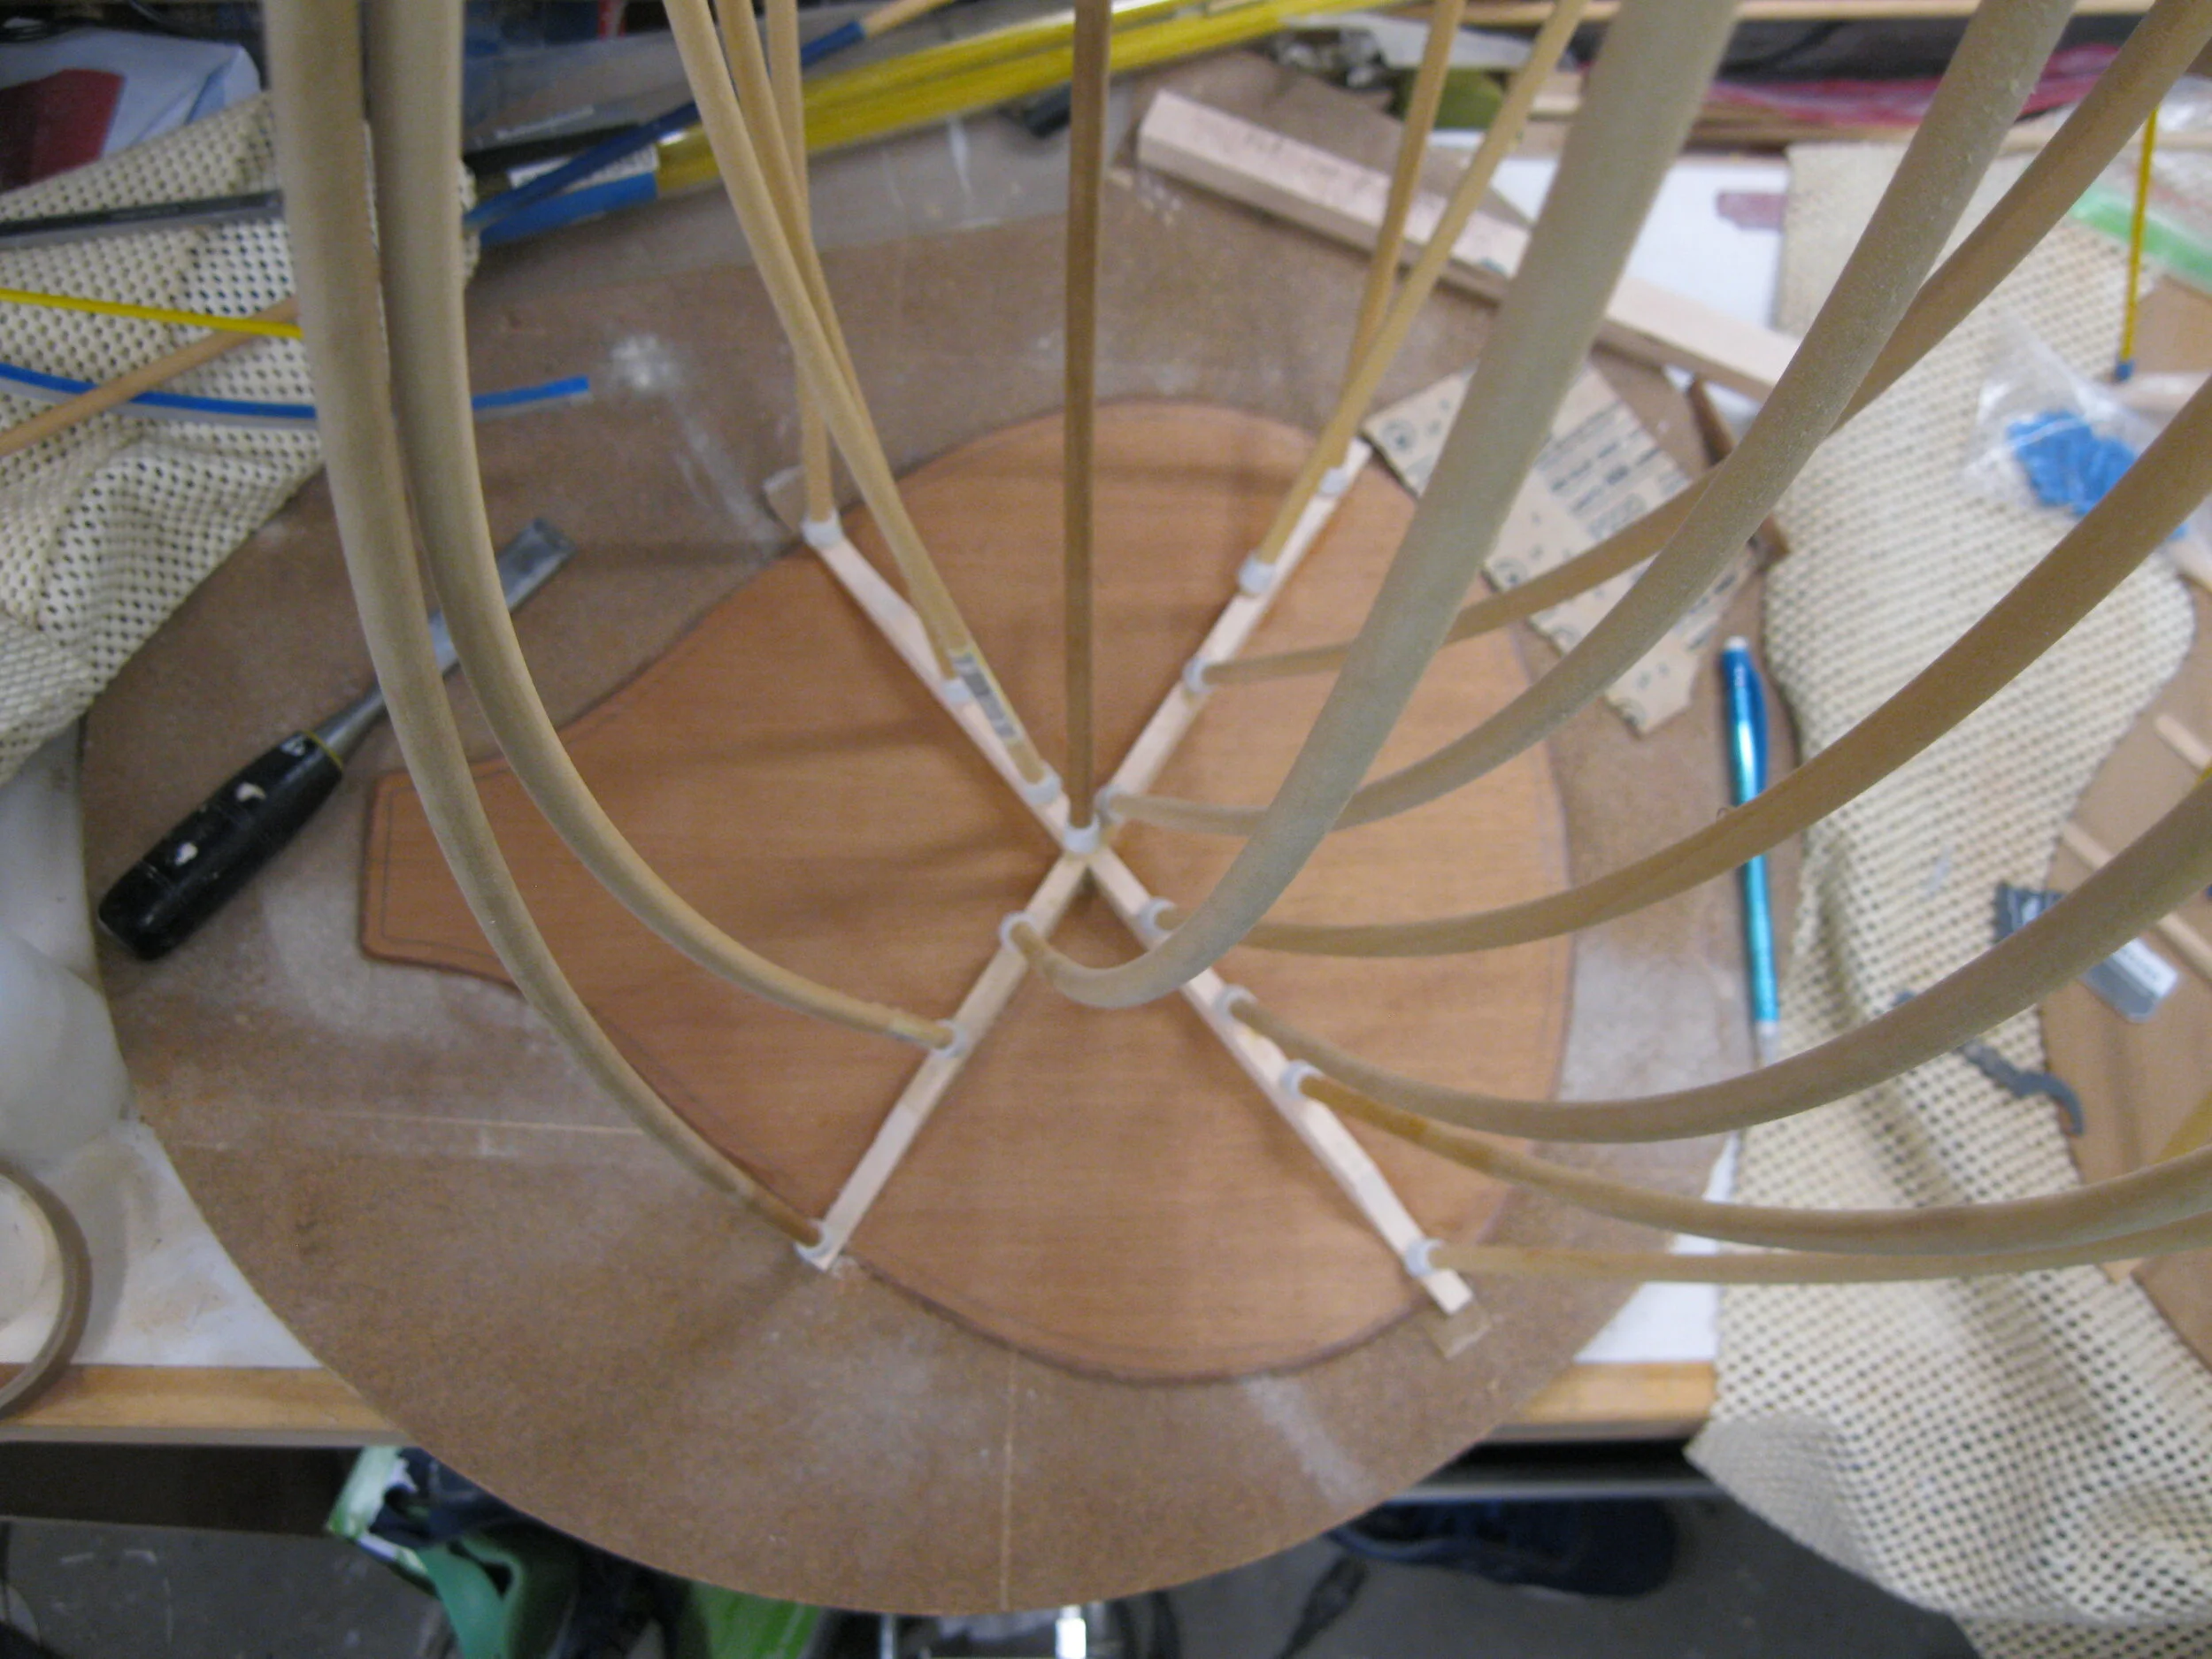
The braces are cut for a half-lap joint and glued to the back in my hollow form. The sticks you see here are part of my go-bar deck: instead of clamping the braces in place, rods are wedged in between the braces and an upper deck to provide even pressure.
As an added bonus, with no clamps in the way, cleaning up glue squeeze-out is simple: take a leftover straw from your last trip to Culver’s, cut it at an angle, and slip it along the glue joint. The extra glue is pushed up into the straw with no muss and no fuss.
