New S-Type
I have a few projects going in the shop right now — several electrics and a couple of acoustics — but this one is for my cousin.
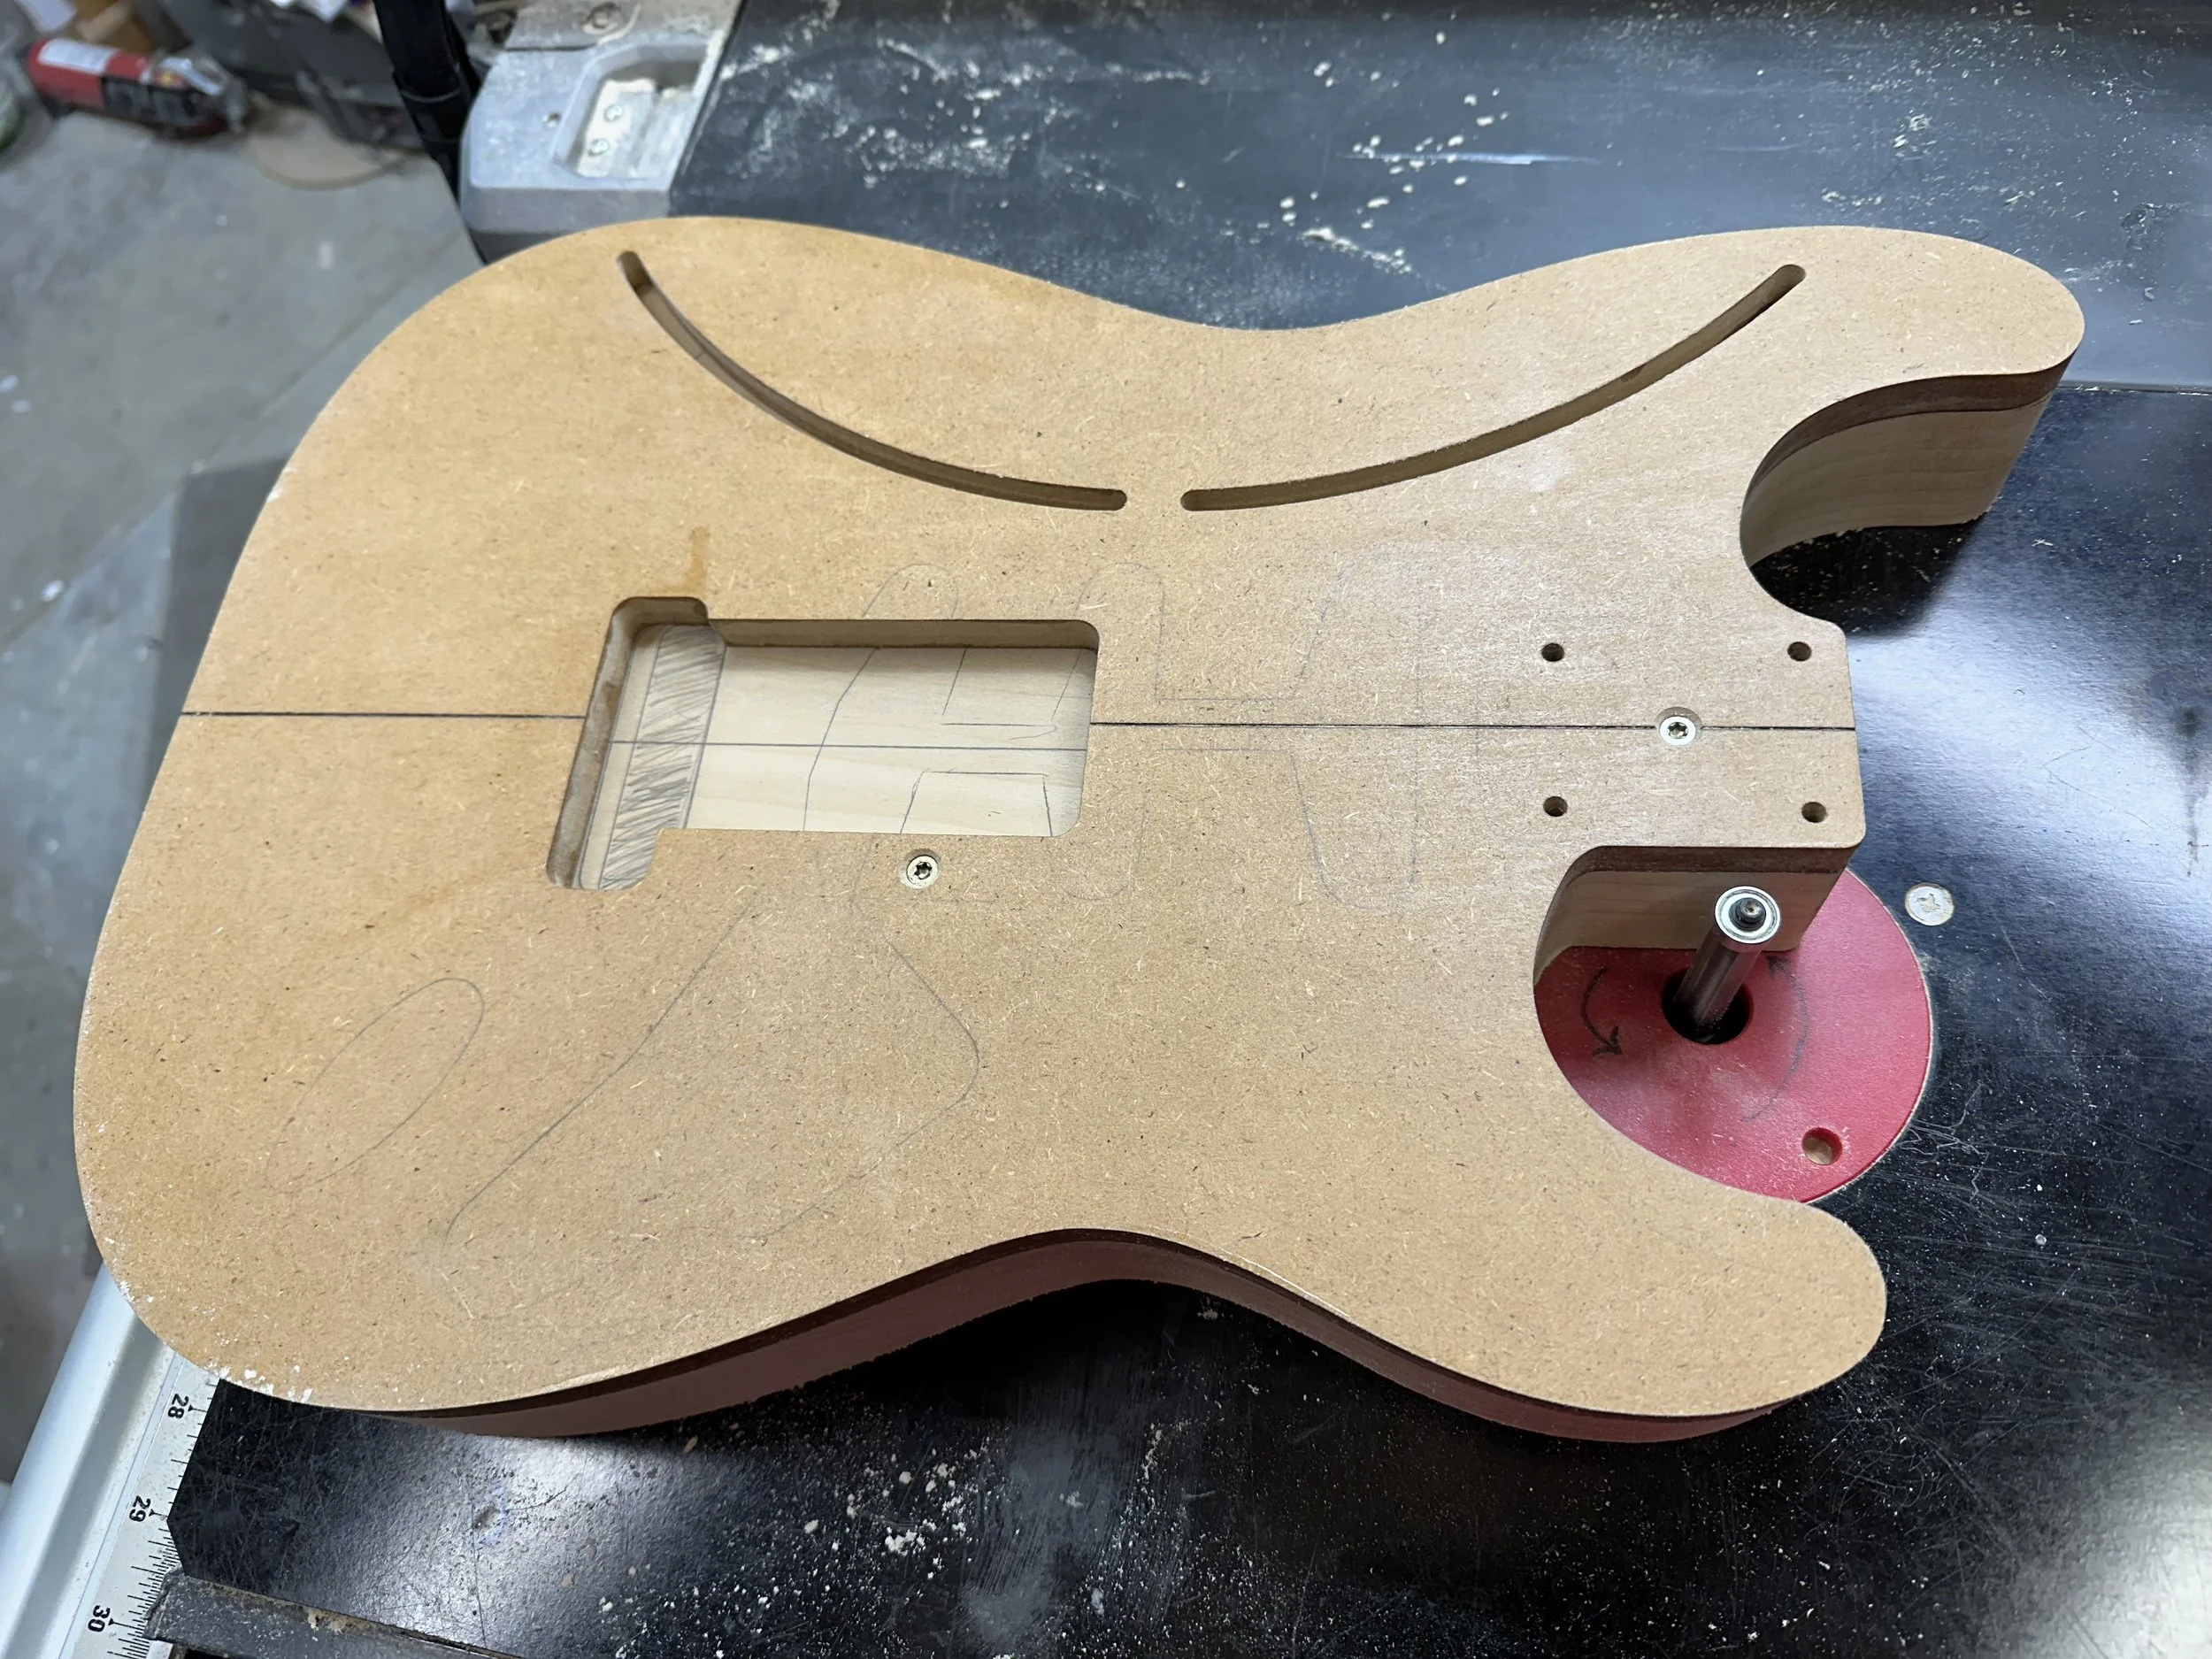
1. After marking out the body and rough cutting as close to the outline as possible, the body is shaped on the router table.
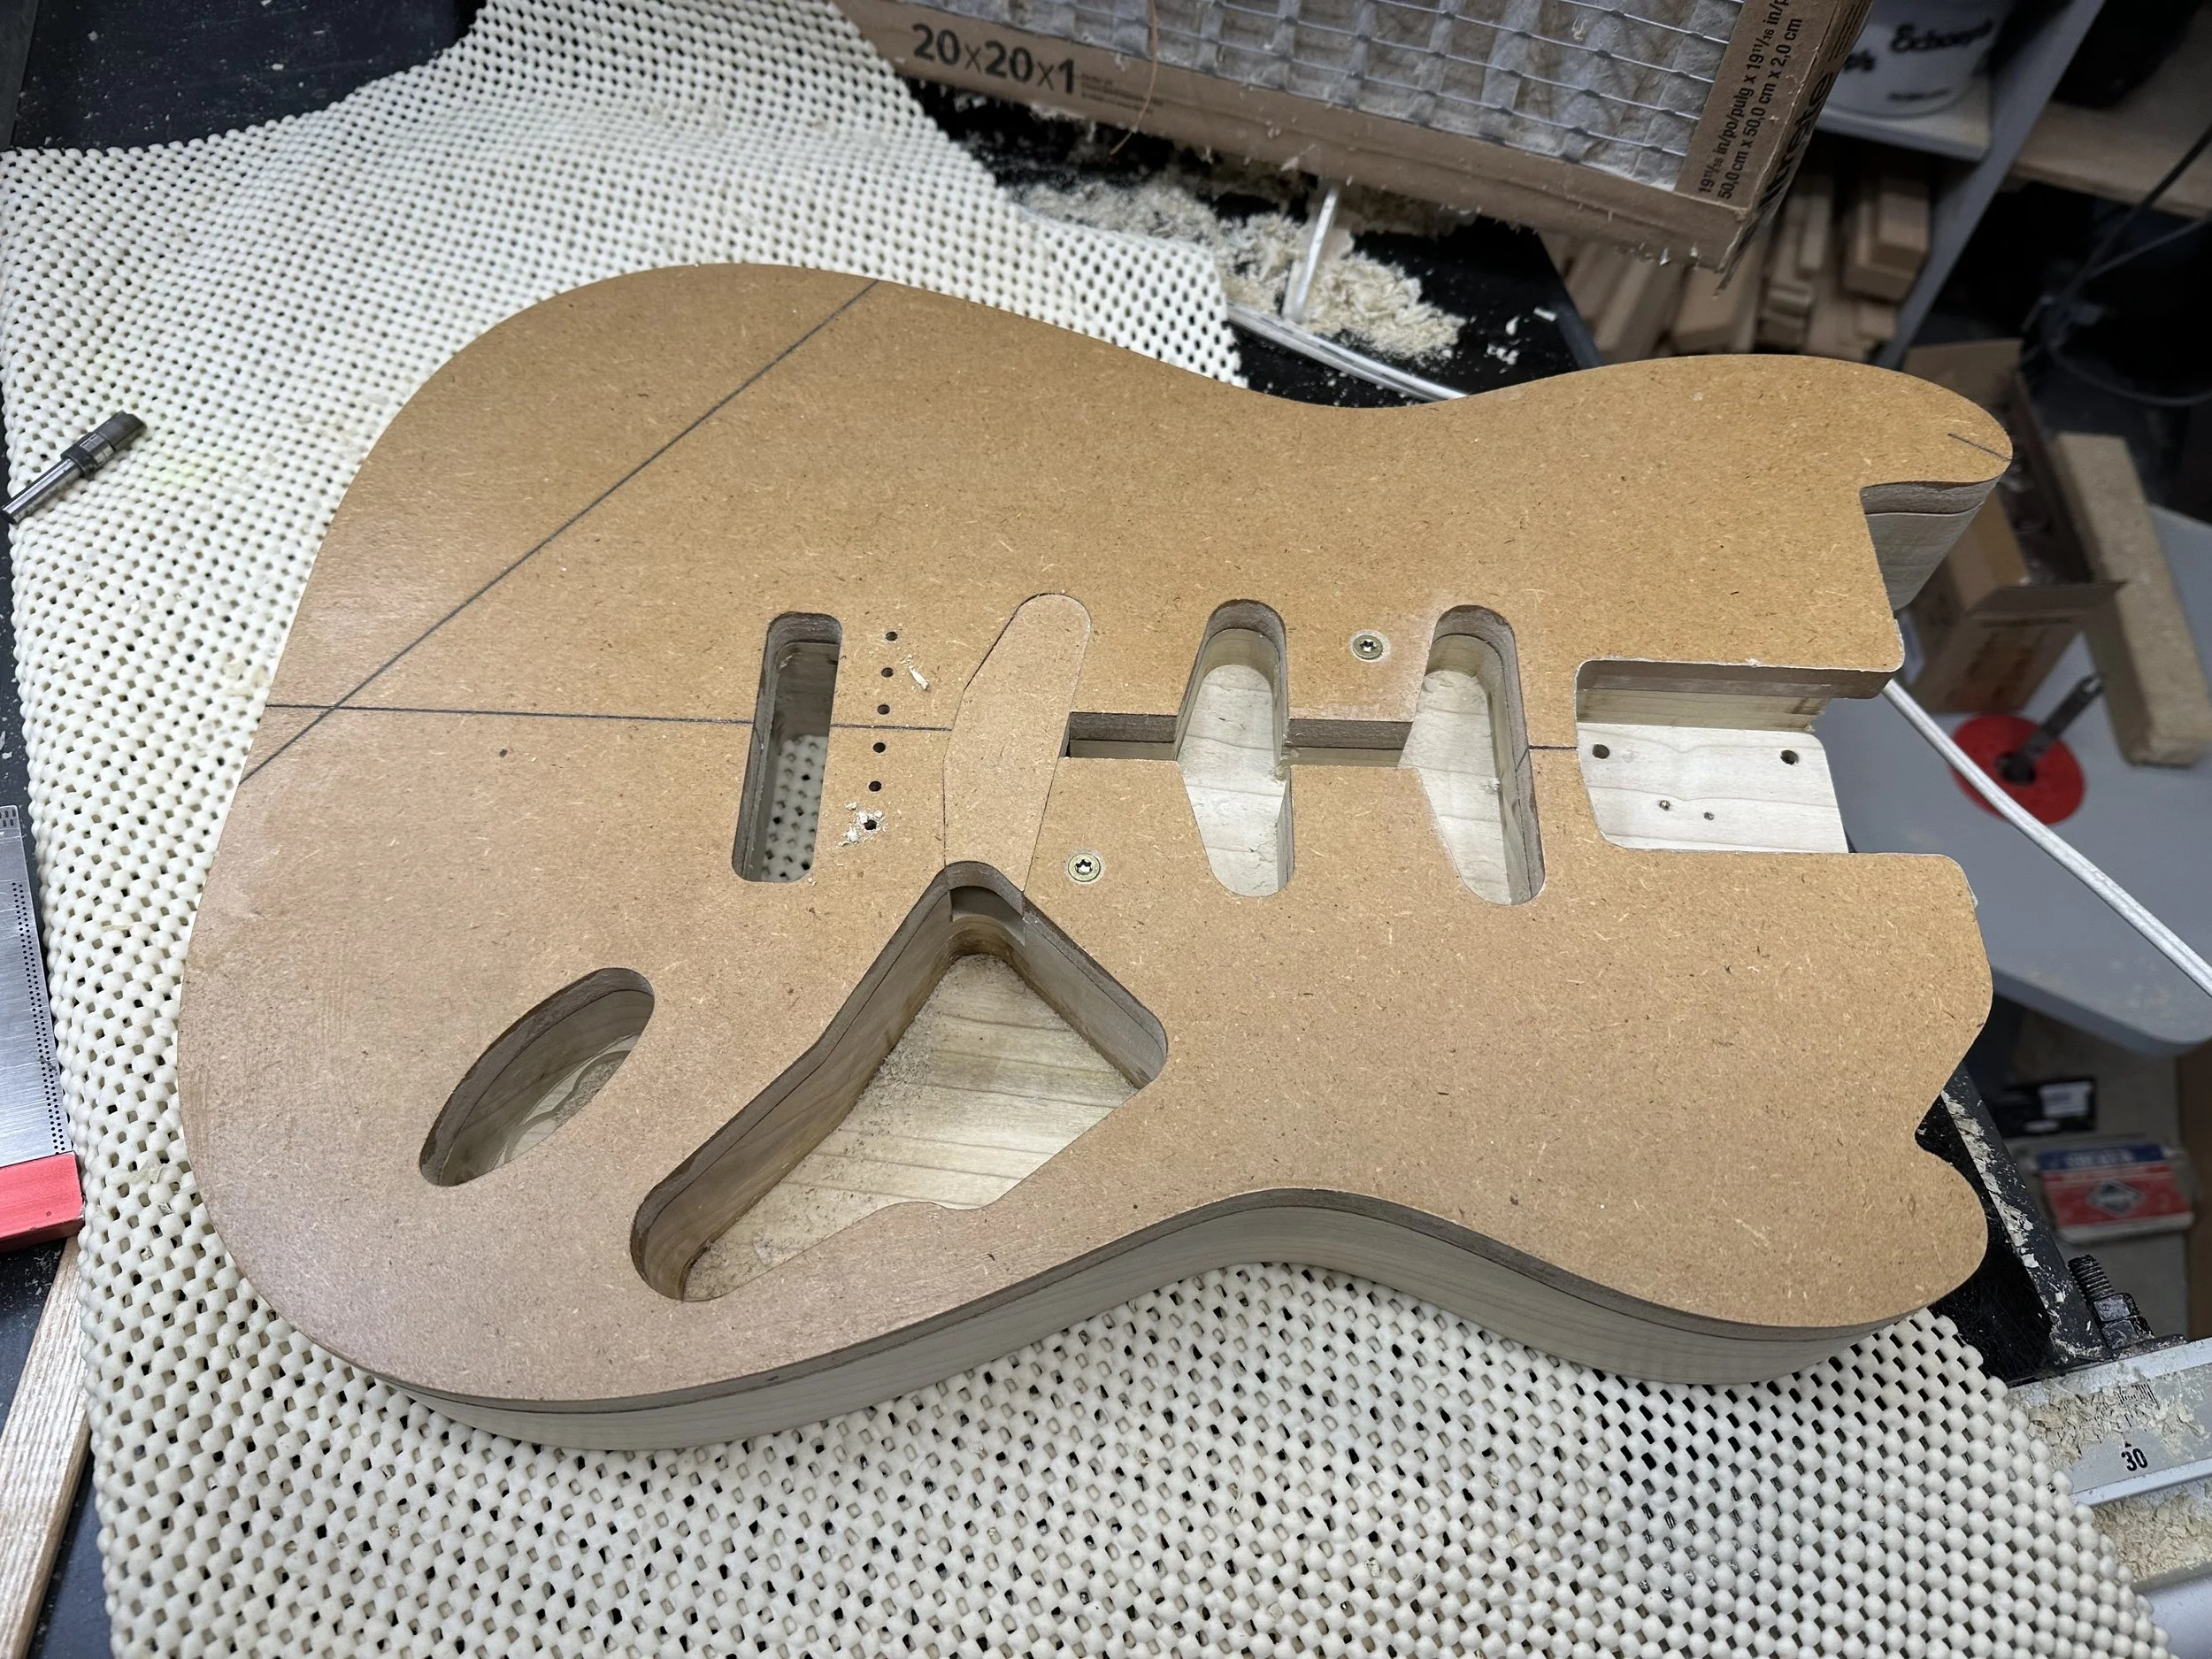
2. A second routing template marks the body cavities. Note the removable plug in the bridge pickup cavity that distinguishes the control cavity from the pickup cavity.
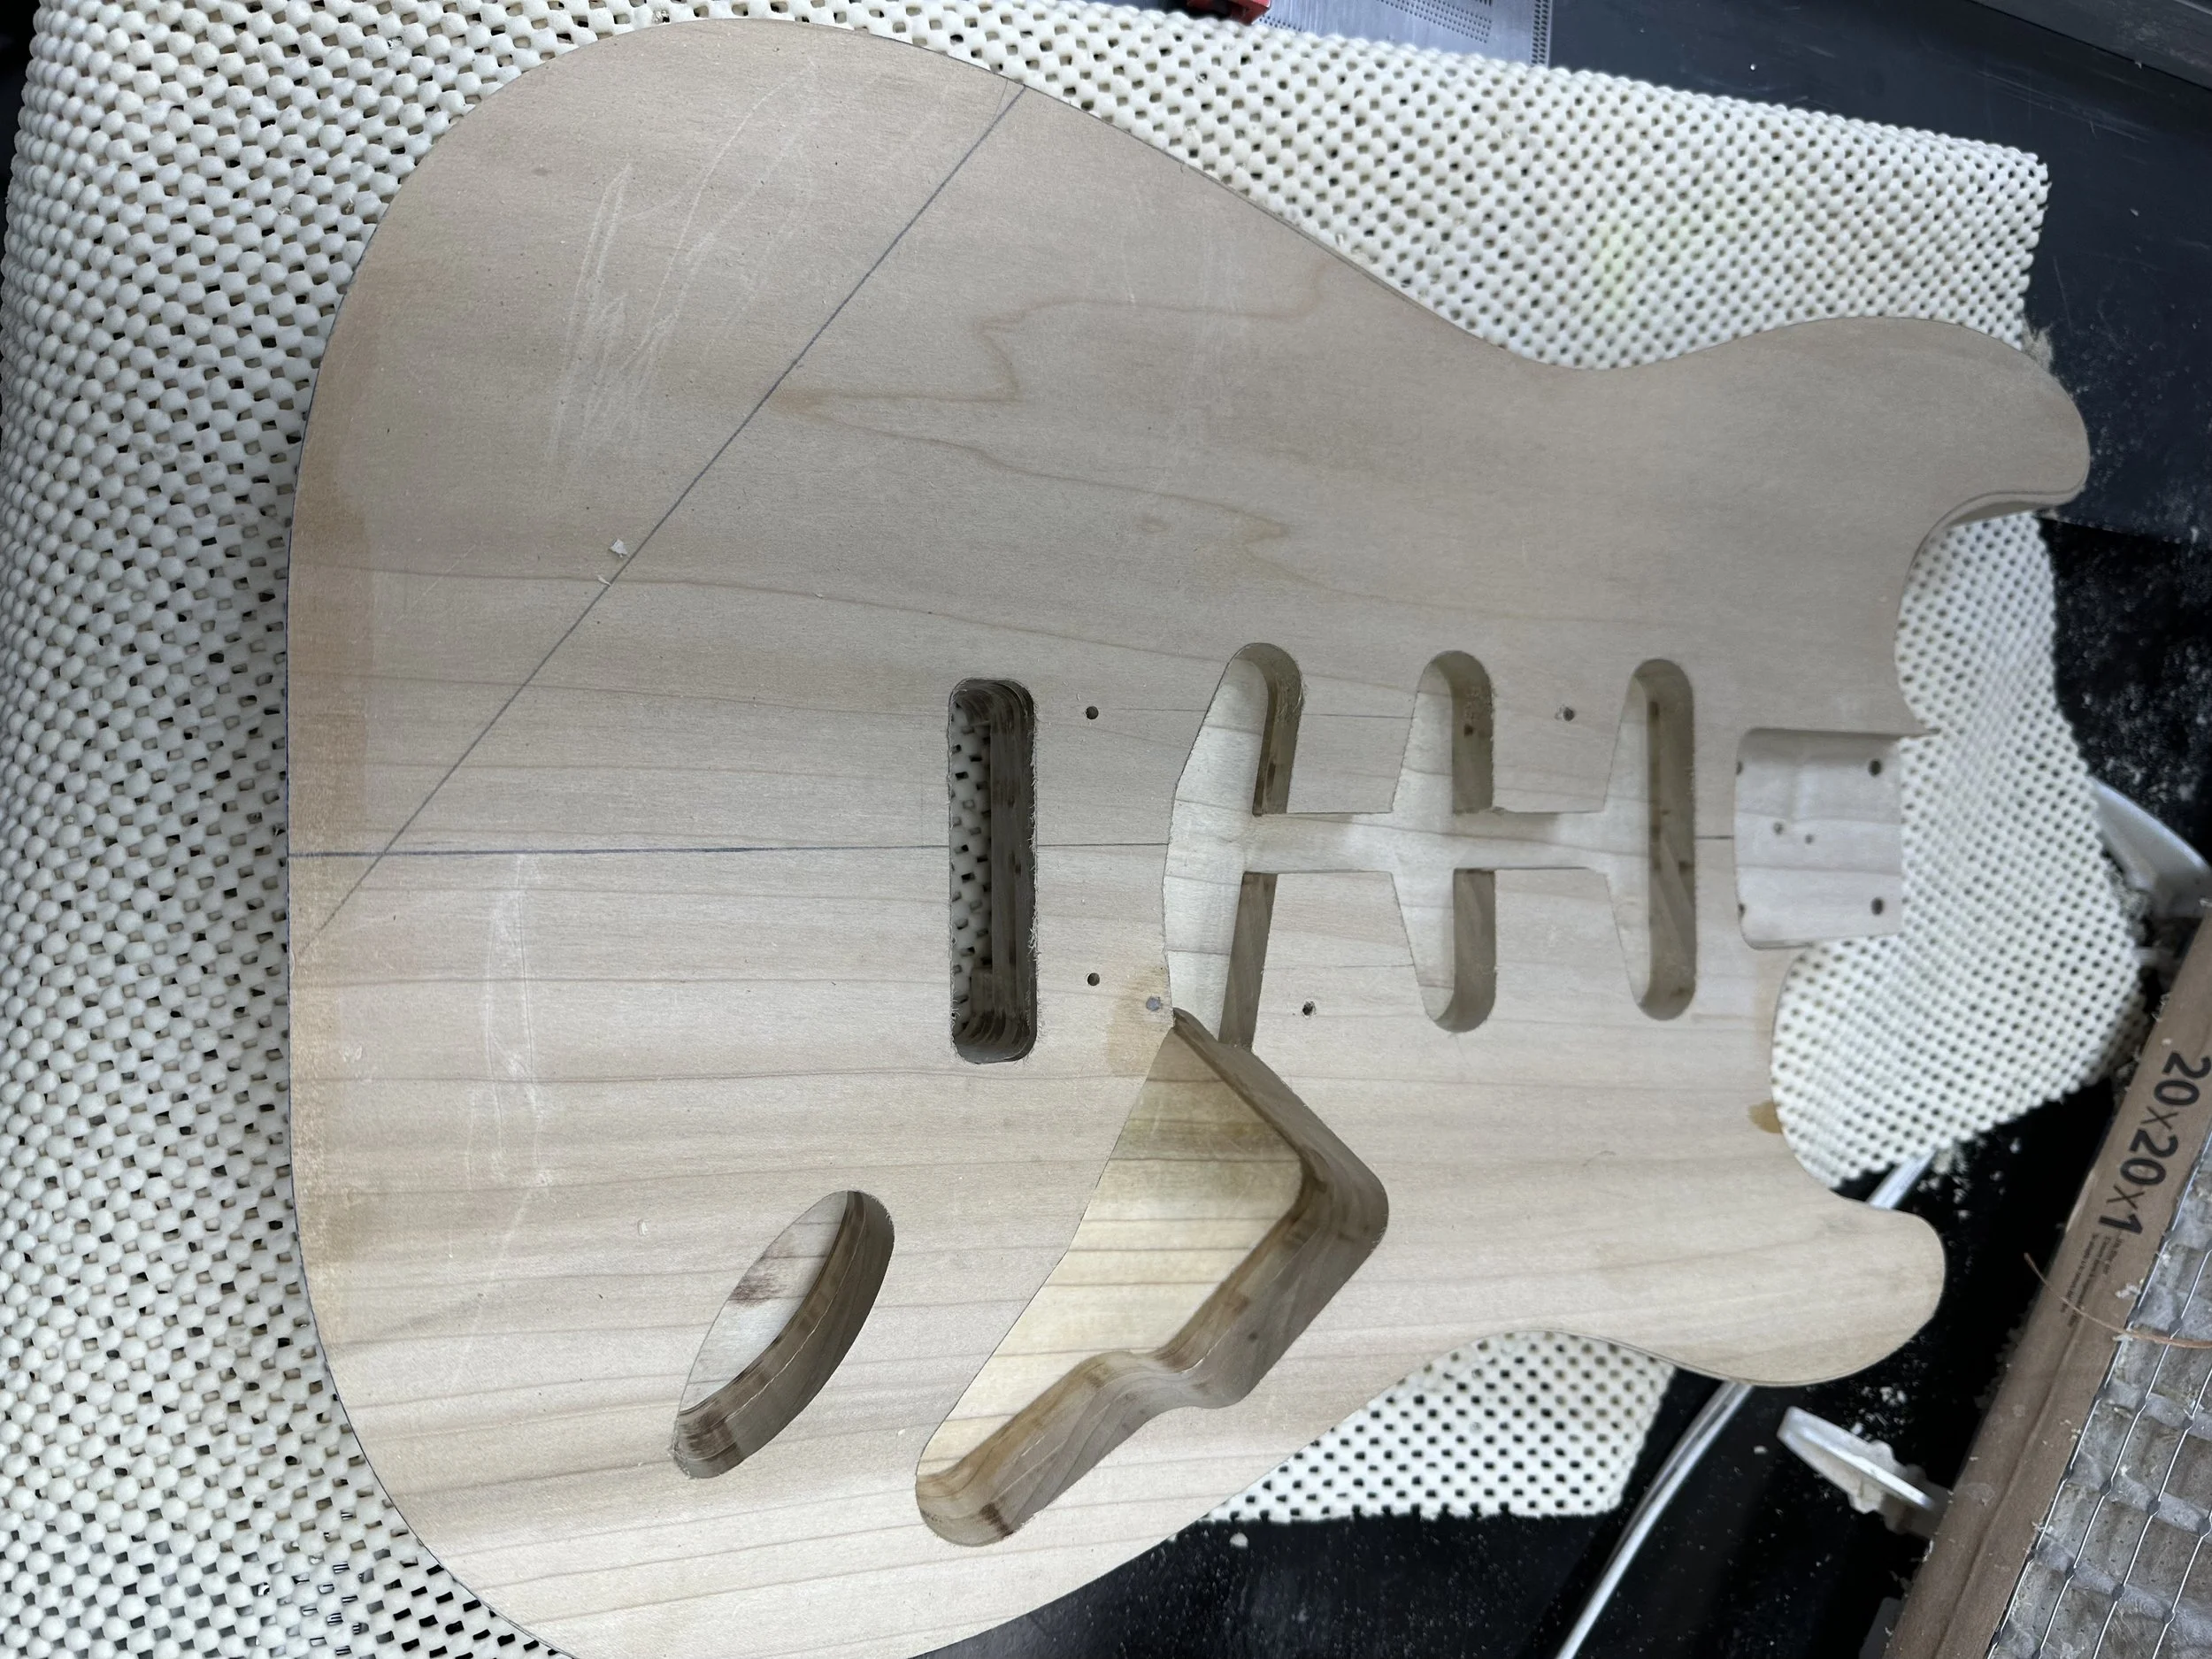
3. Routing complete. This one will use a two-post bridge
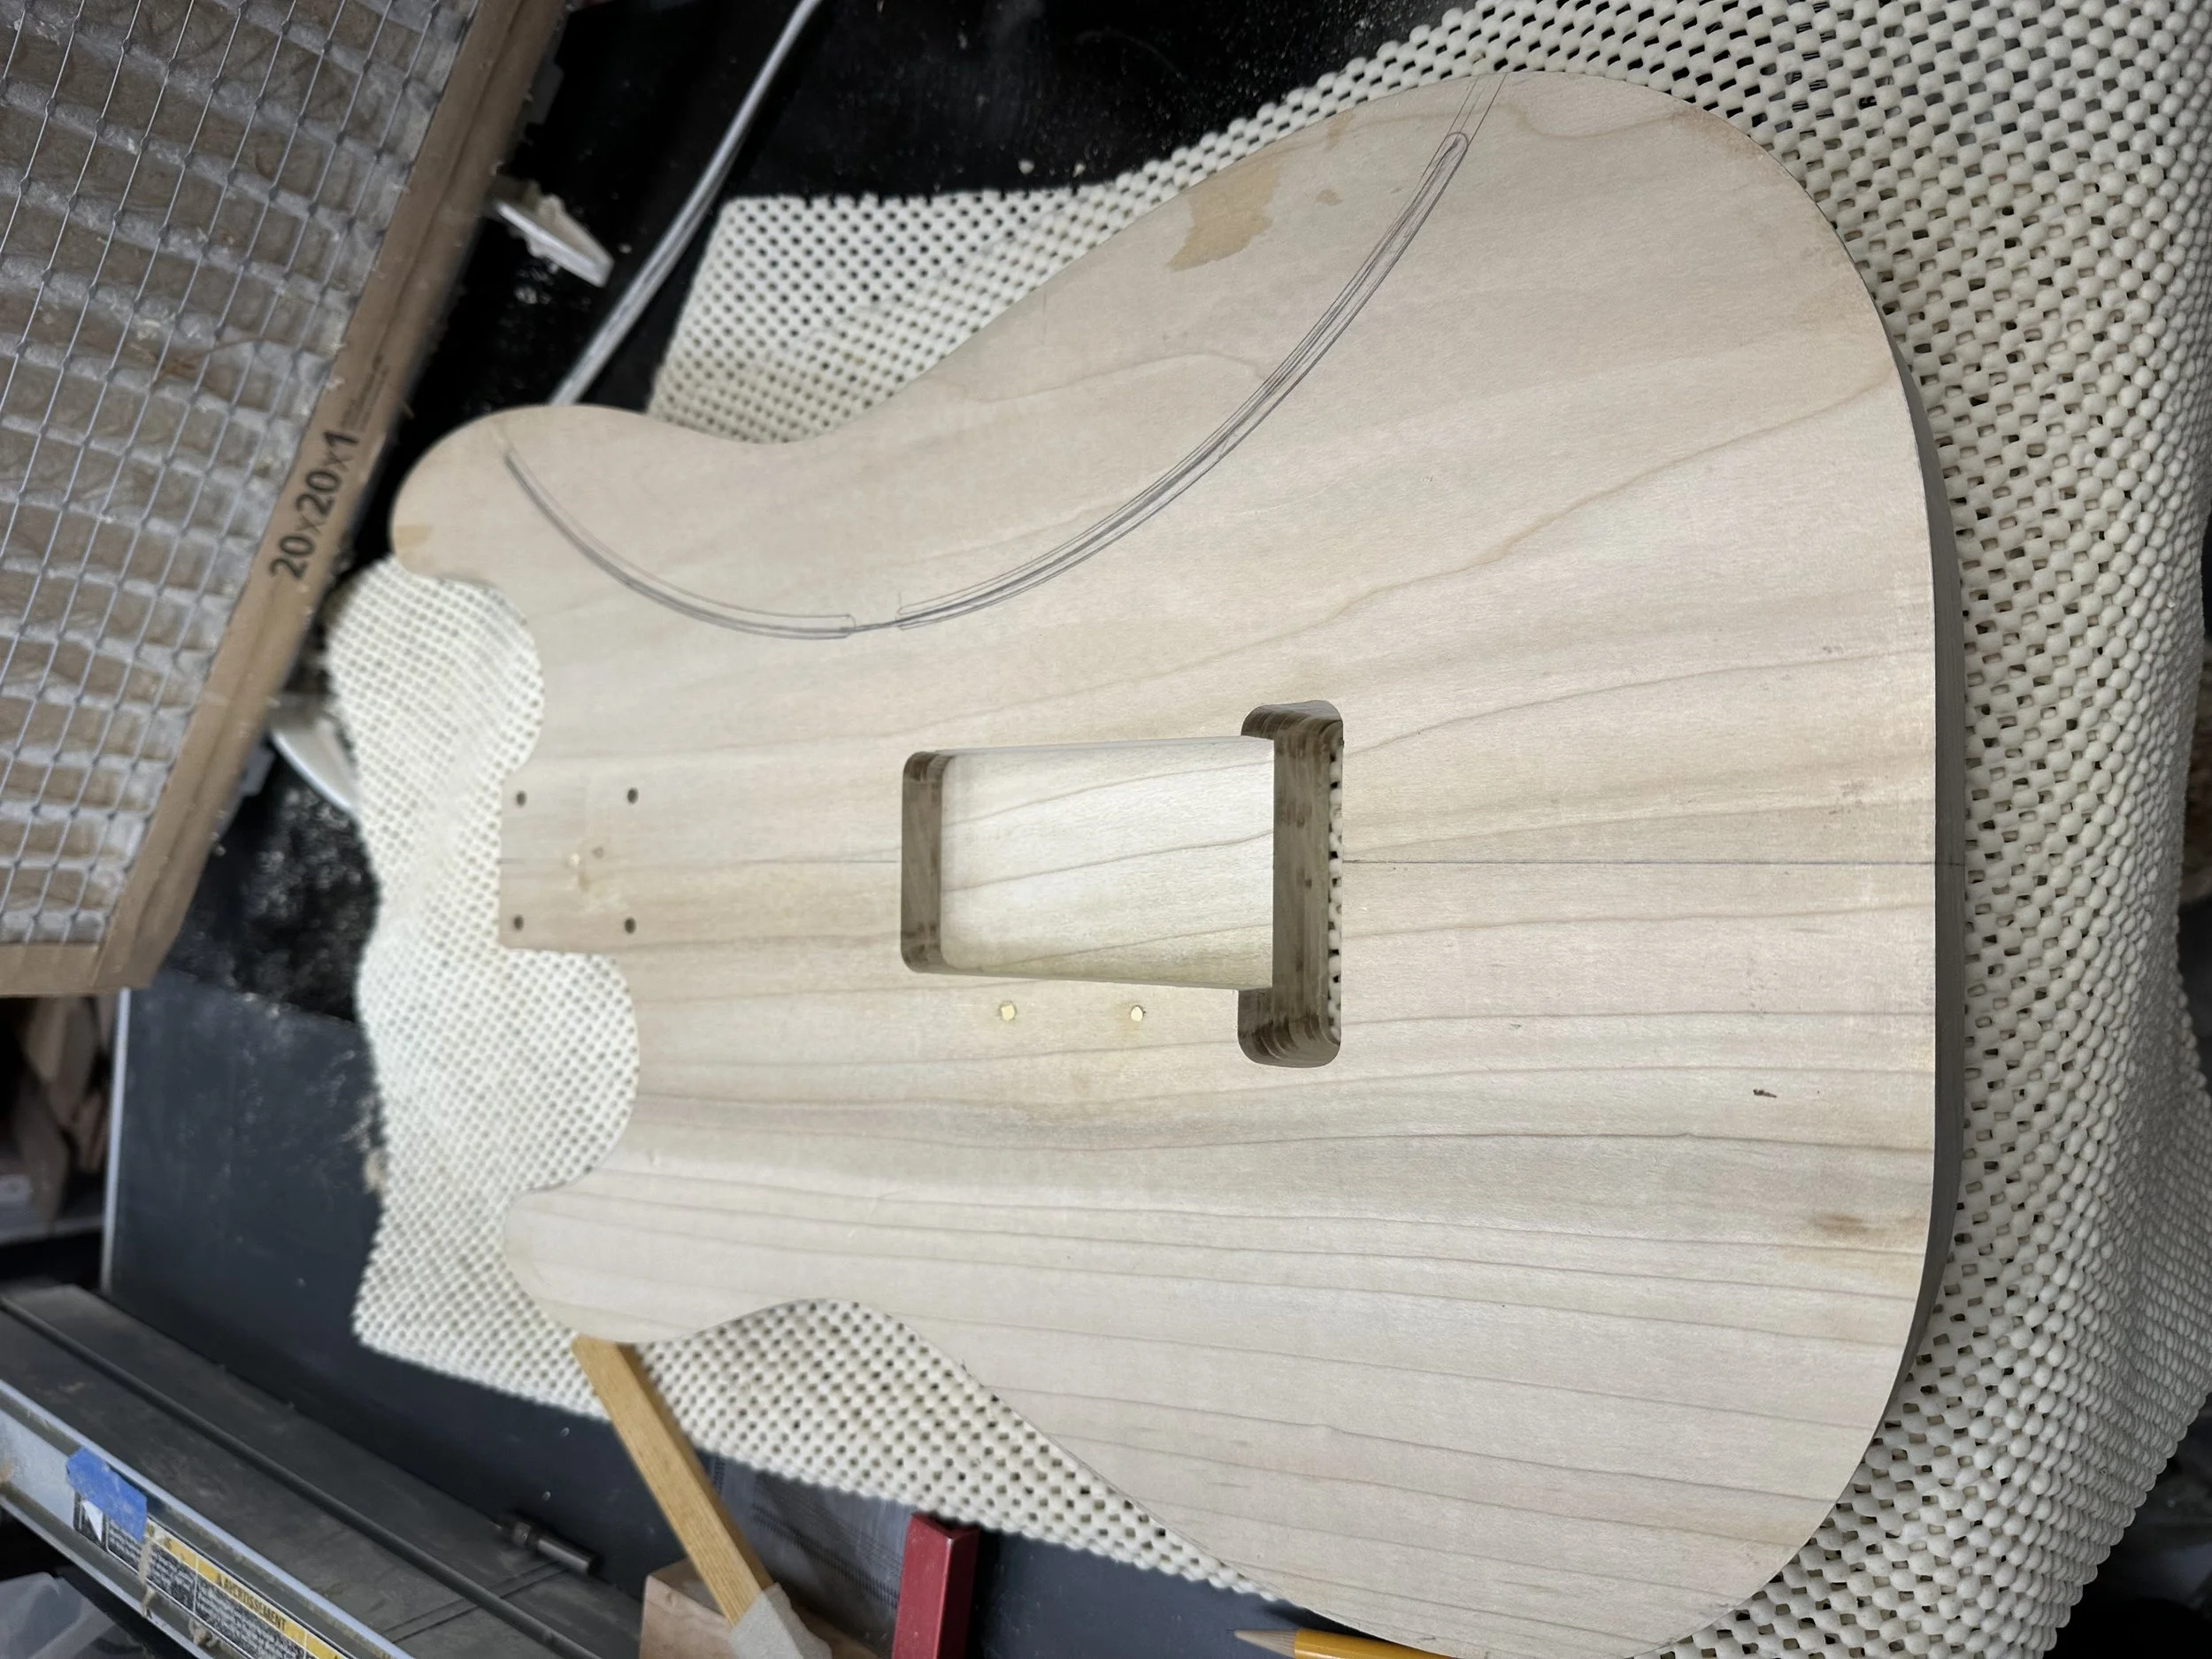
4. Tremolo cavity routed.
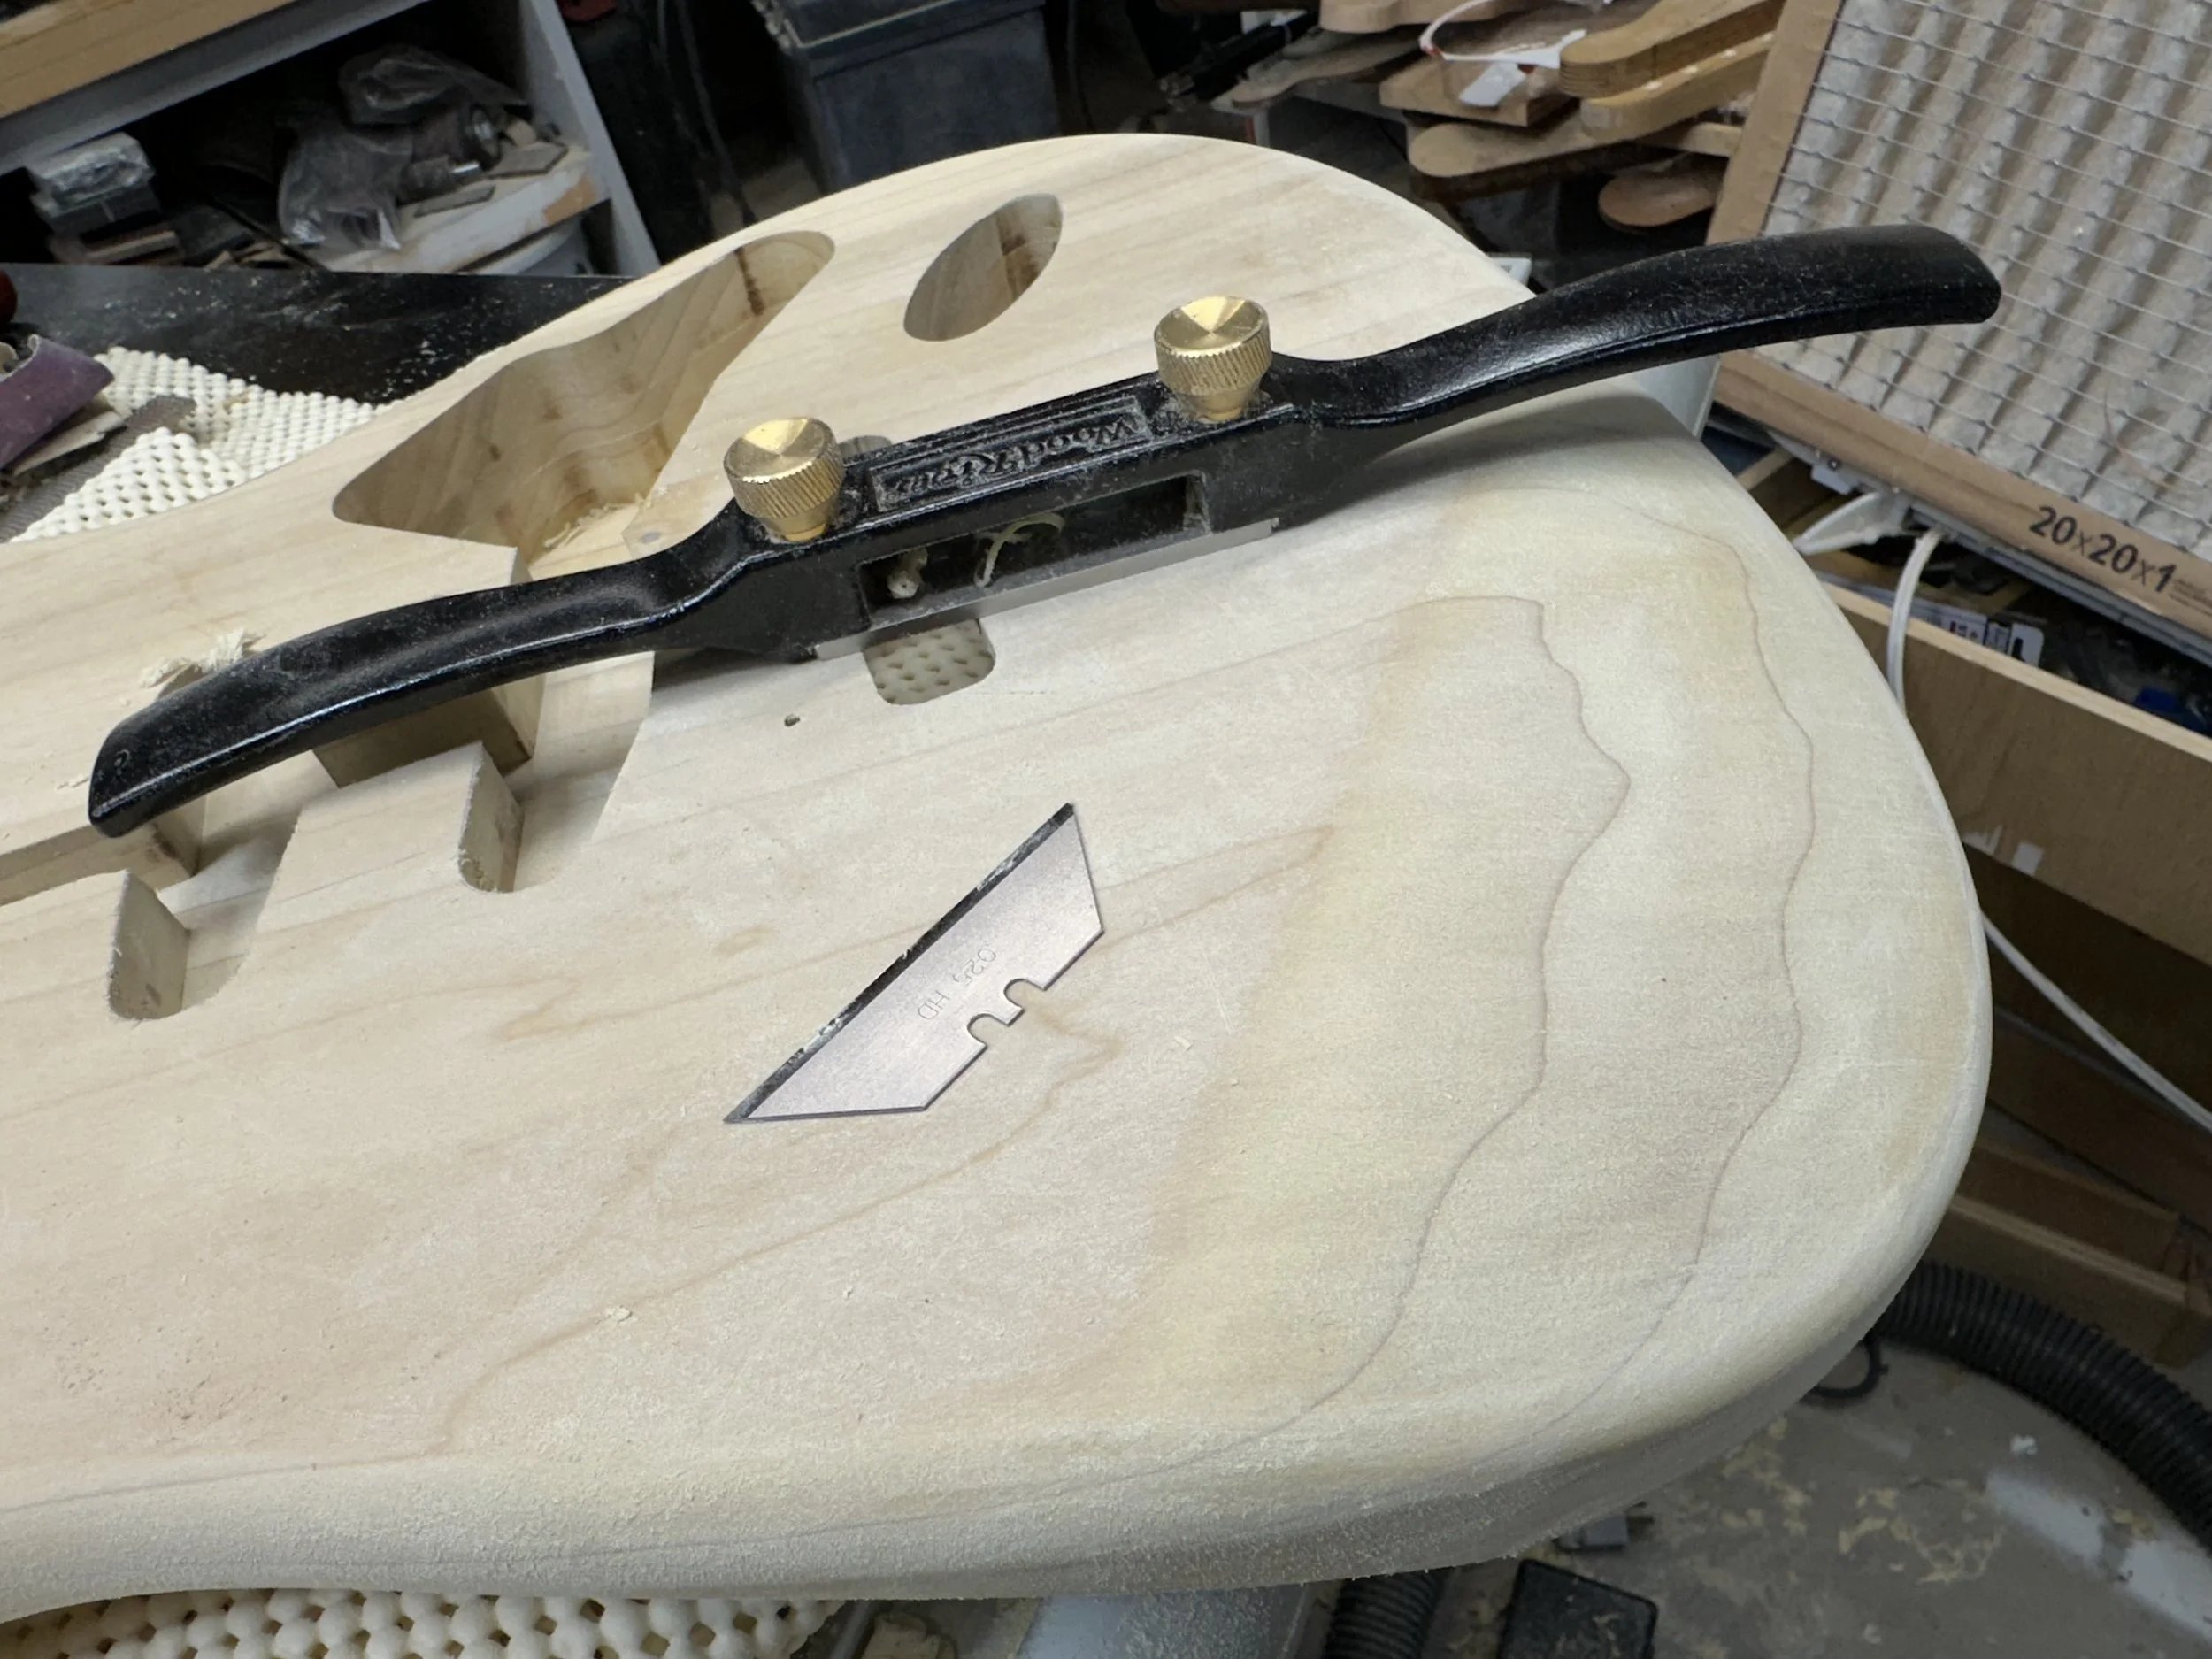
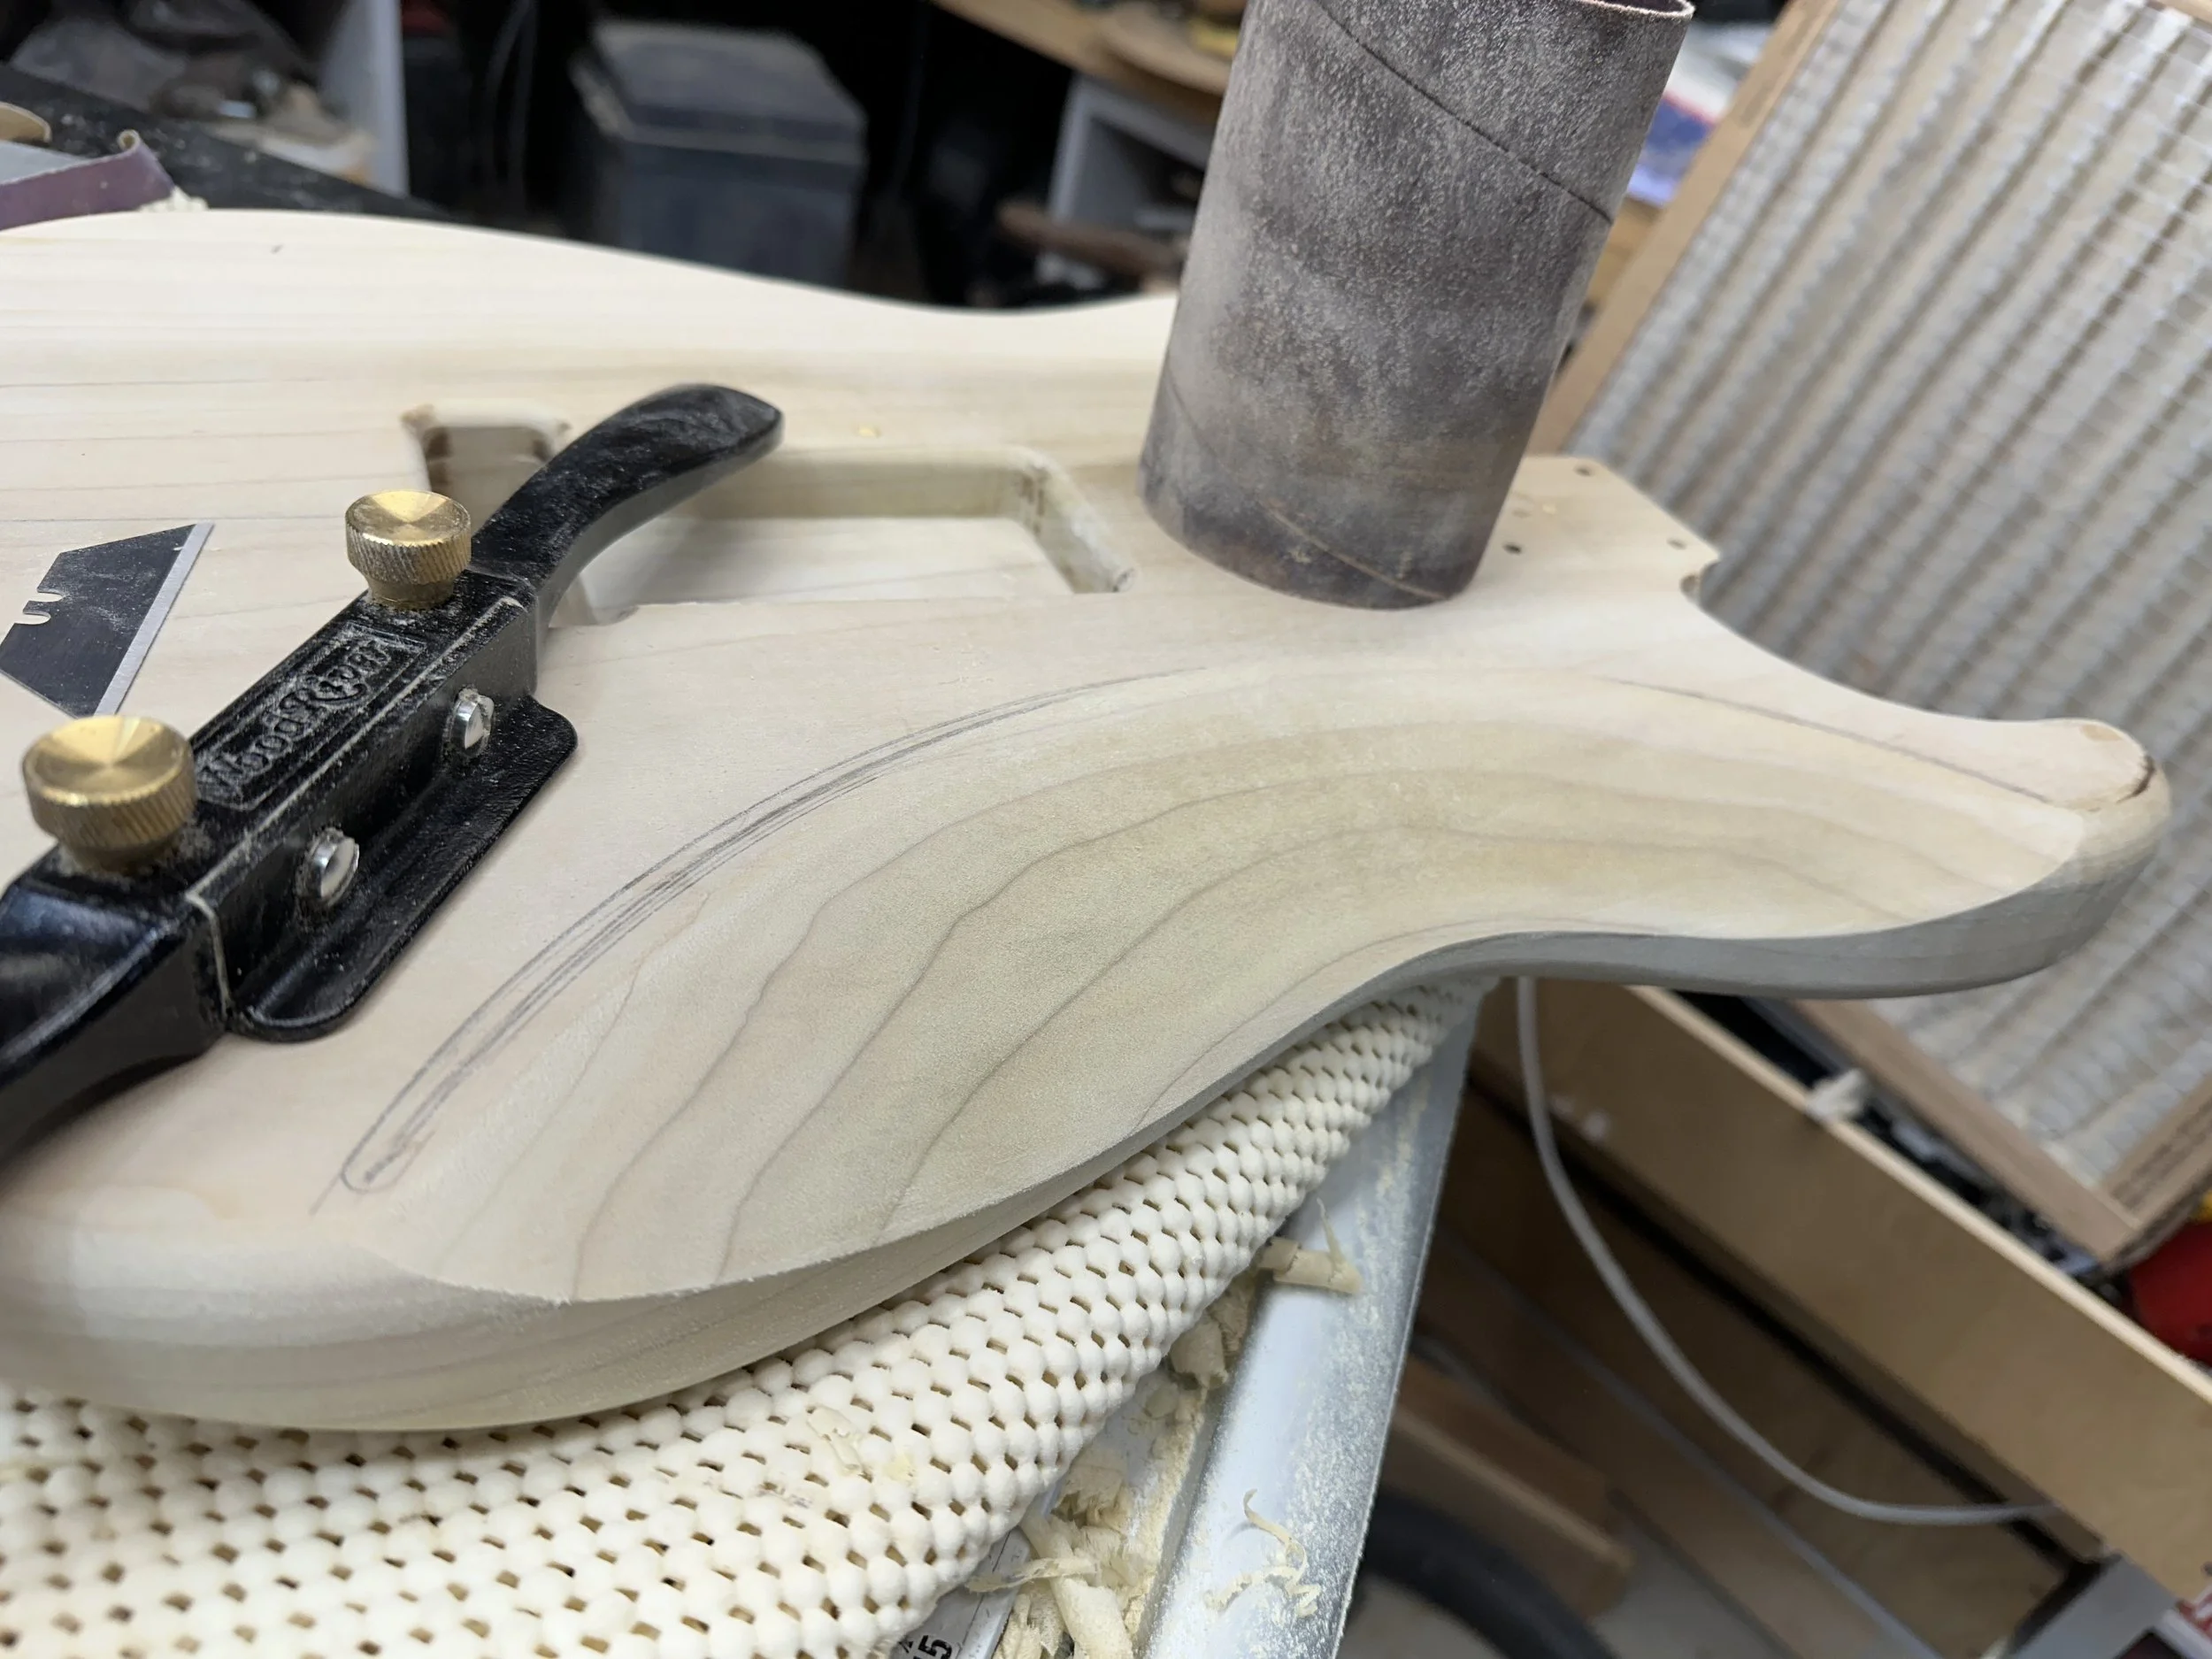
5. I shape the forearm contour by hand with a spokeshave, razor blade (with a hook turned on the edge for scraping), and bow sander.
6. A deep Wisconsin-style belly cut is shaped with a spindle sander, spokeshave, and — as always — a razor blade.
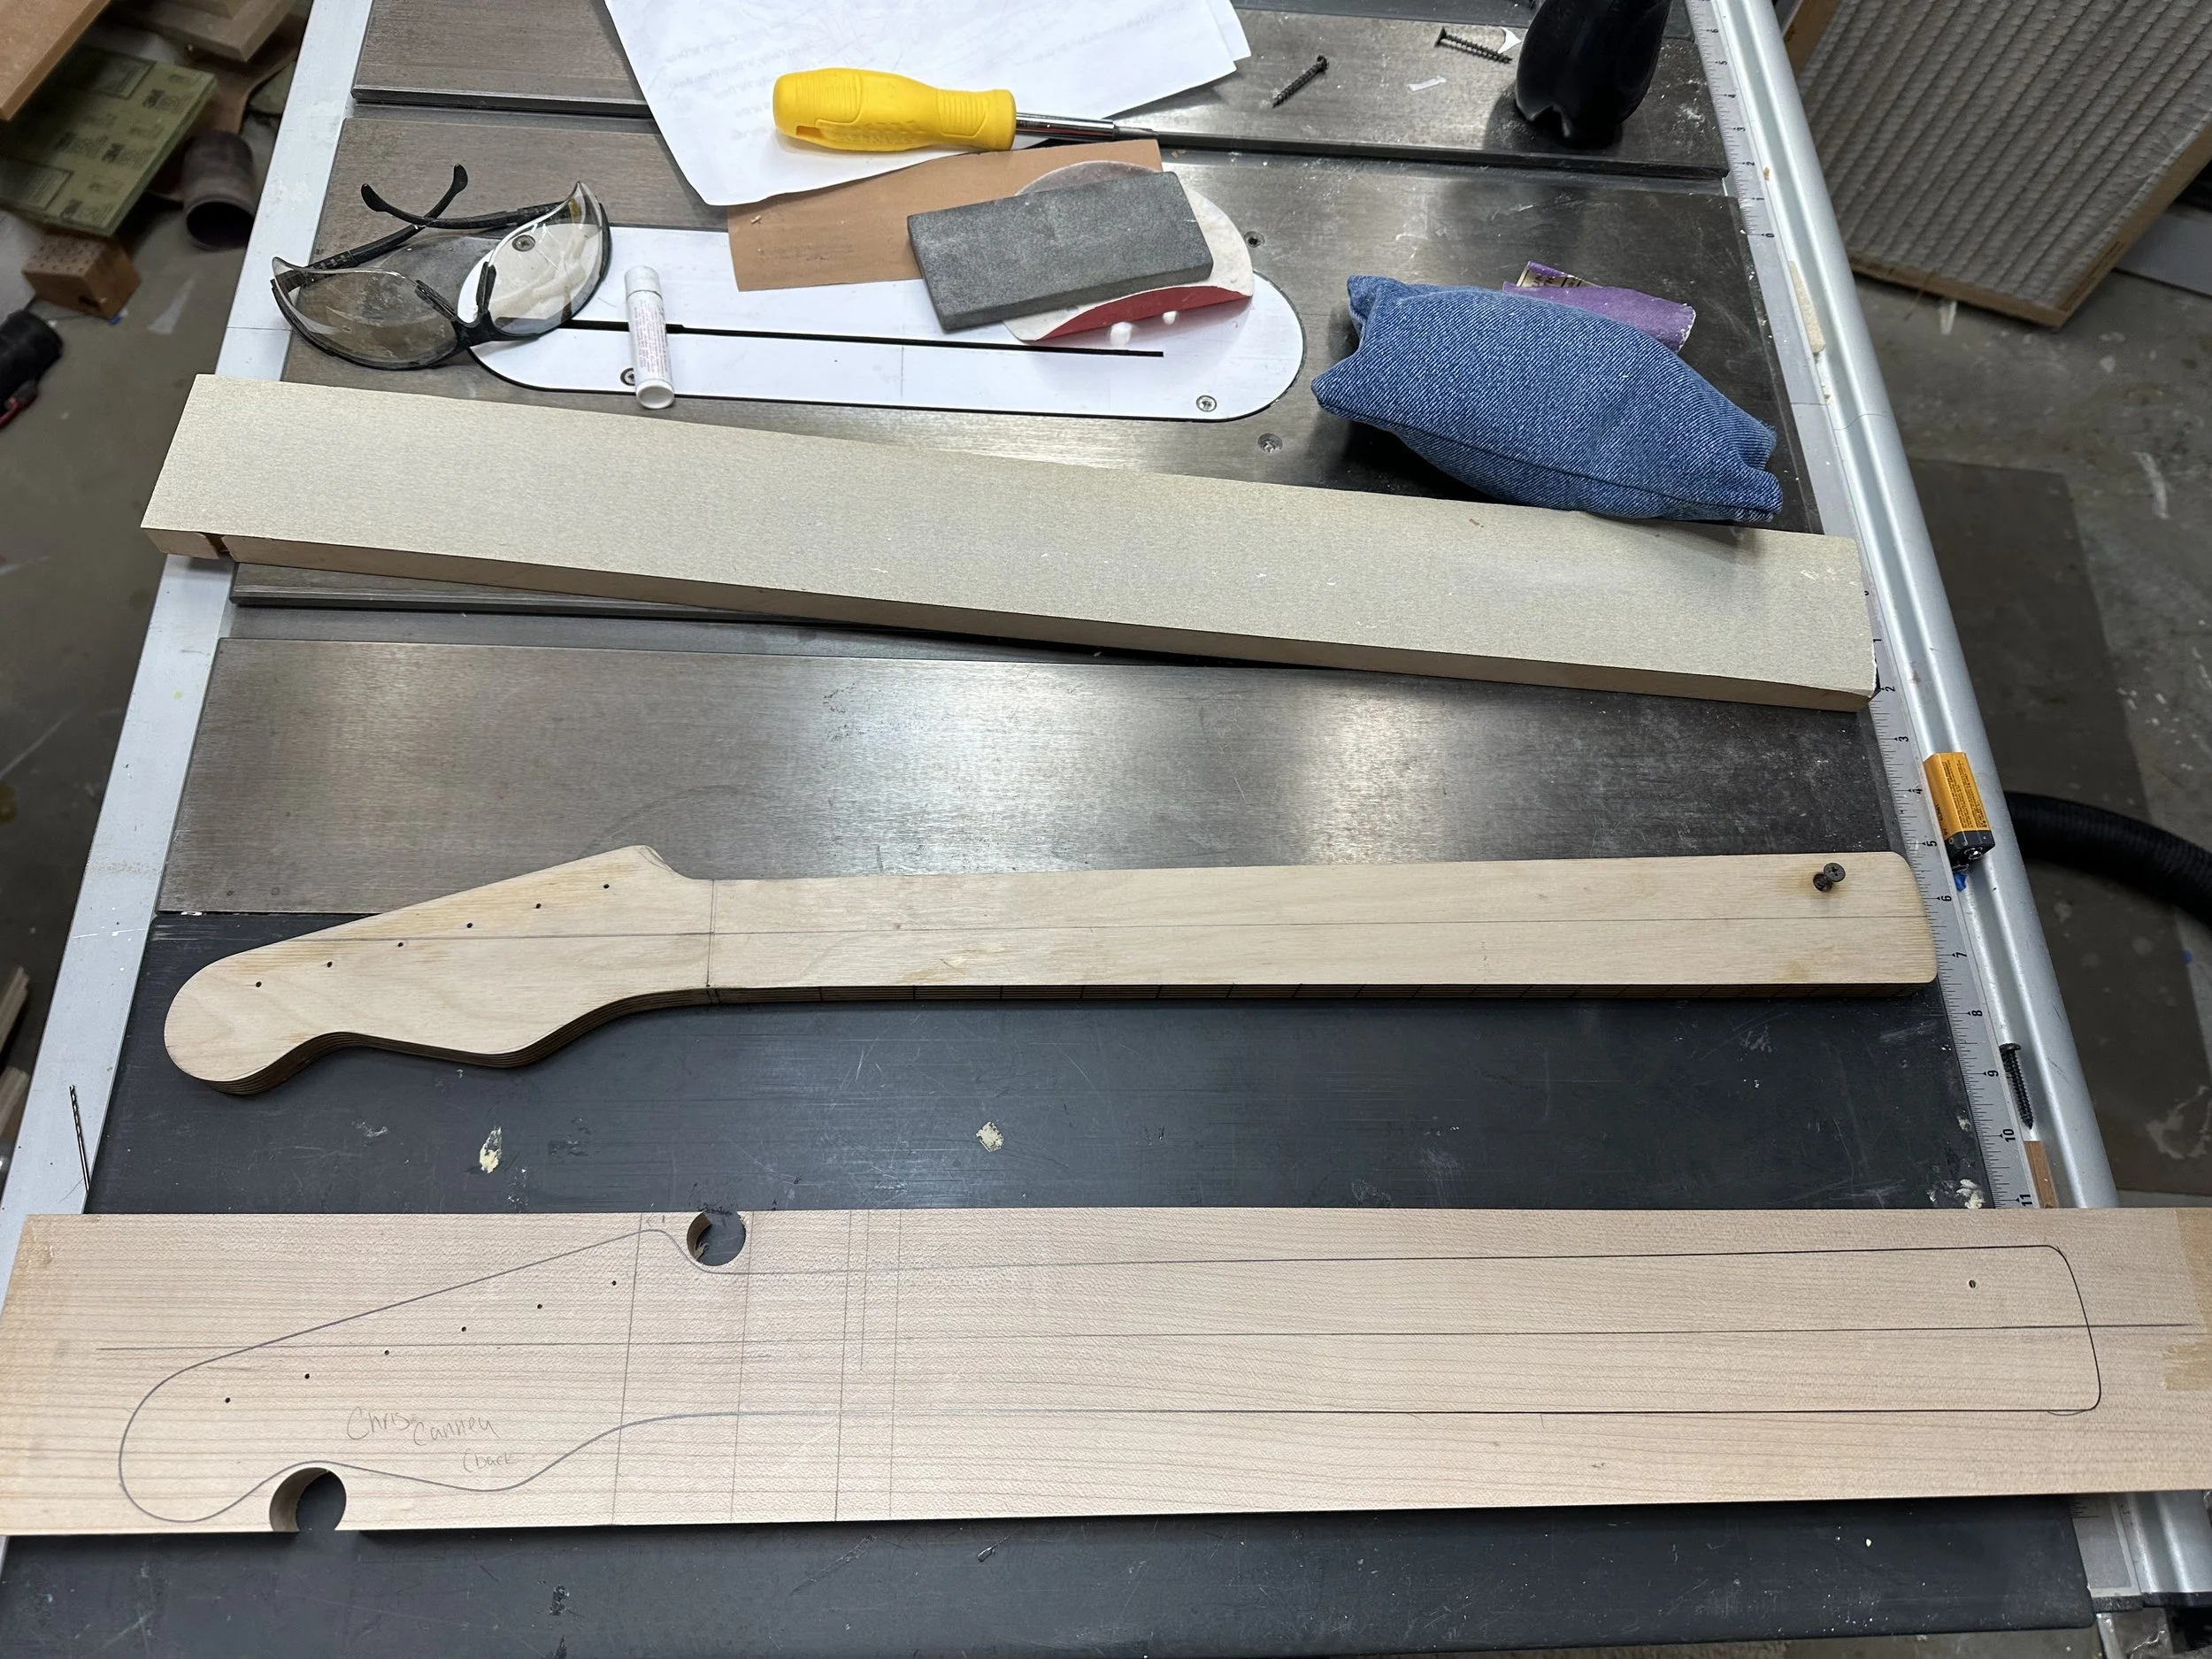
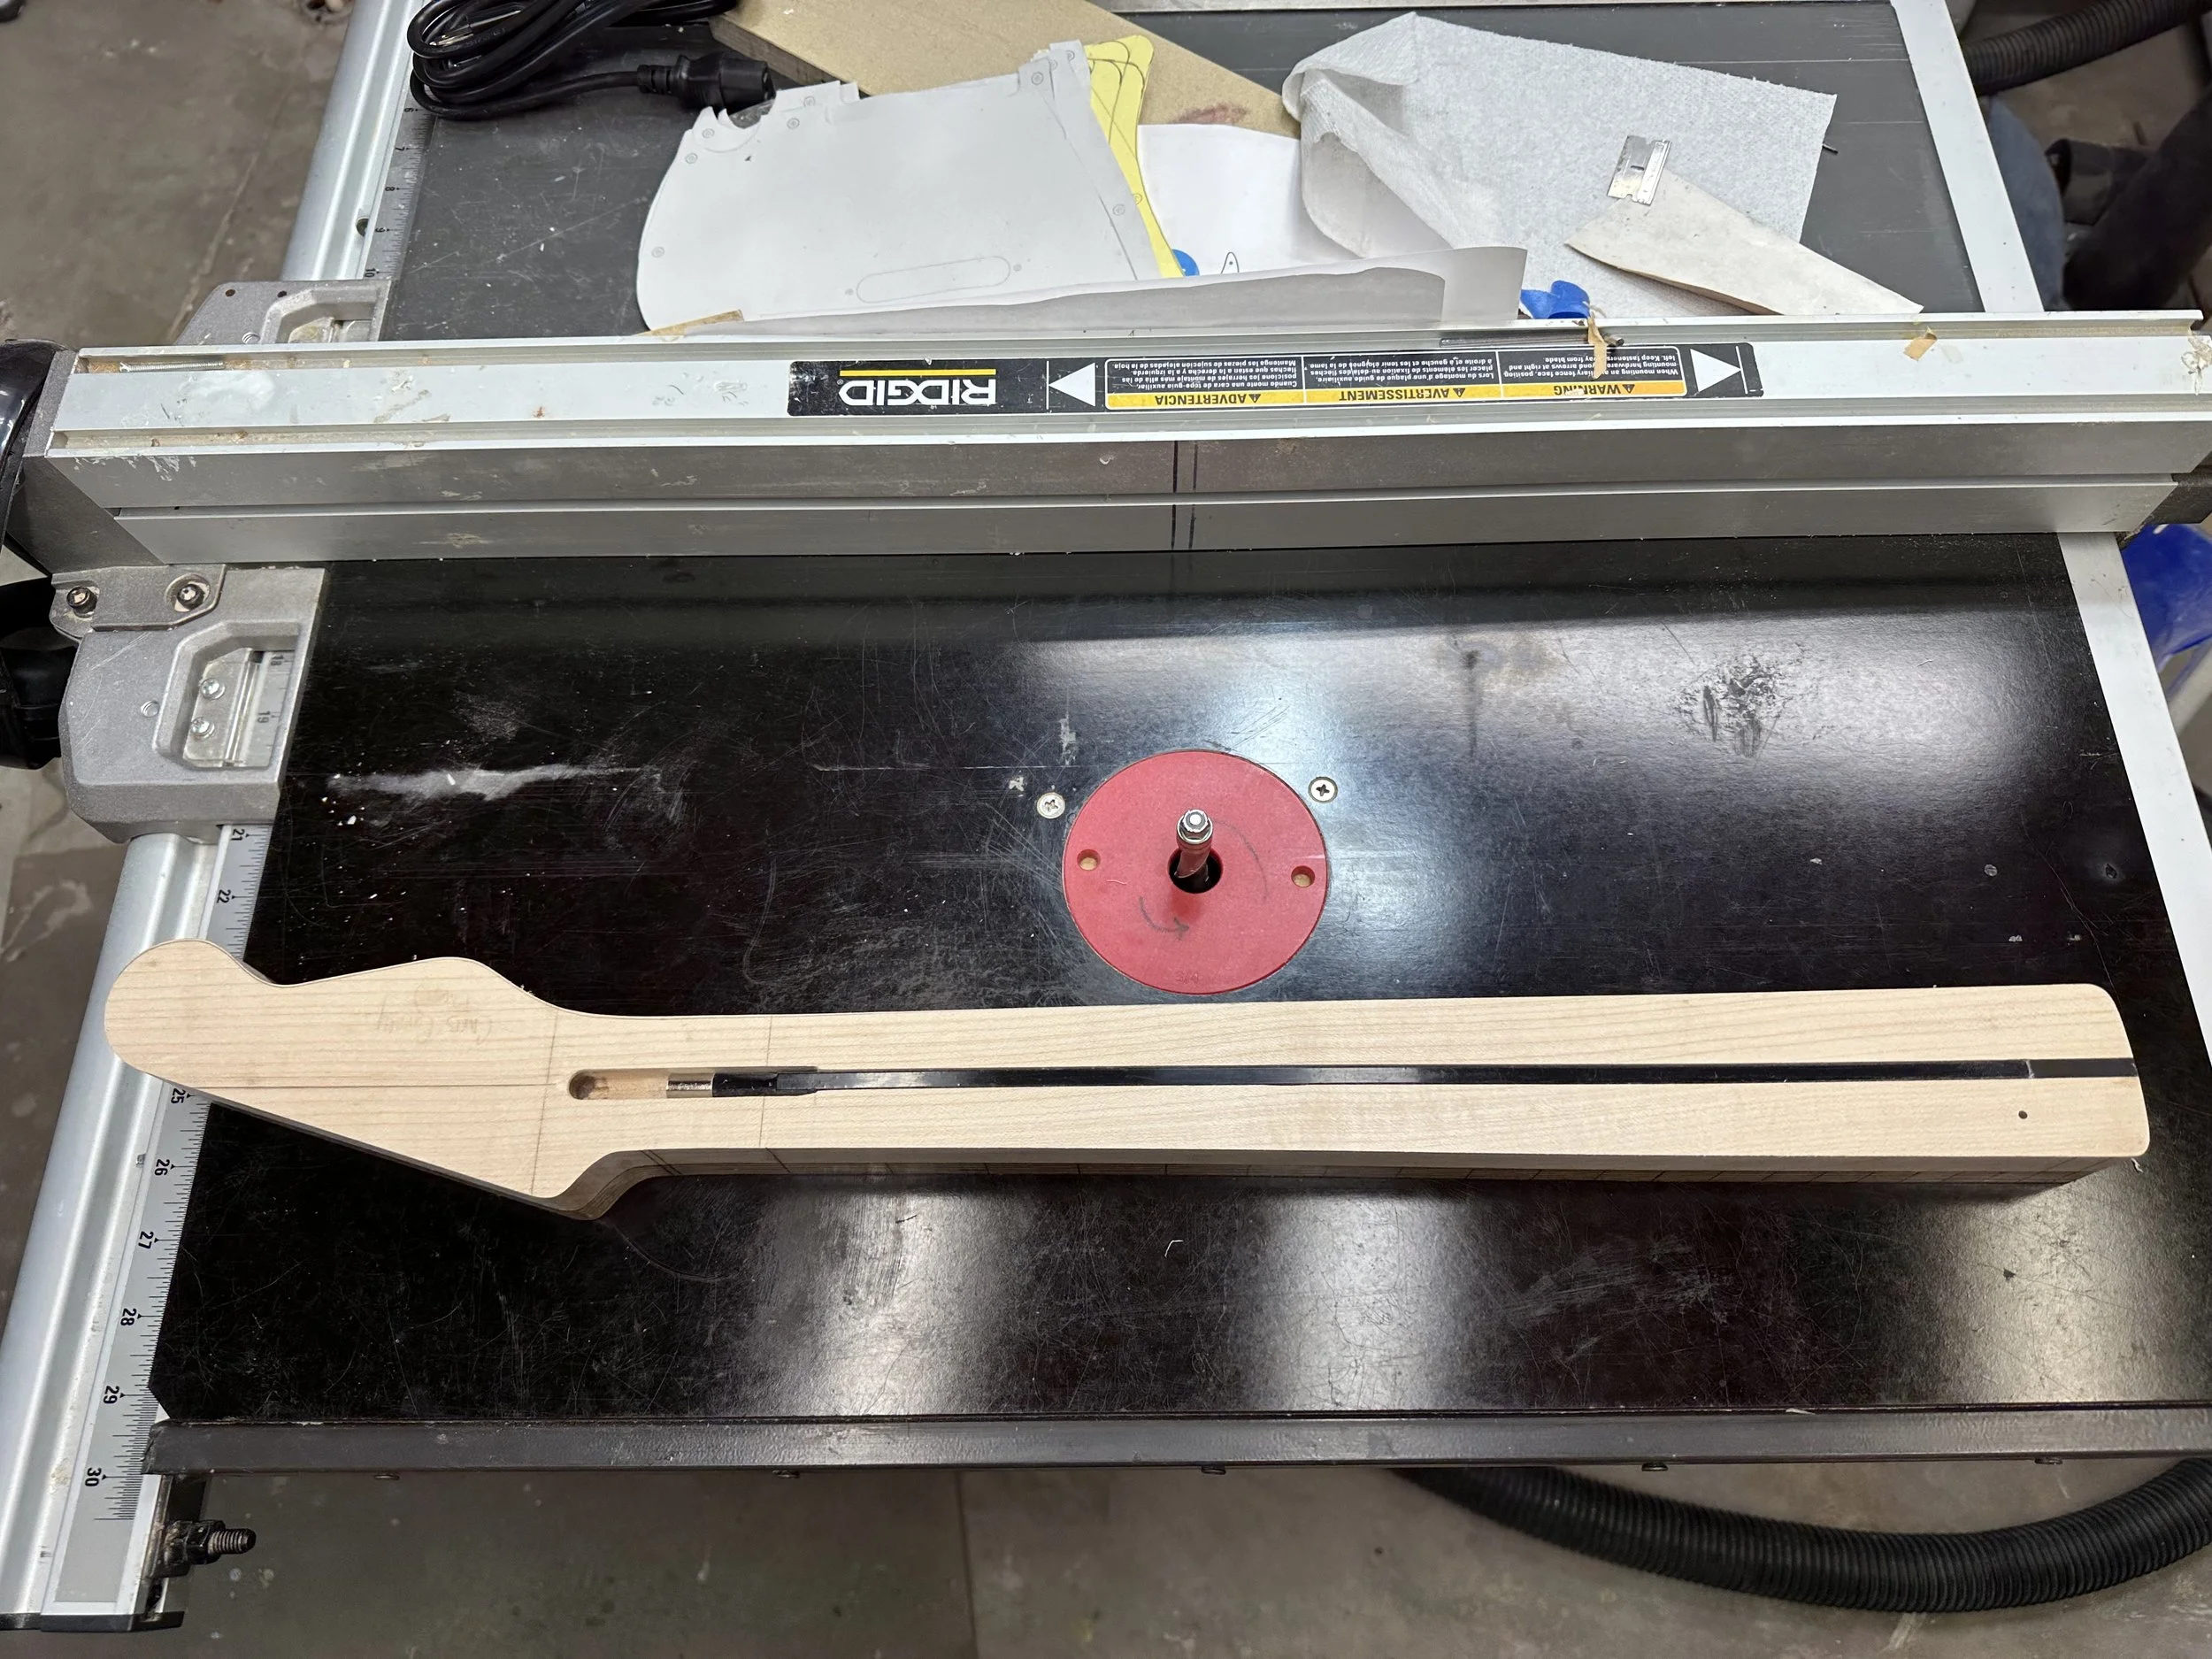
7. The neck is laid out and will be rough cut before shaping.
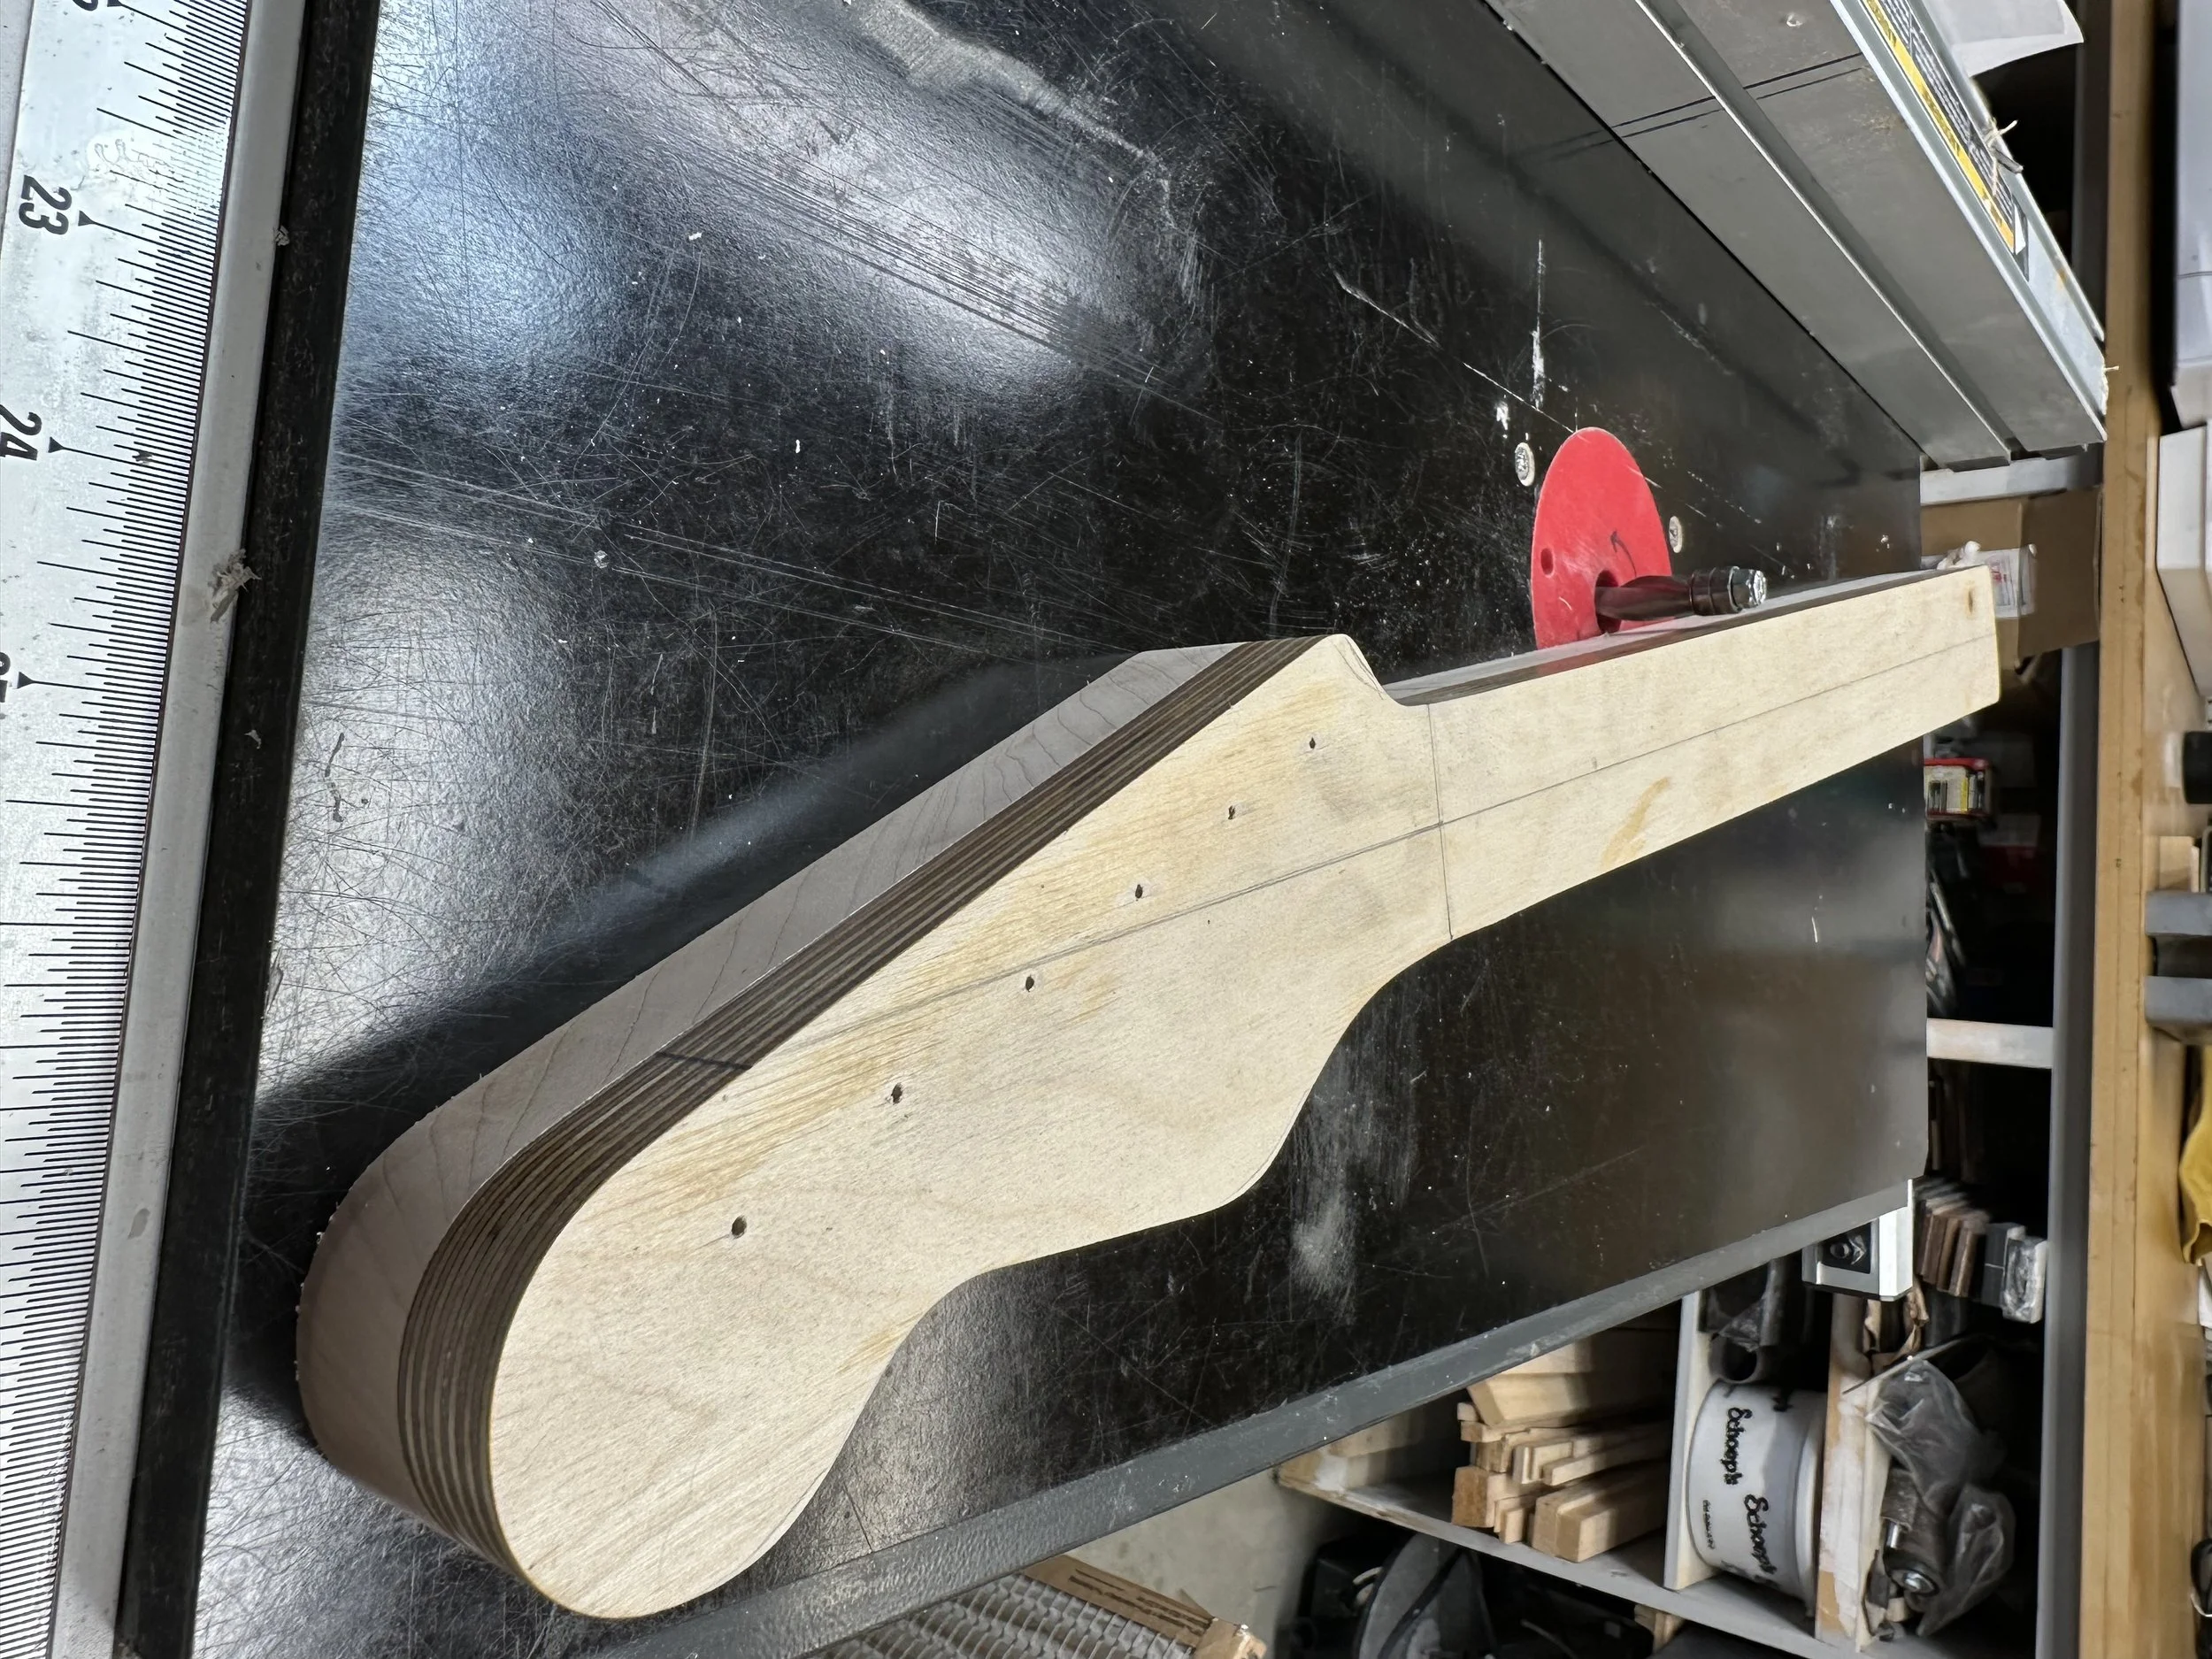
8. The spiral bit makes quick work of shaping the neck. Just keep your fingers far from the bit.
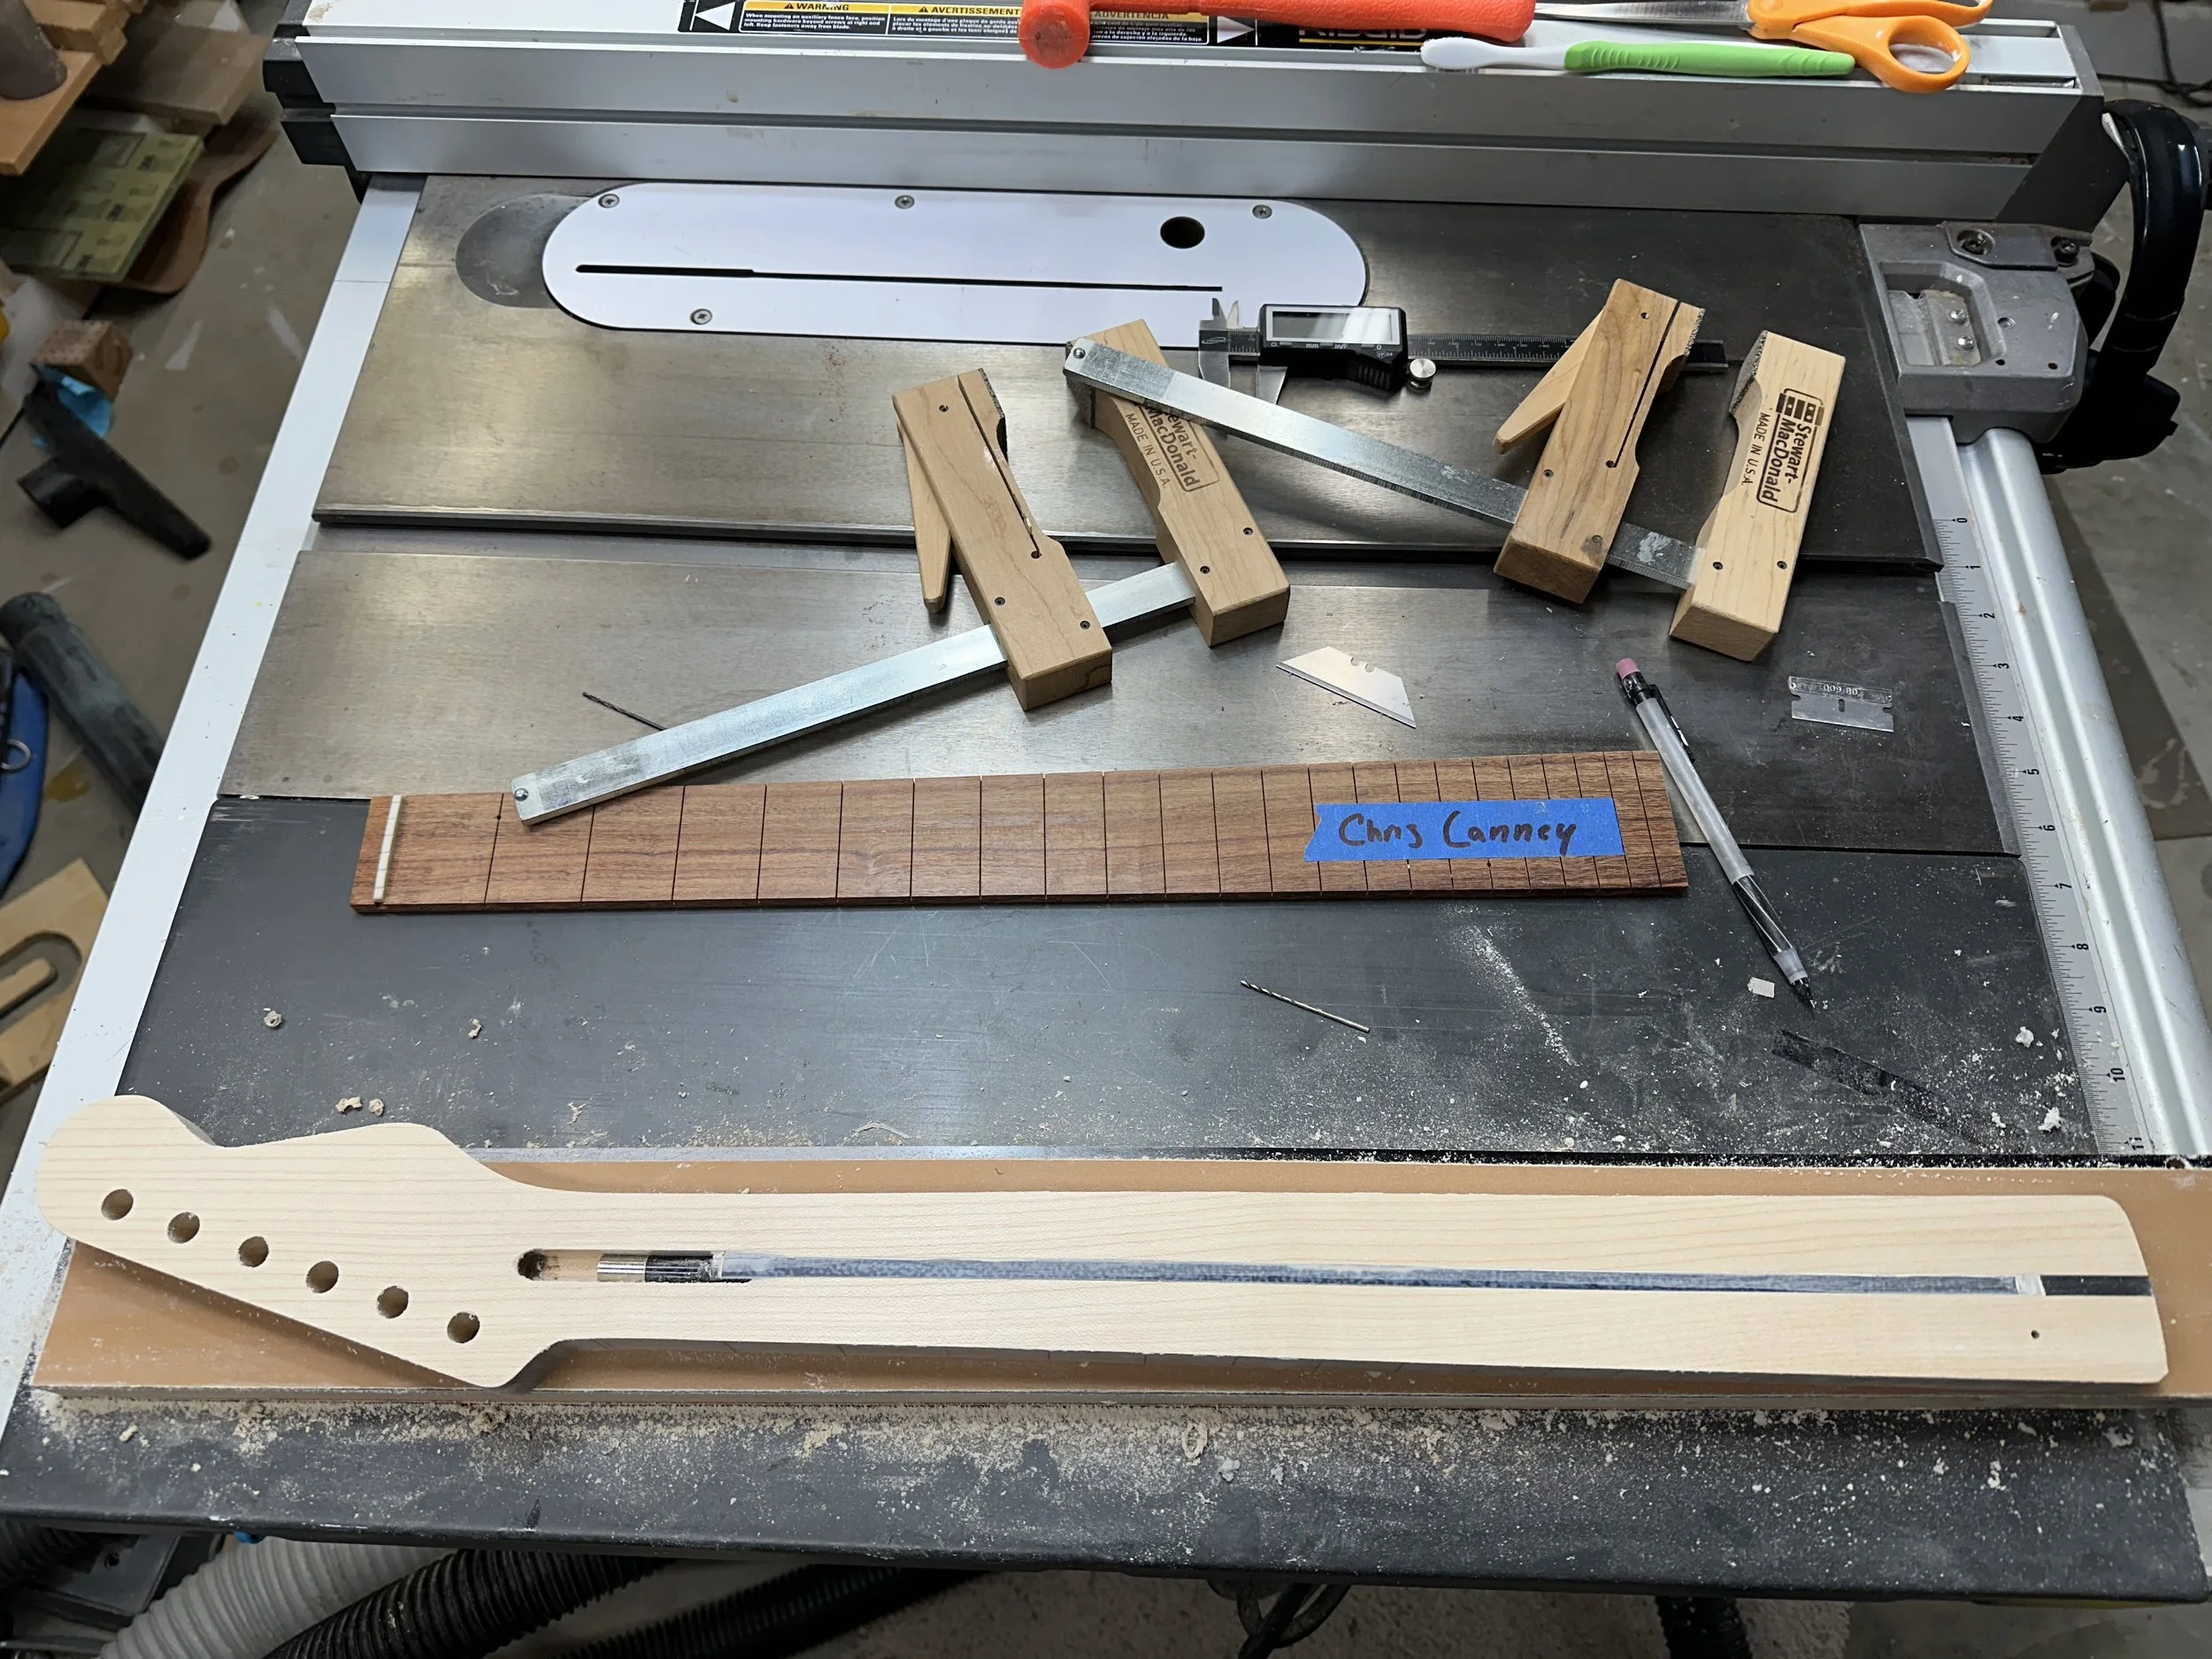
9. A truss rod is inlaid and an ebony filler strip is glued in at the heel end. The truss rod is adjustable to counter forward or backward bowing and allows us to maintain the correct relief (0.005 to 0.010”).
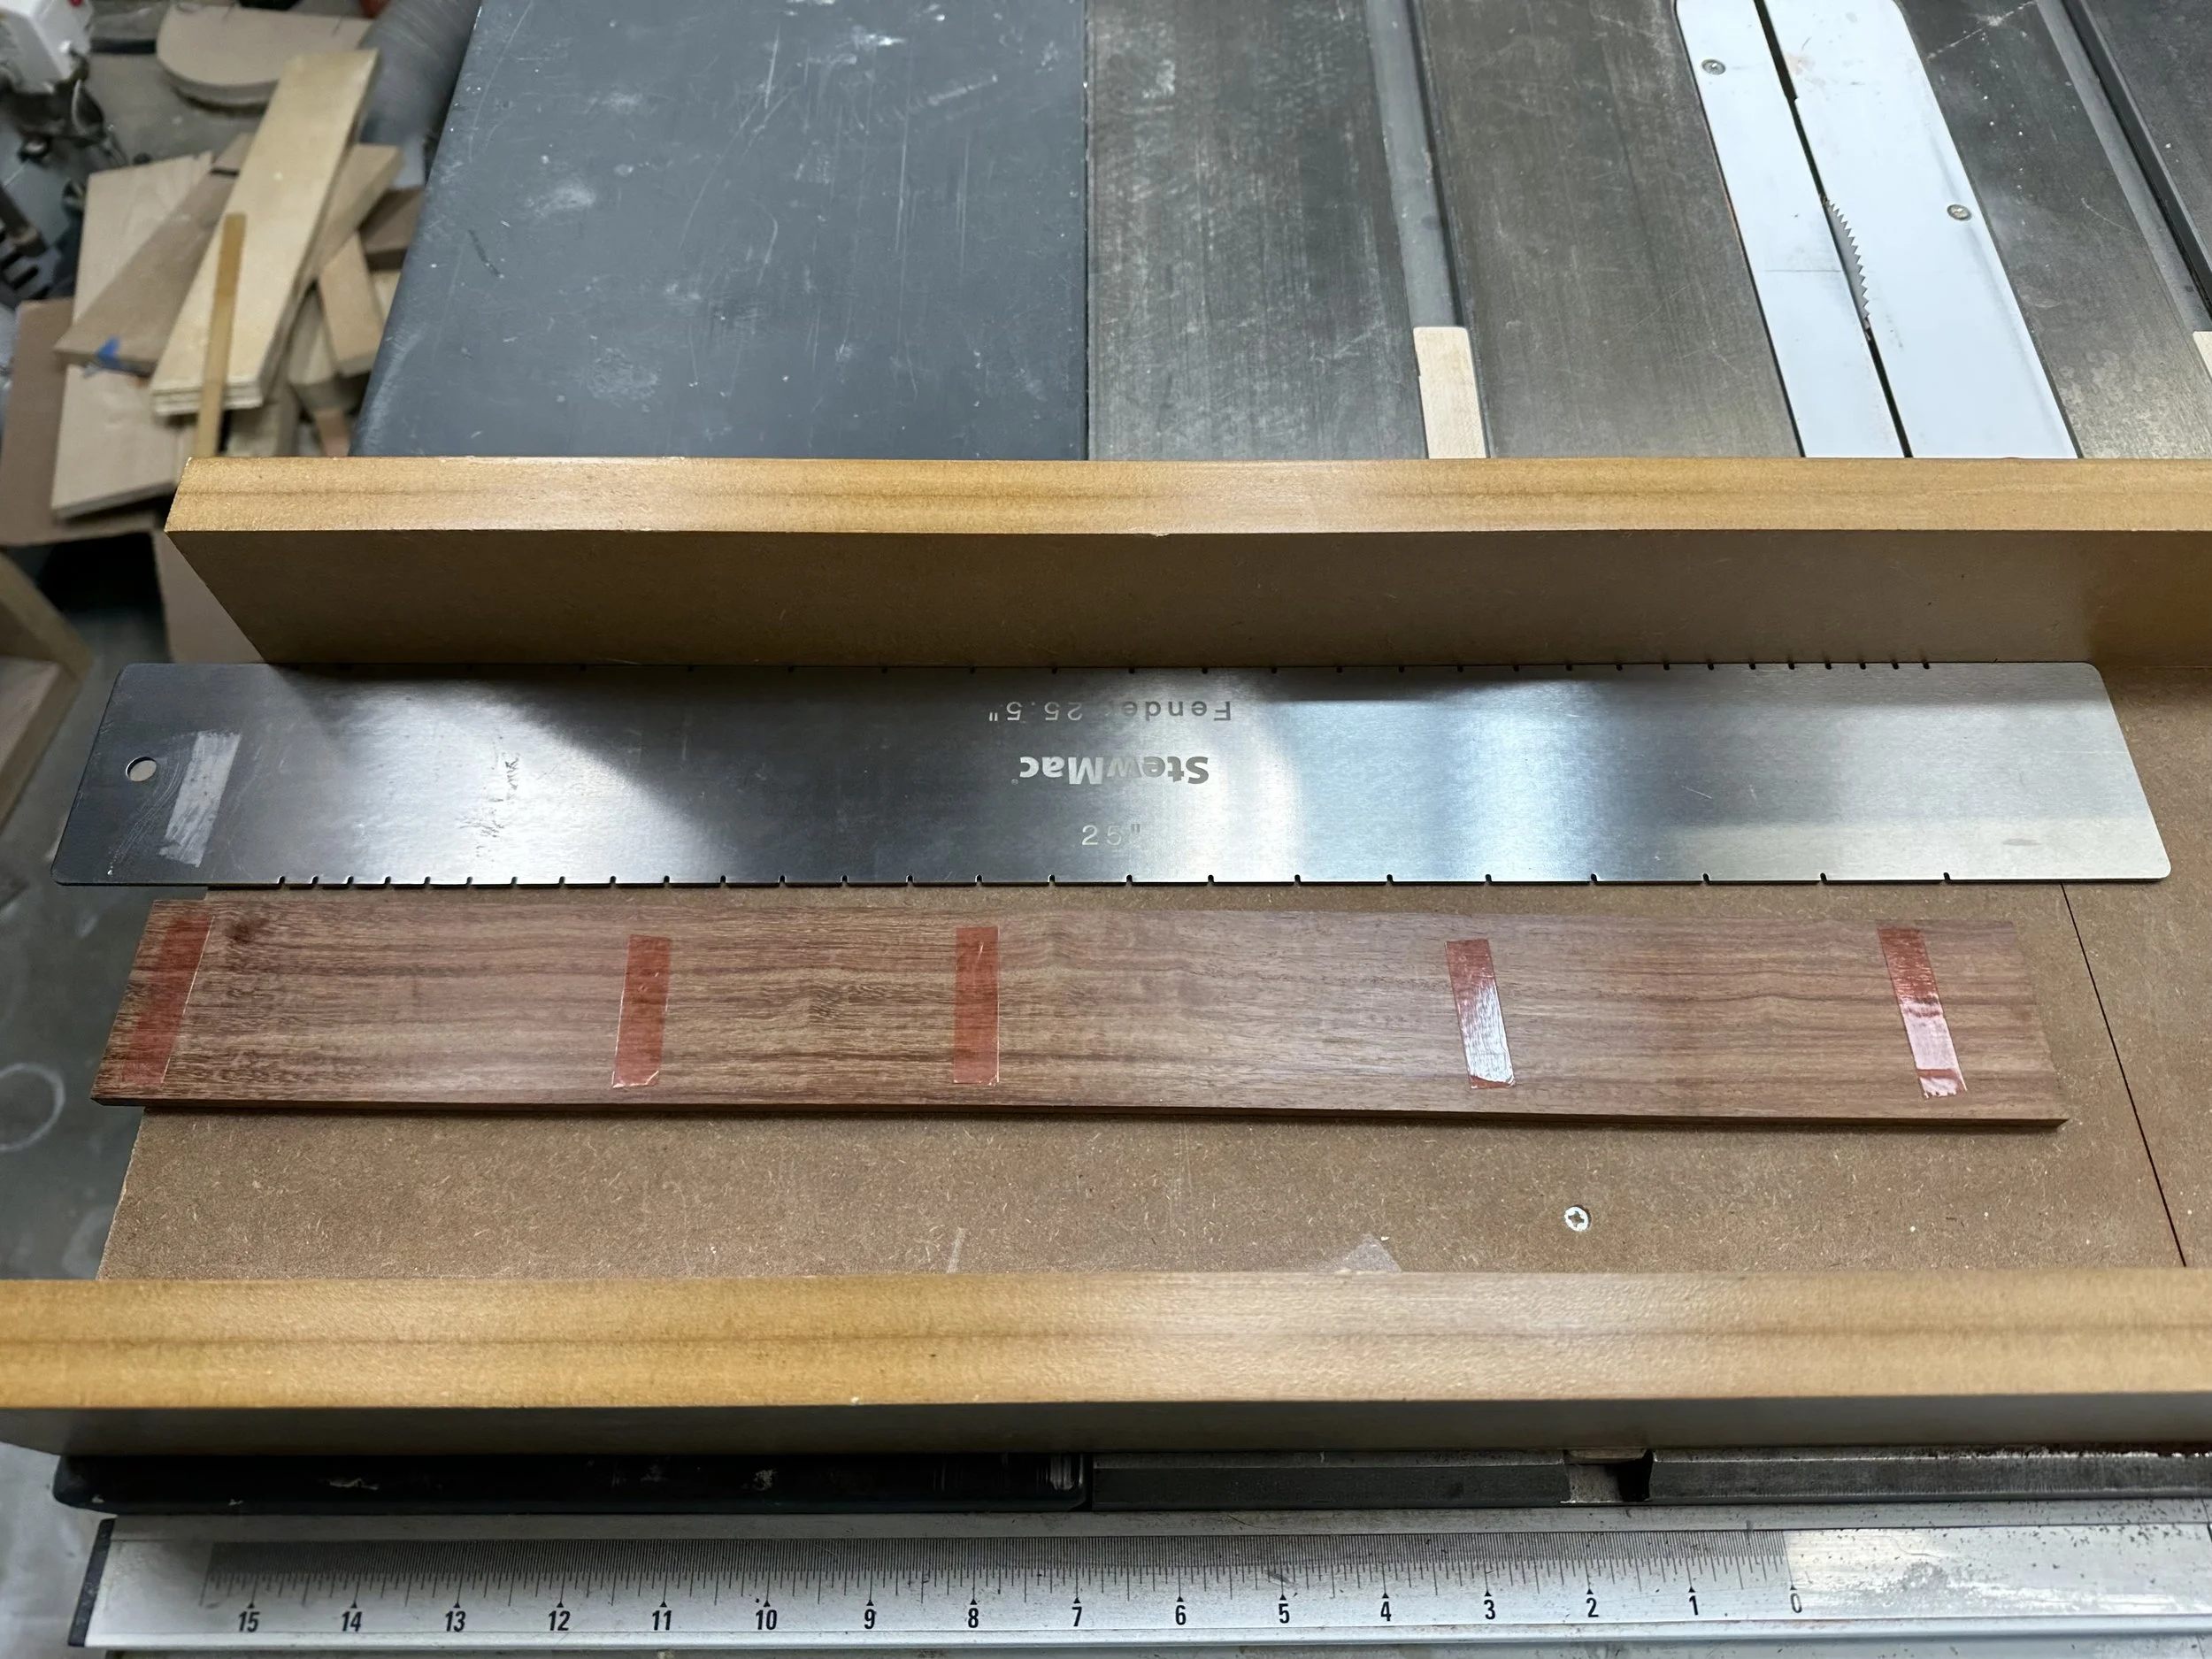
10. The fret-scale template is attached to the fingerboard with my favorite Tesa 4965 tape.
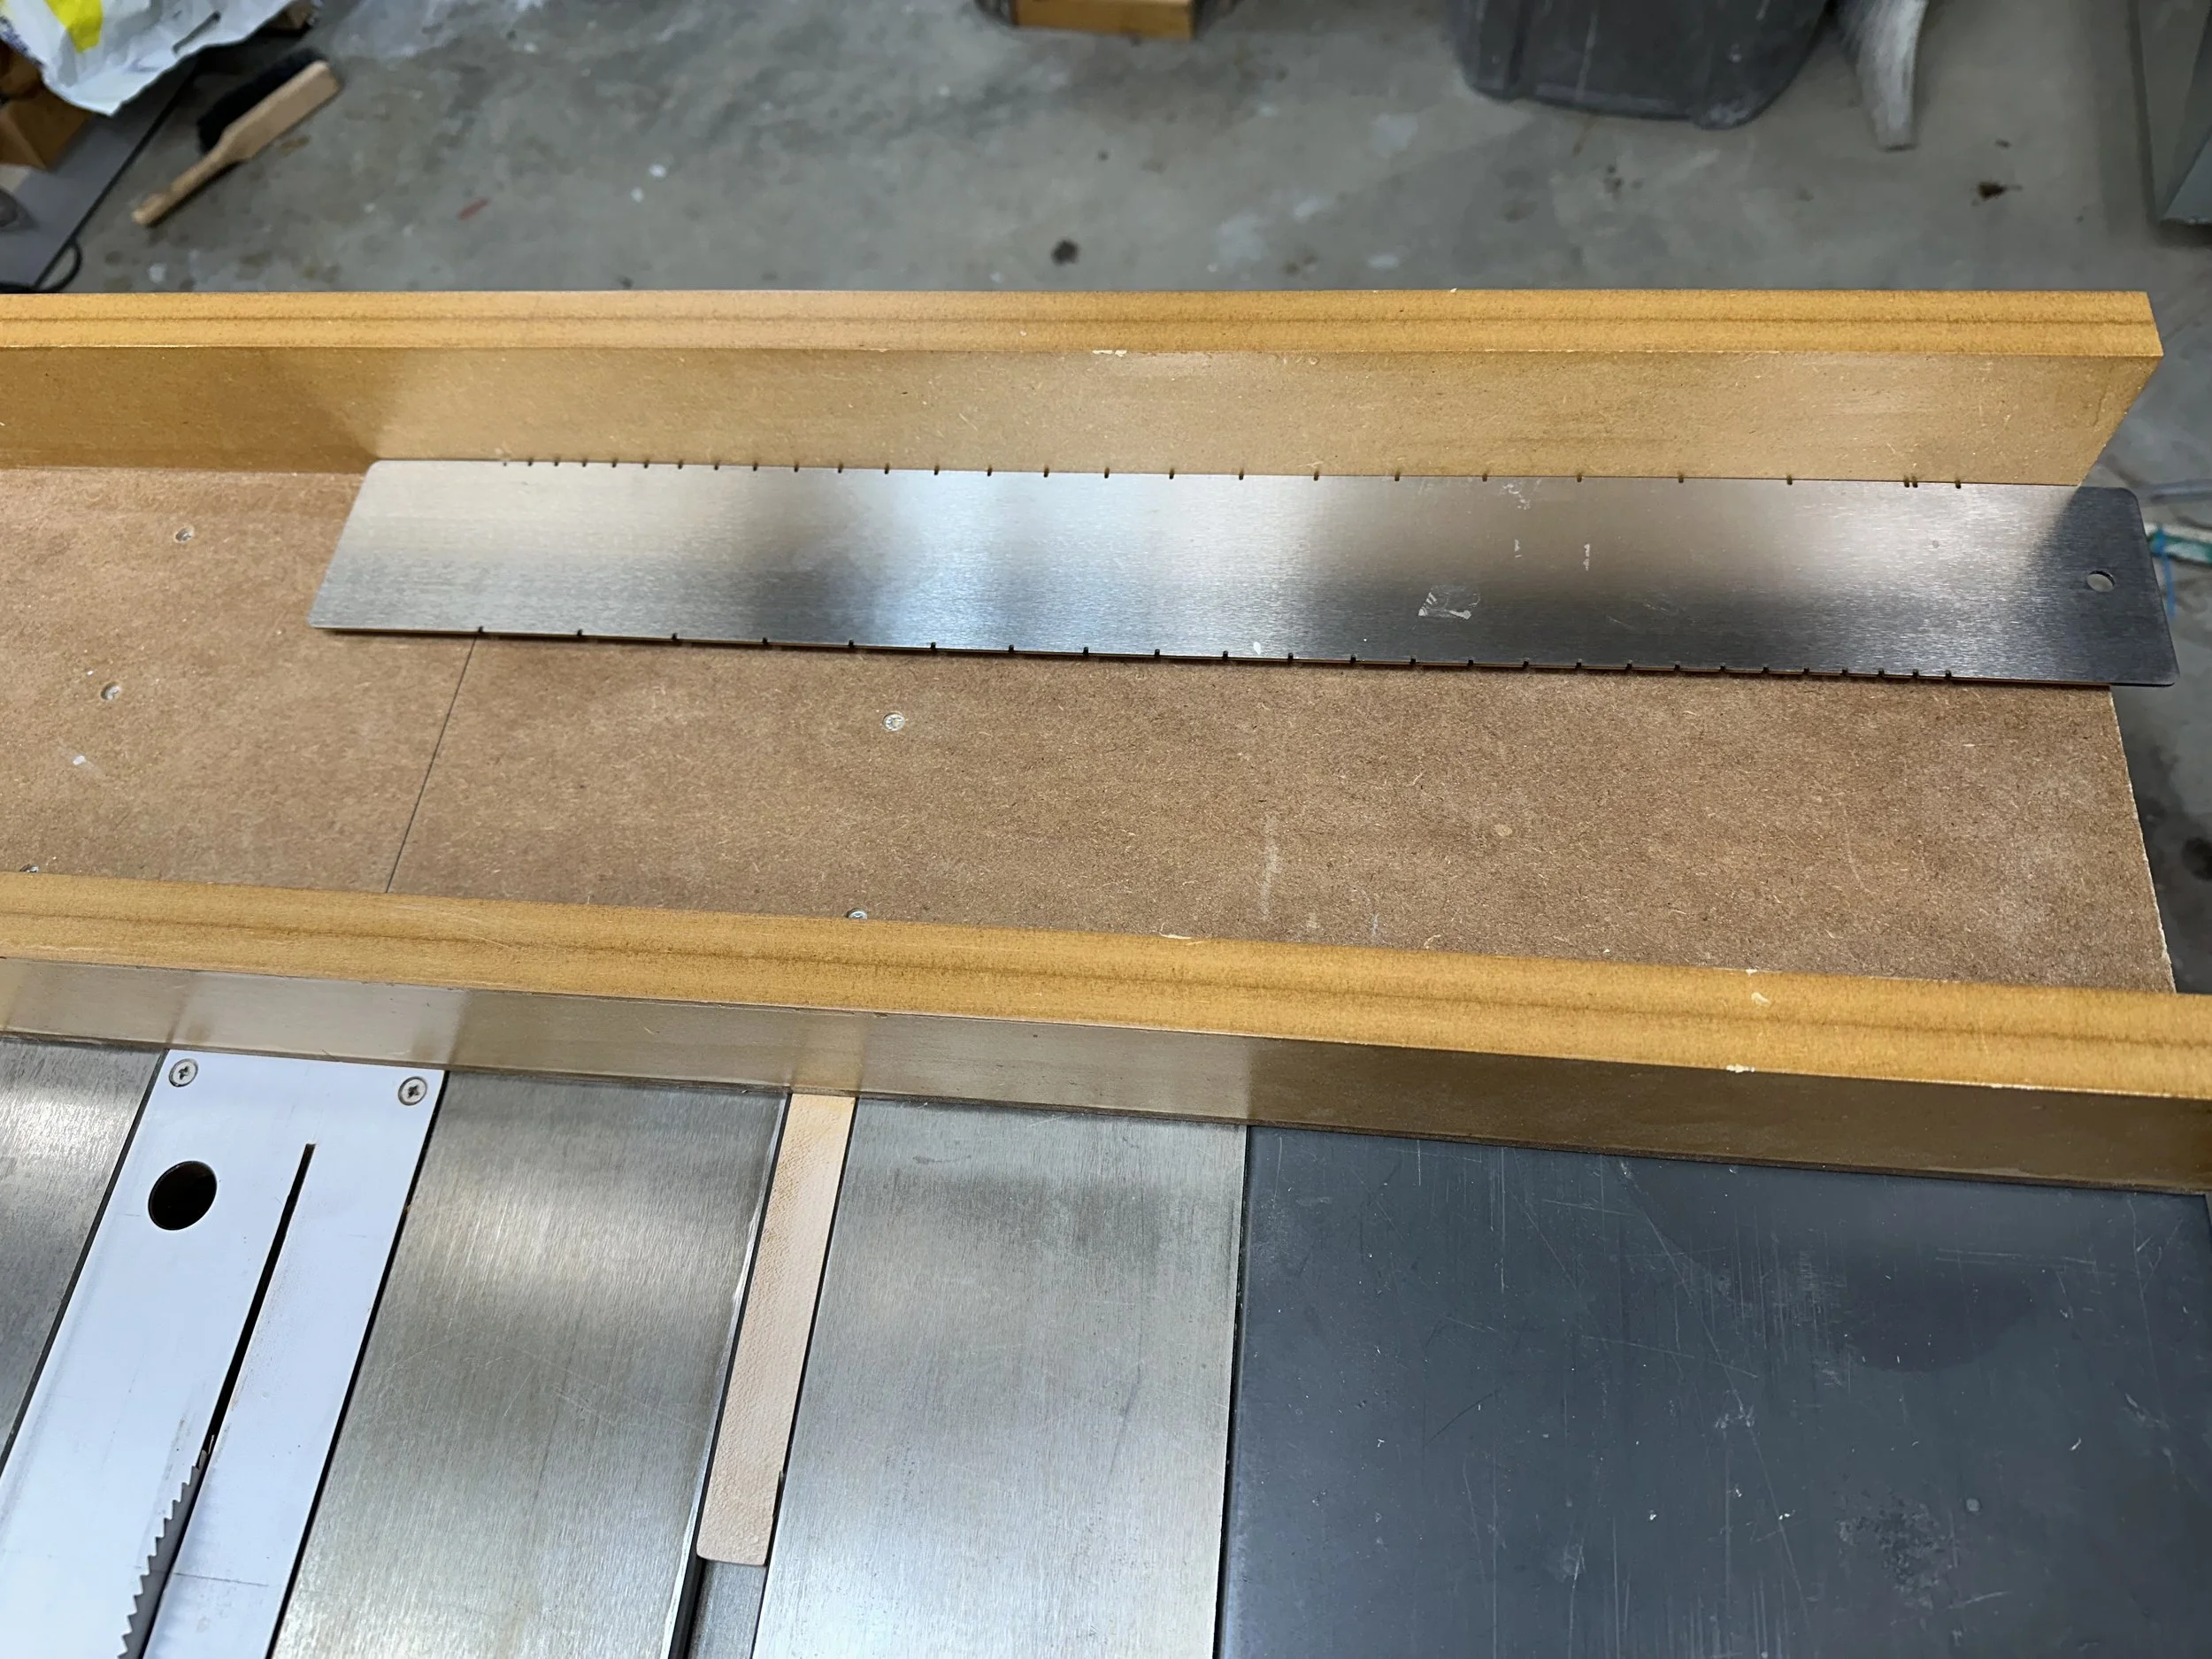
11. There’s a tiny pin to the left of the blade that indexes the template and allows me to cut the slots for the frets and nut.
12. Perfect fret slots every time — no measuring or marking necessary. Norm always said to measure twice and cut once, but it’s even better if you don’t have to measure and transfer markings at all.
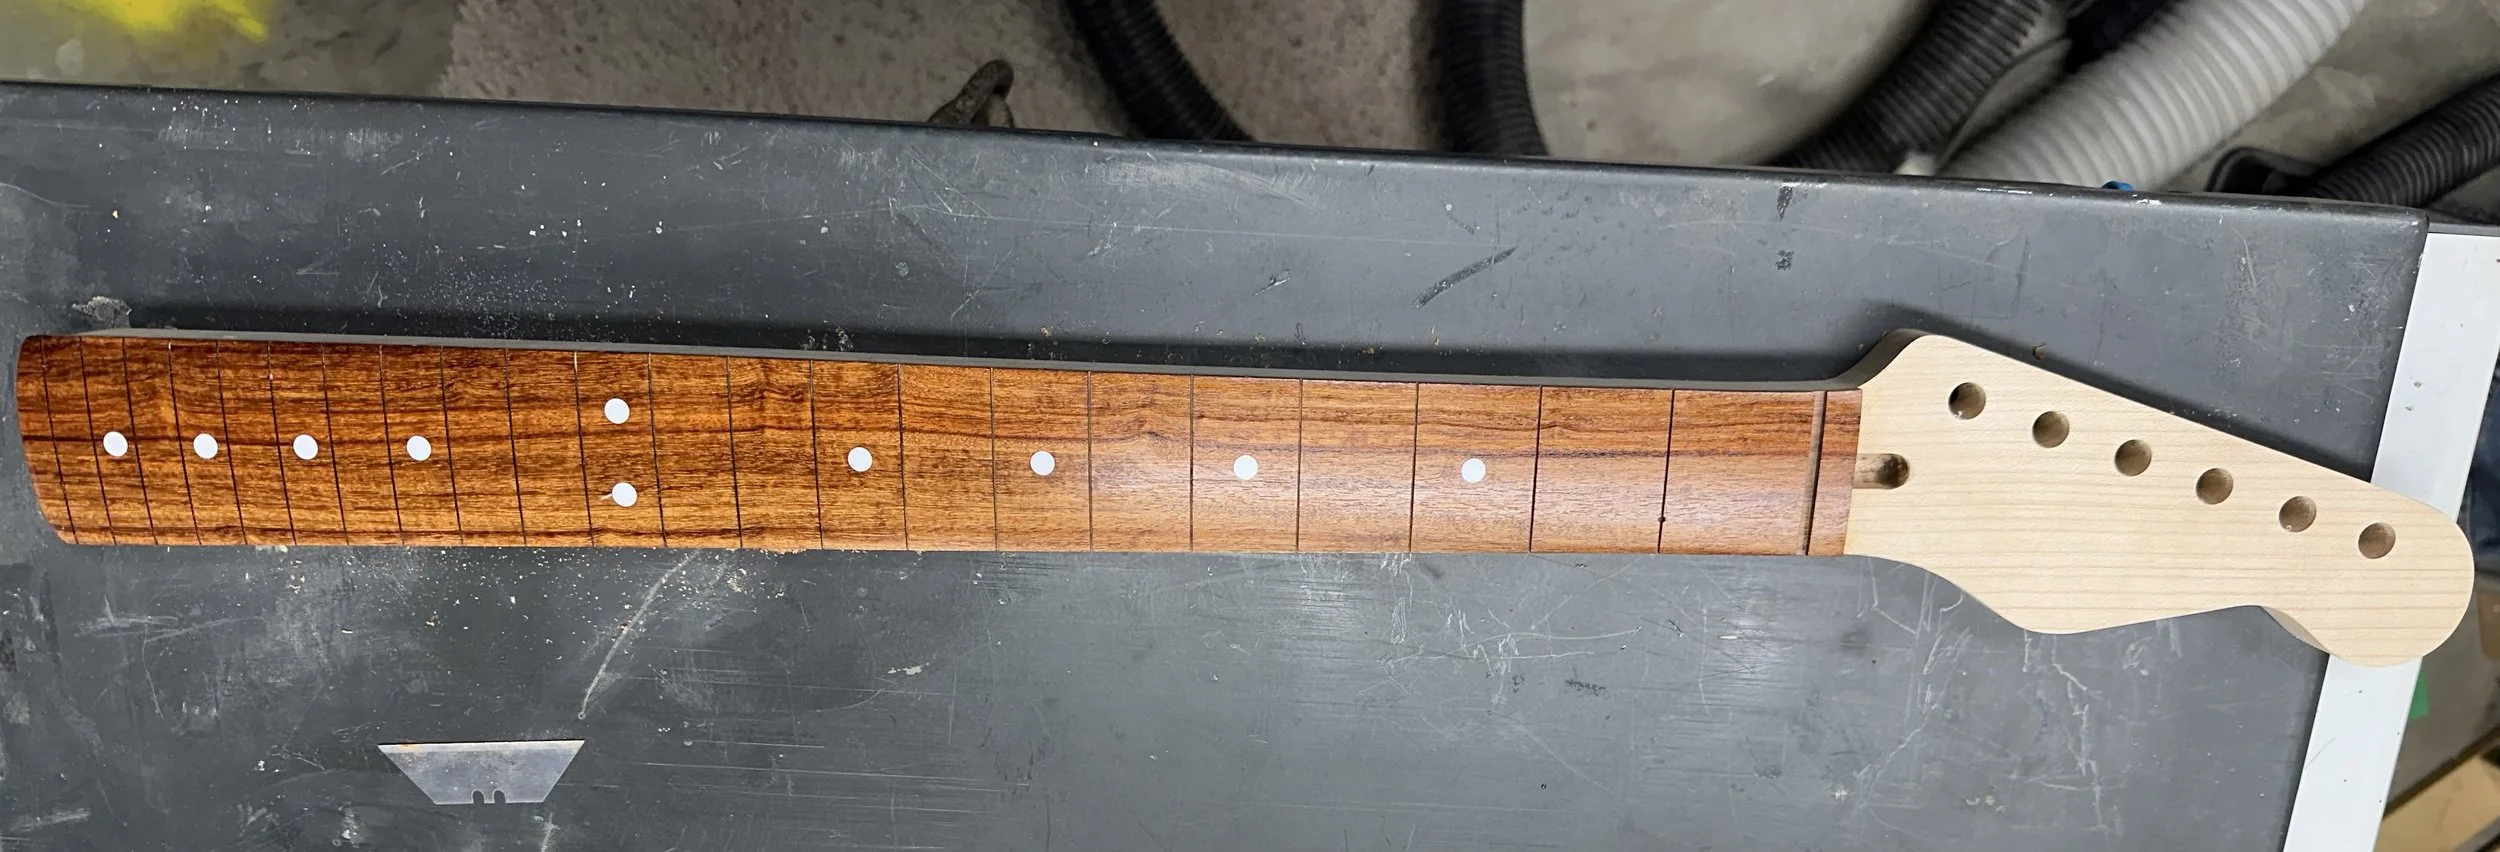
The fingerboard is Pau Ferro, and it’s slotted with a 25.5” scale length.
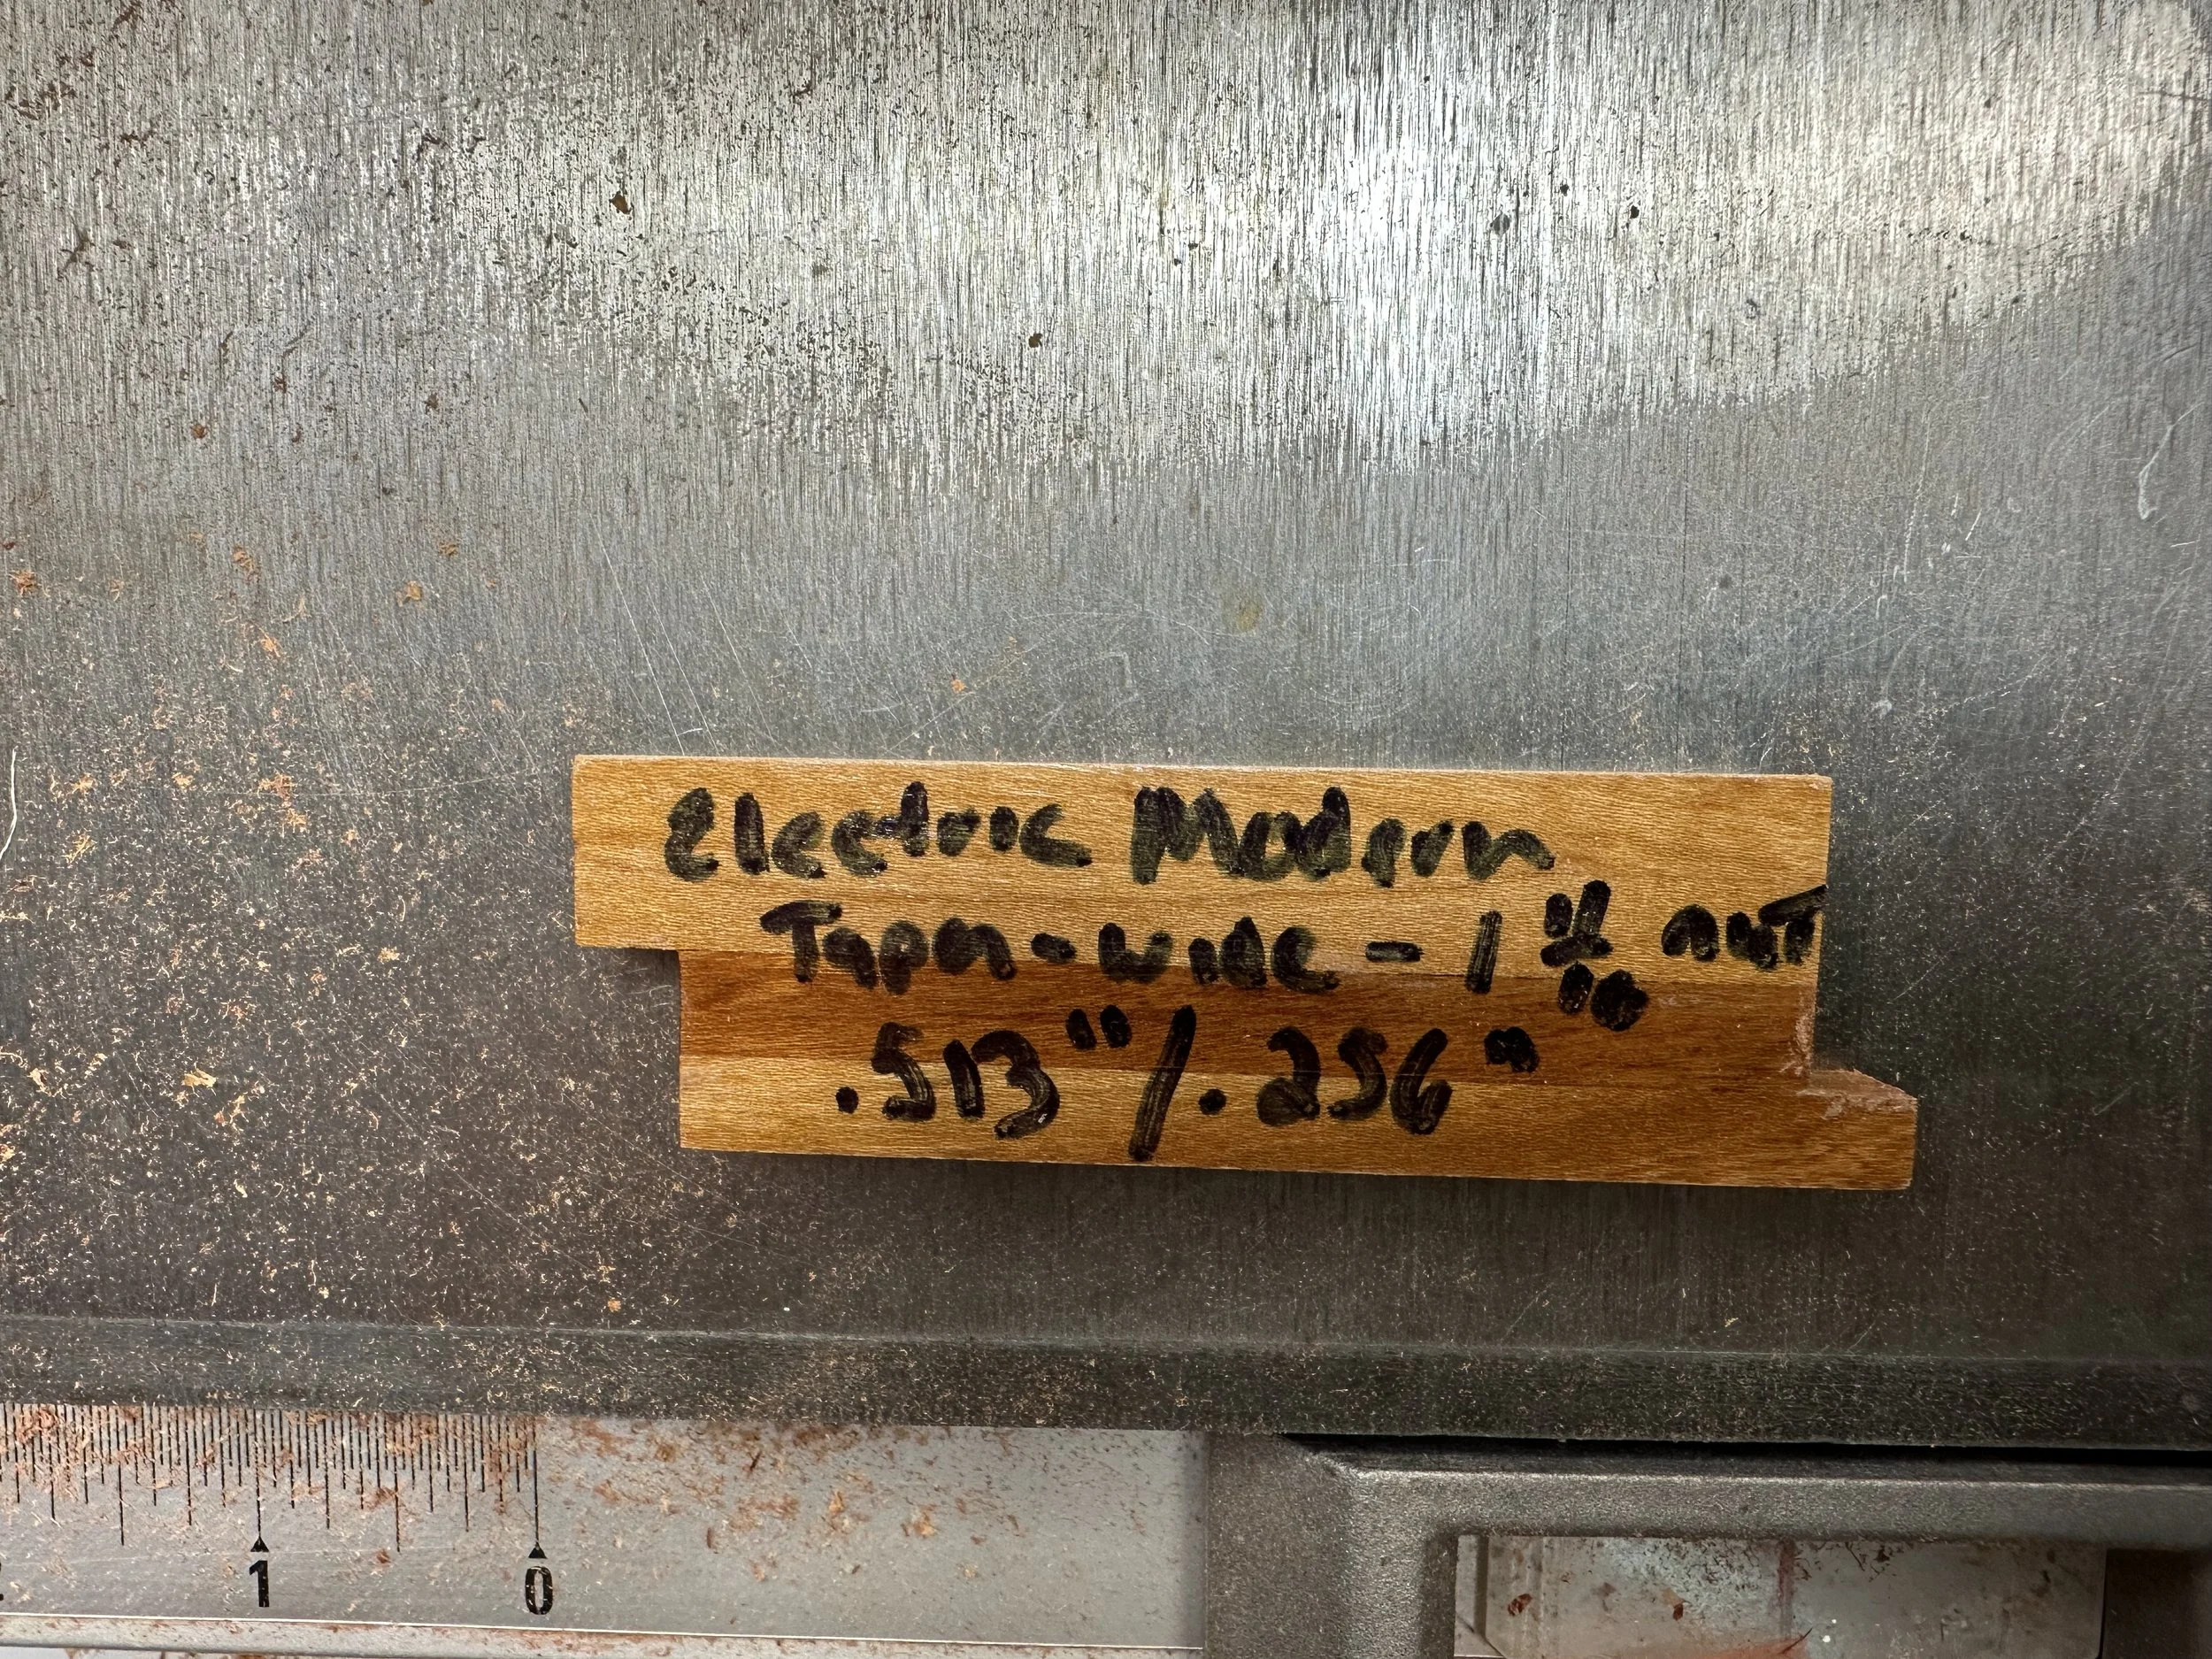
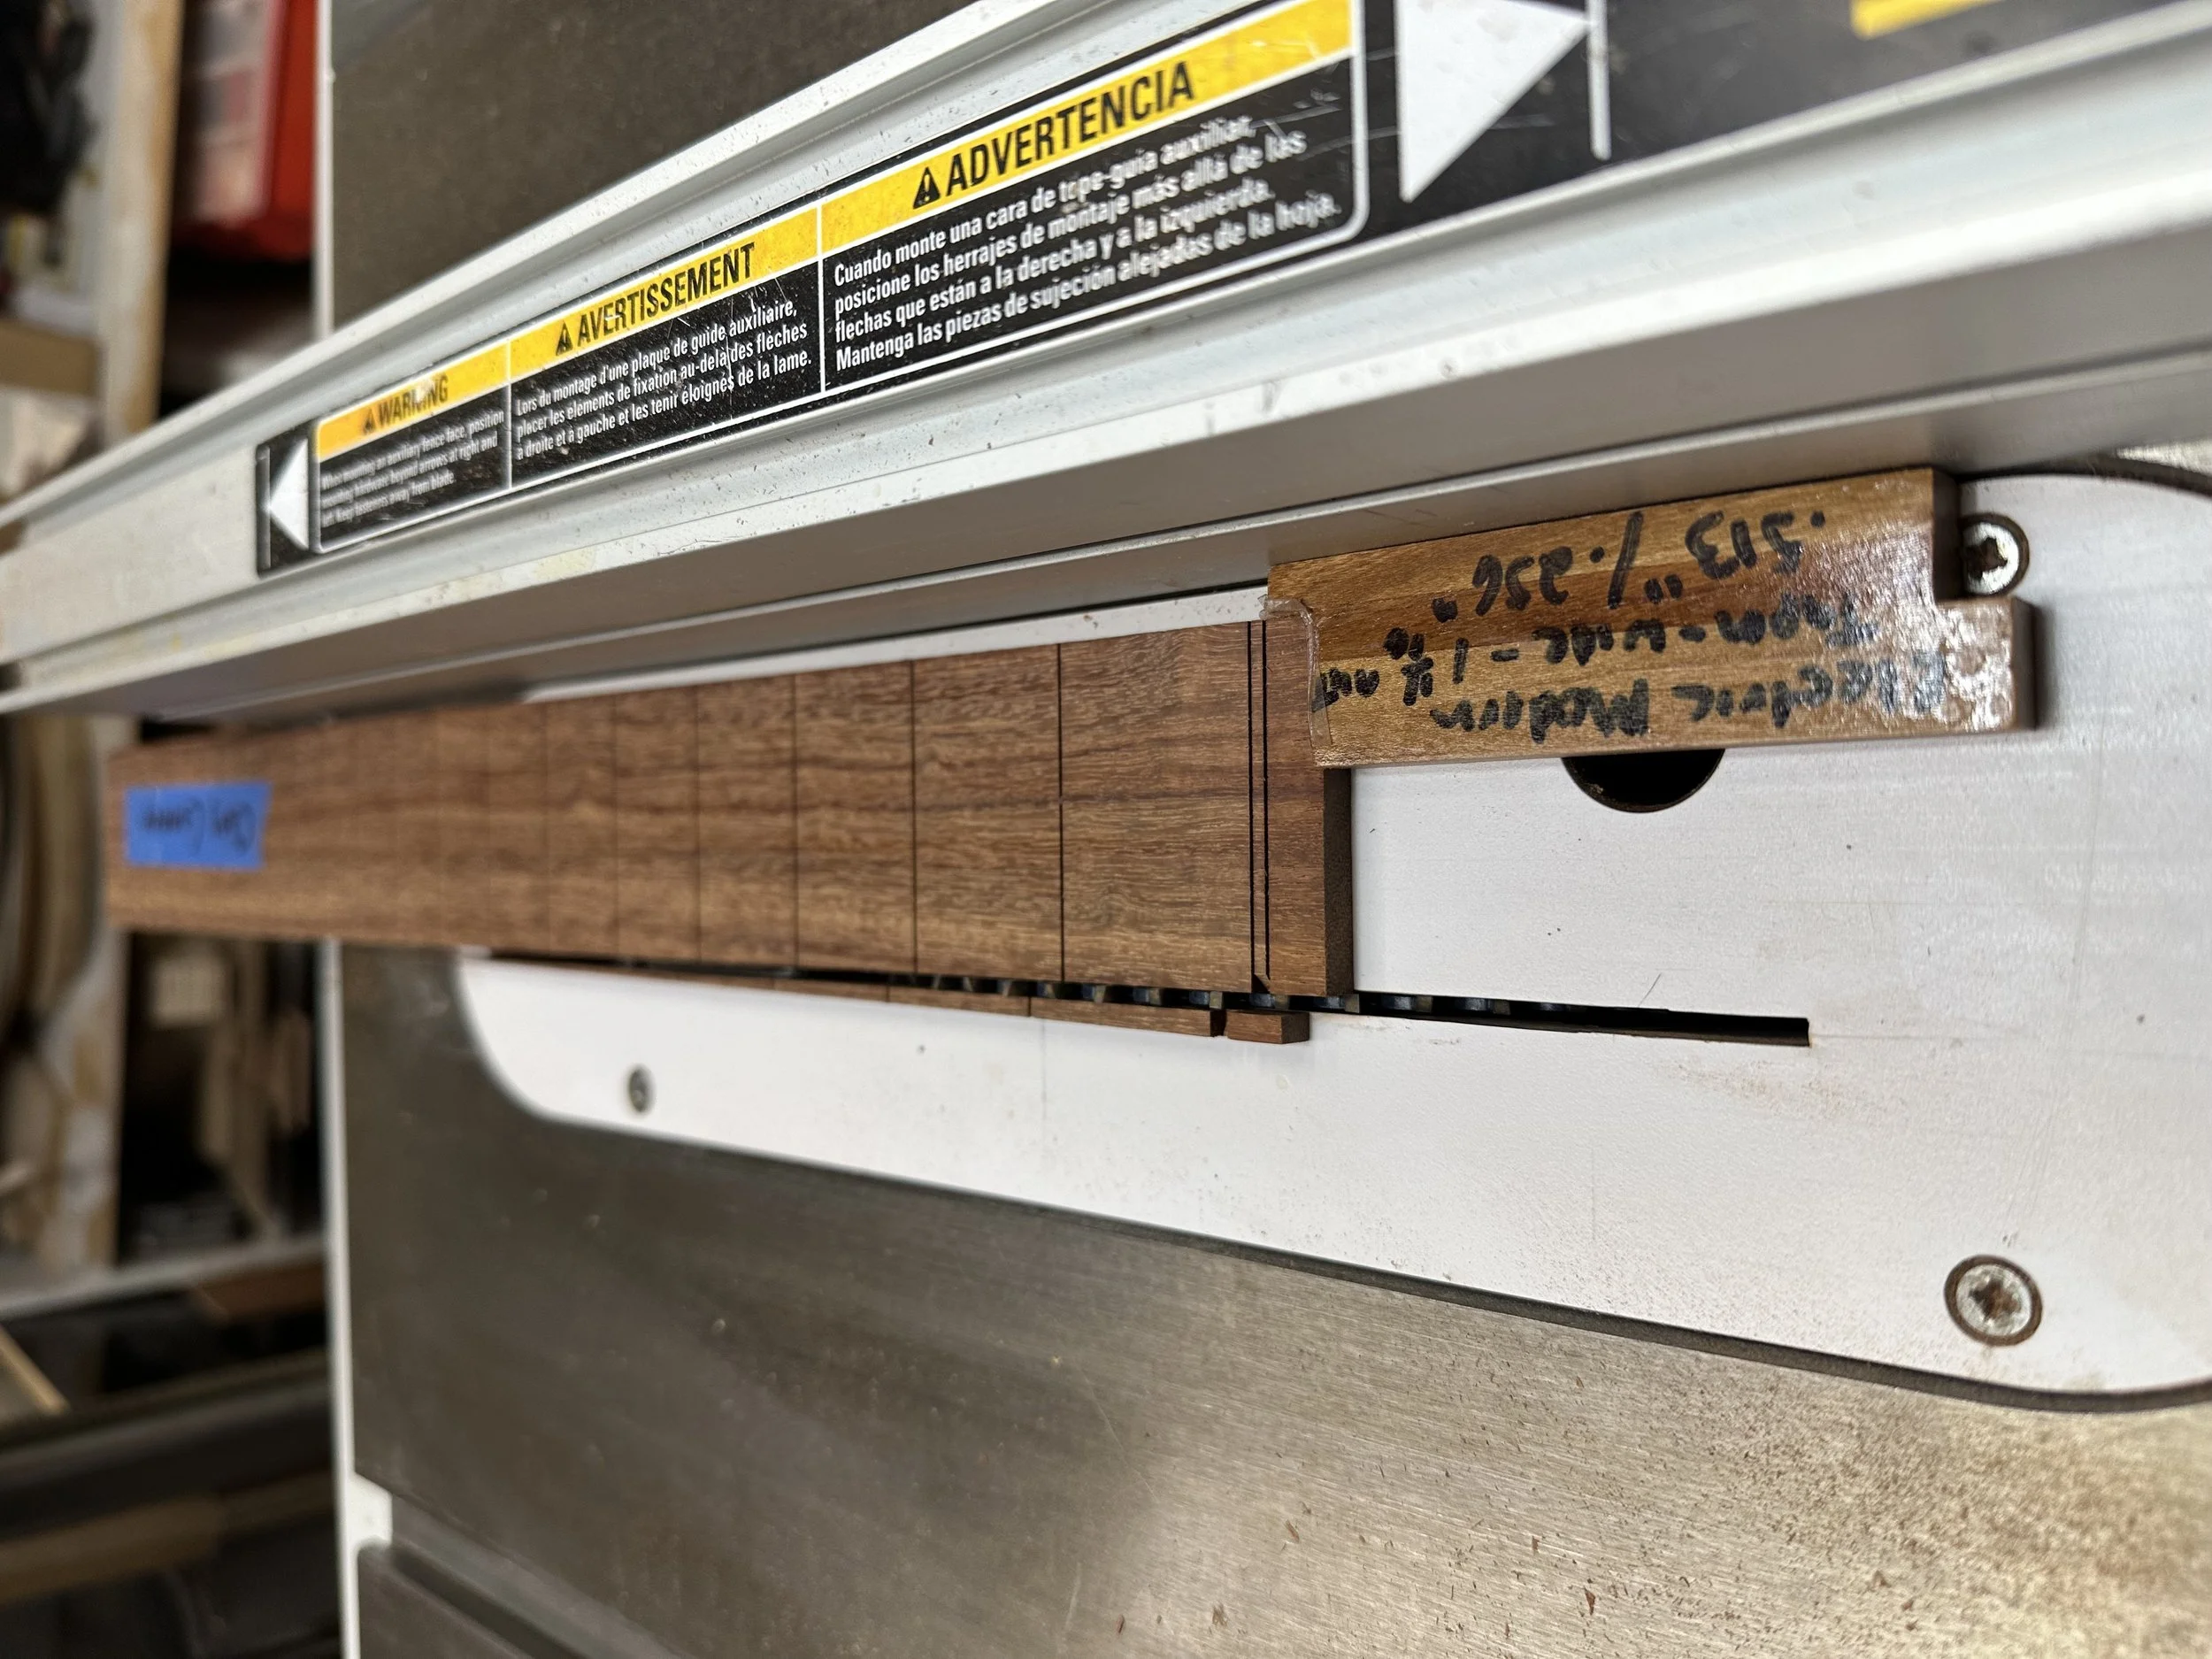
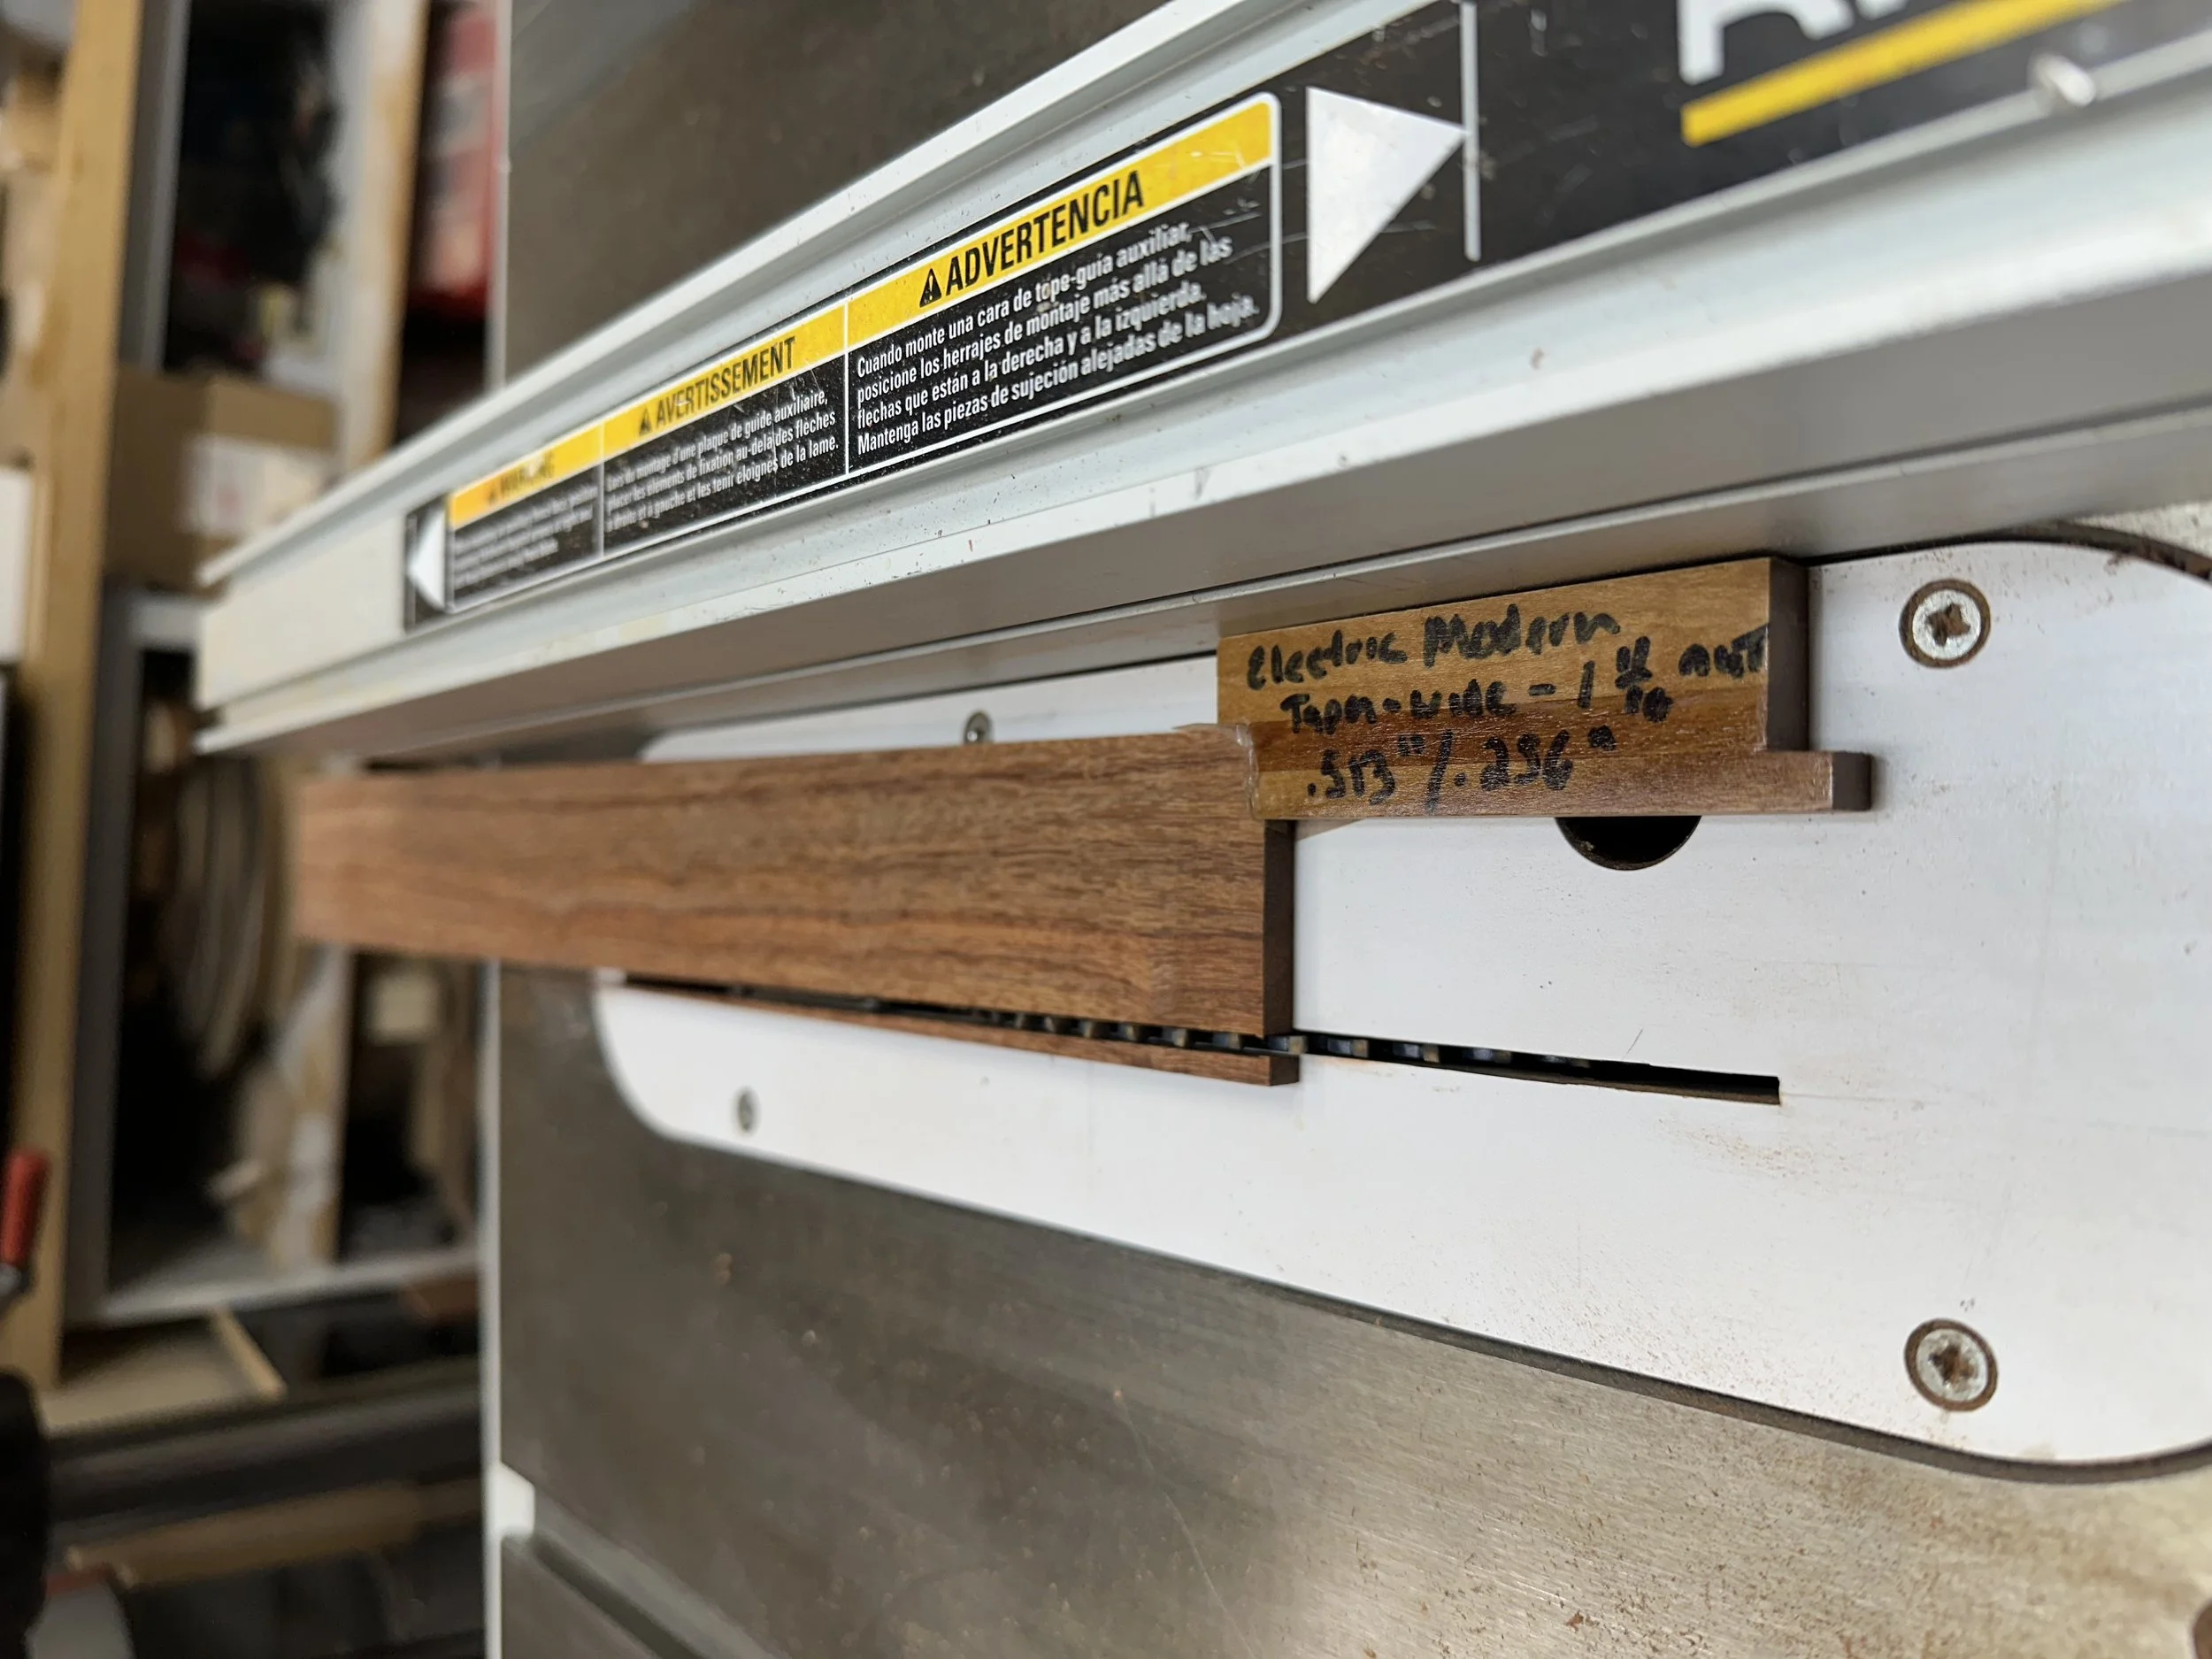
13. This little block establishes the fingerboard taper.
14. First, we rip one side of the fingerboard with the narrow side of the block against the fence…
15. …and then we rip the opposite side of the fingerboard with the wide end of the block against the fence. Because the block is 1x and 2x width, we cut the same taper off each side.
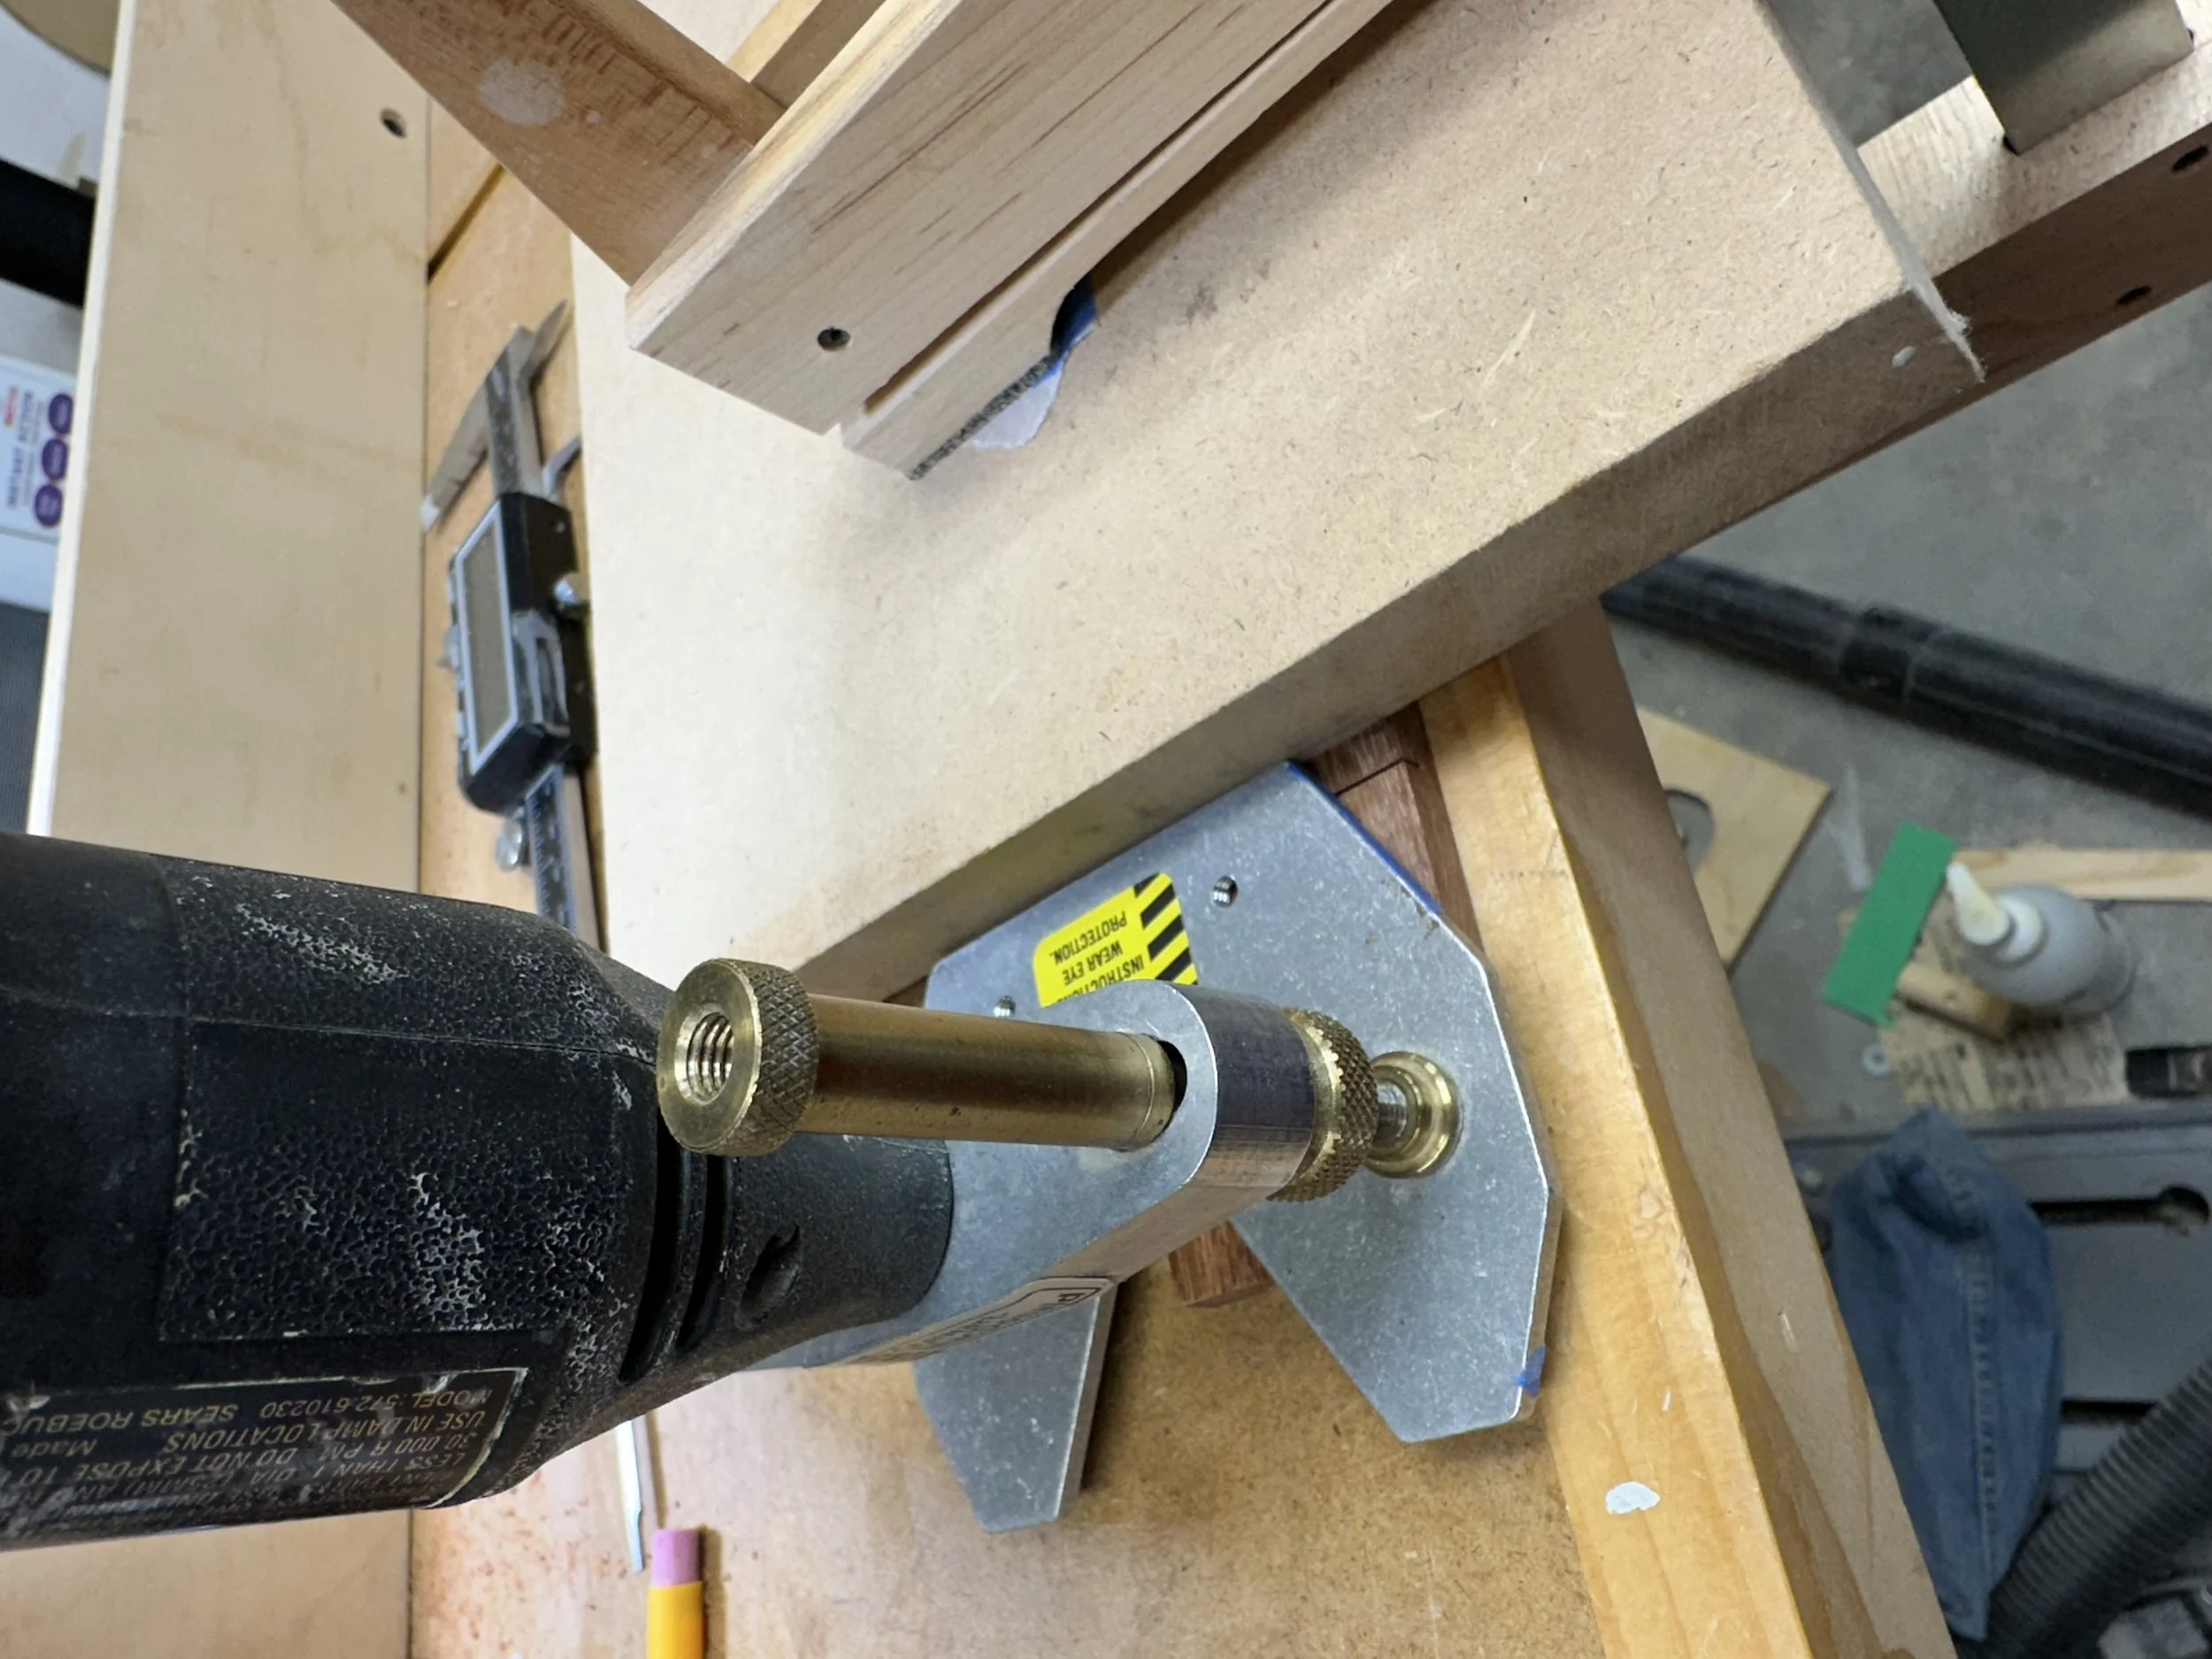
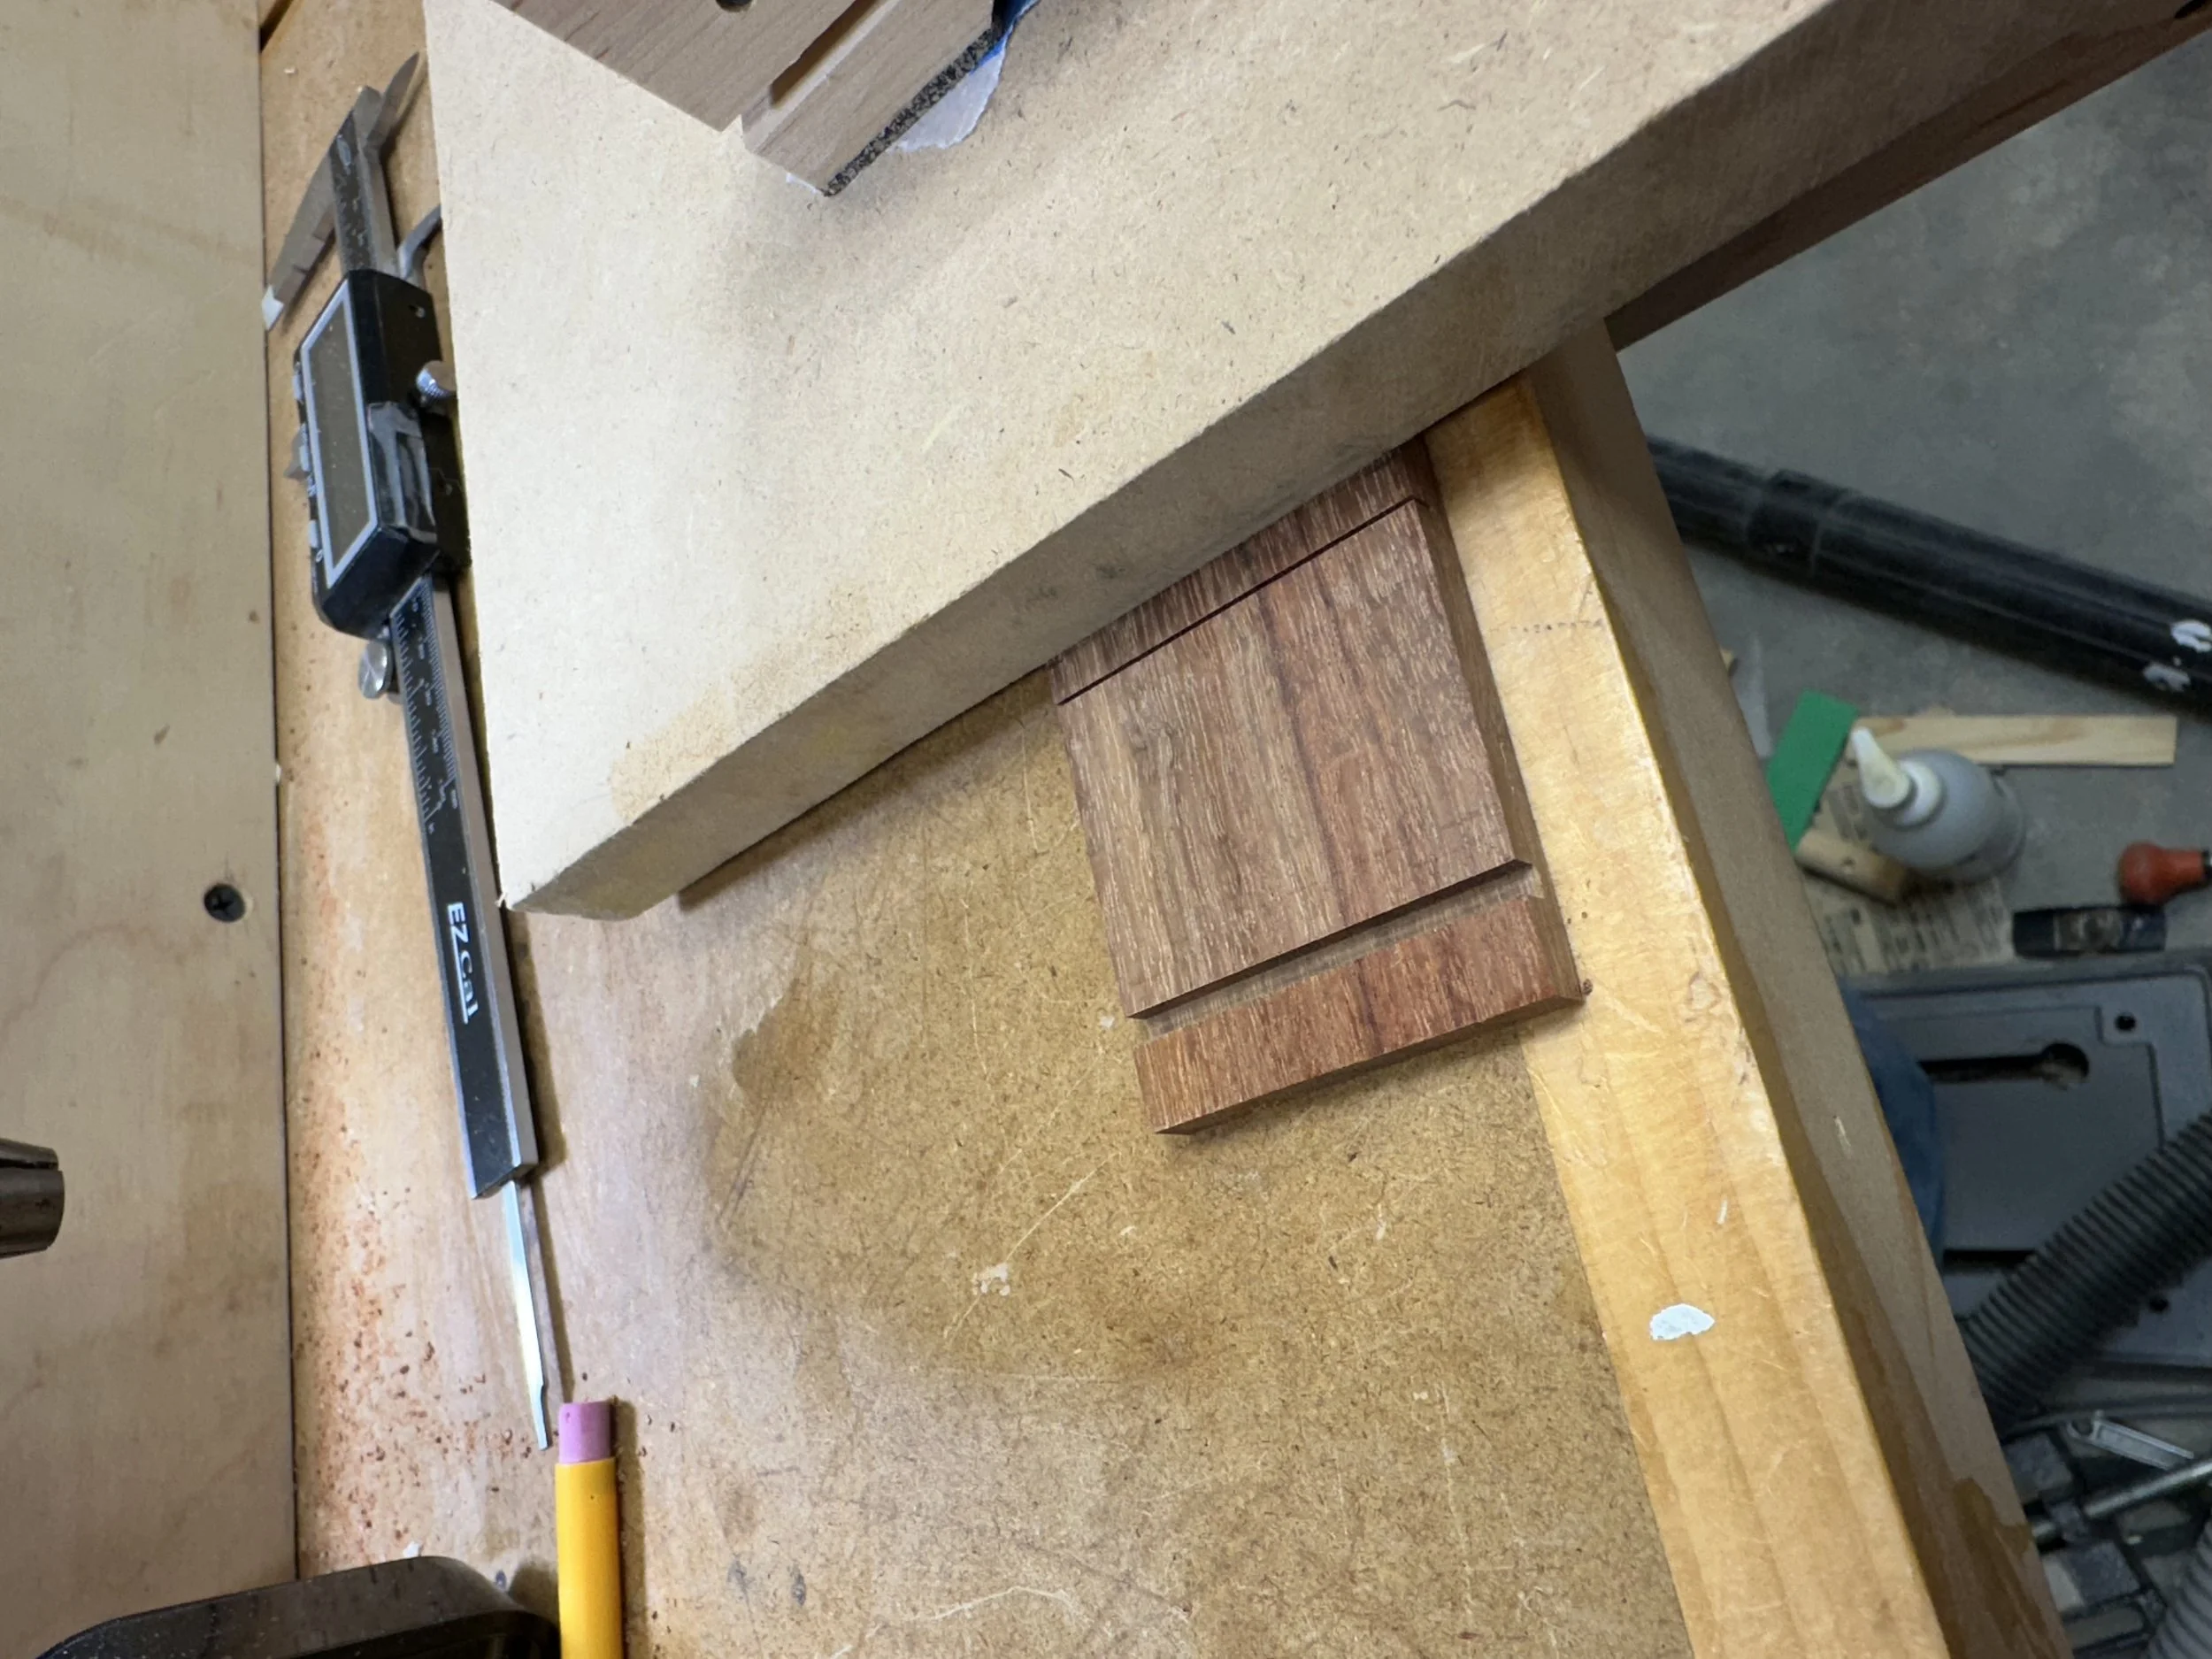
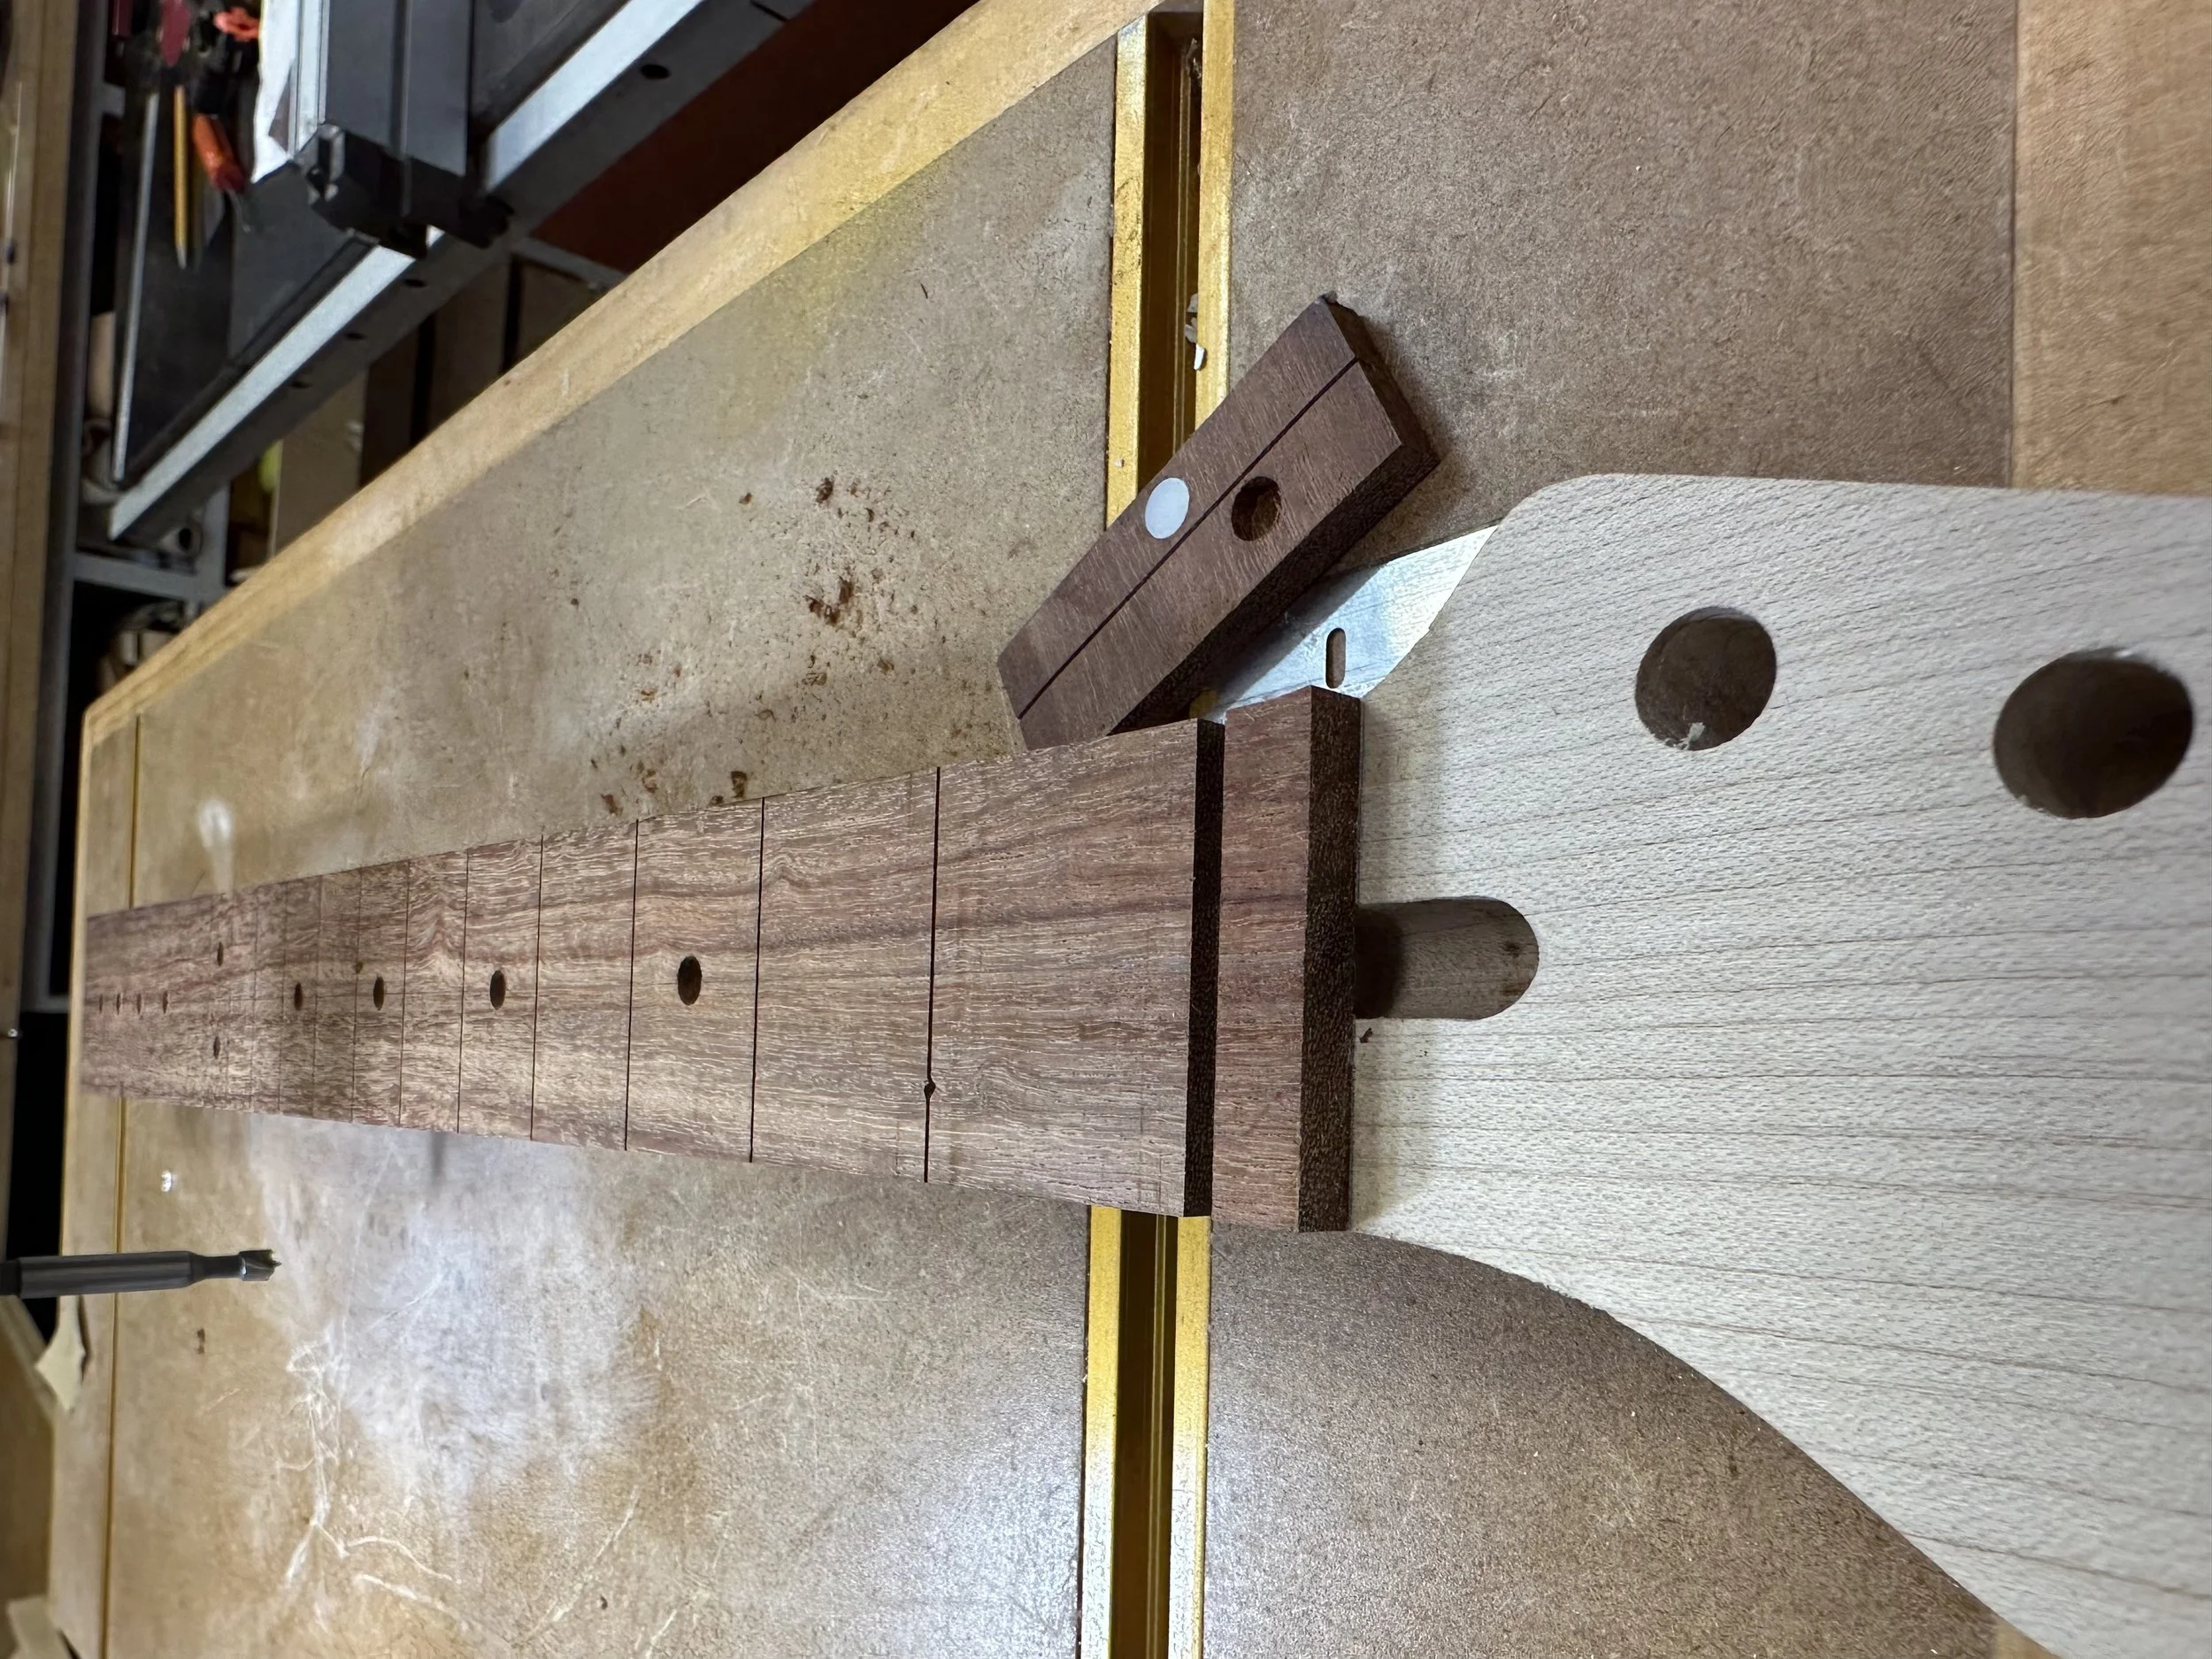
16. A makeshift fence and Dremel with a 1/16” spiral bit will connect the earlier saw cuts that mark the nut location…
…like so.
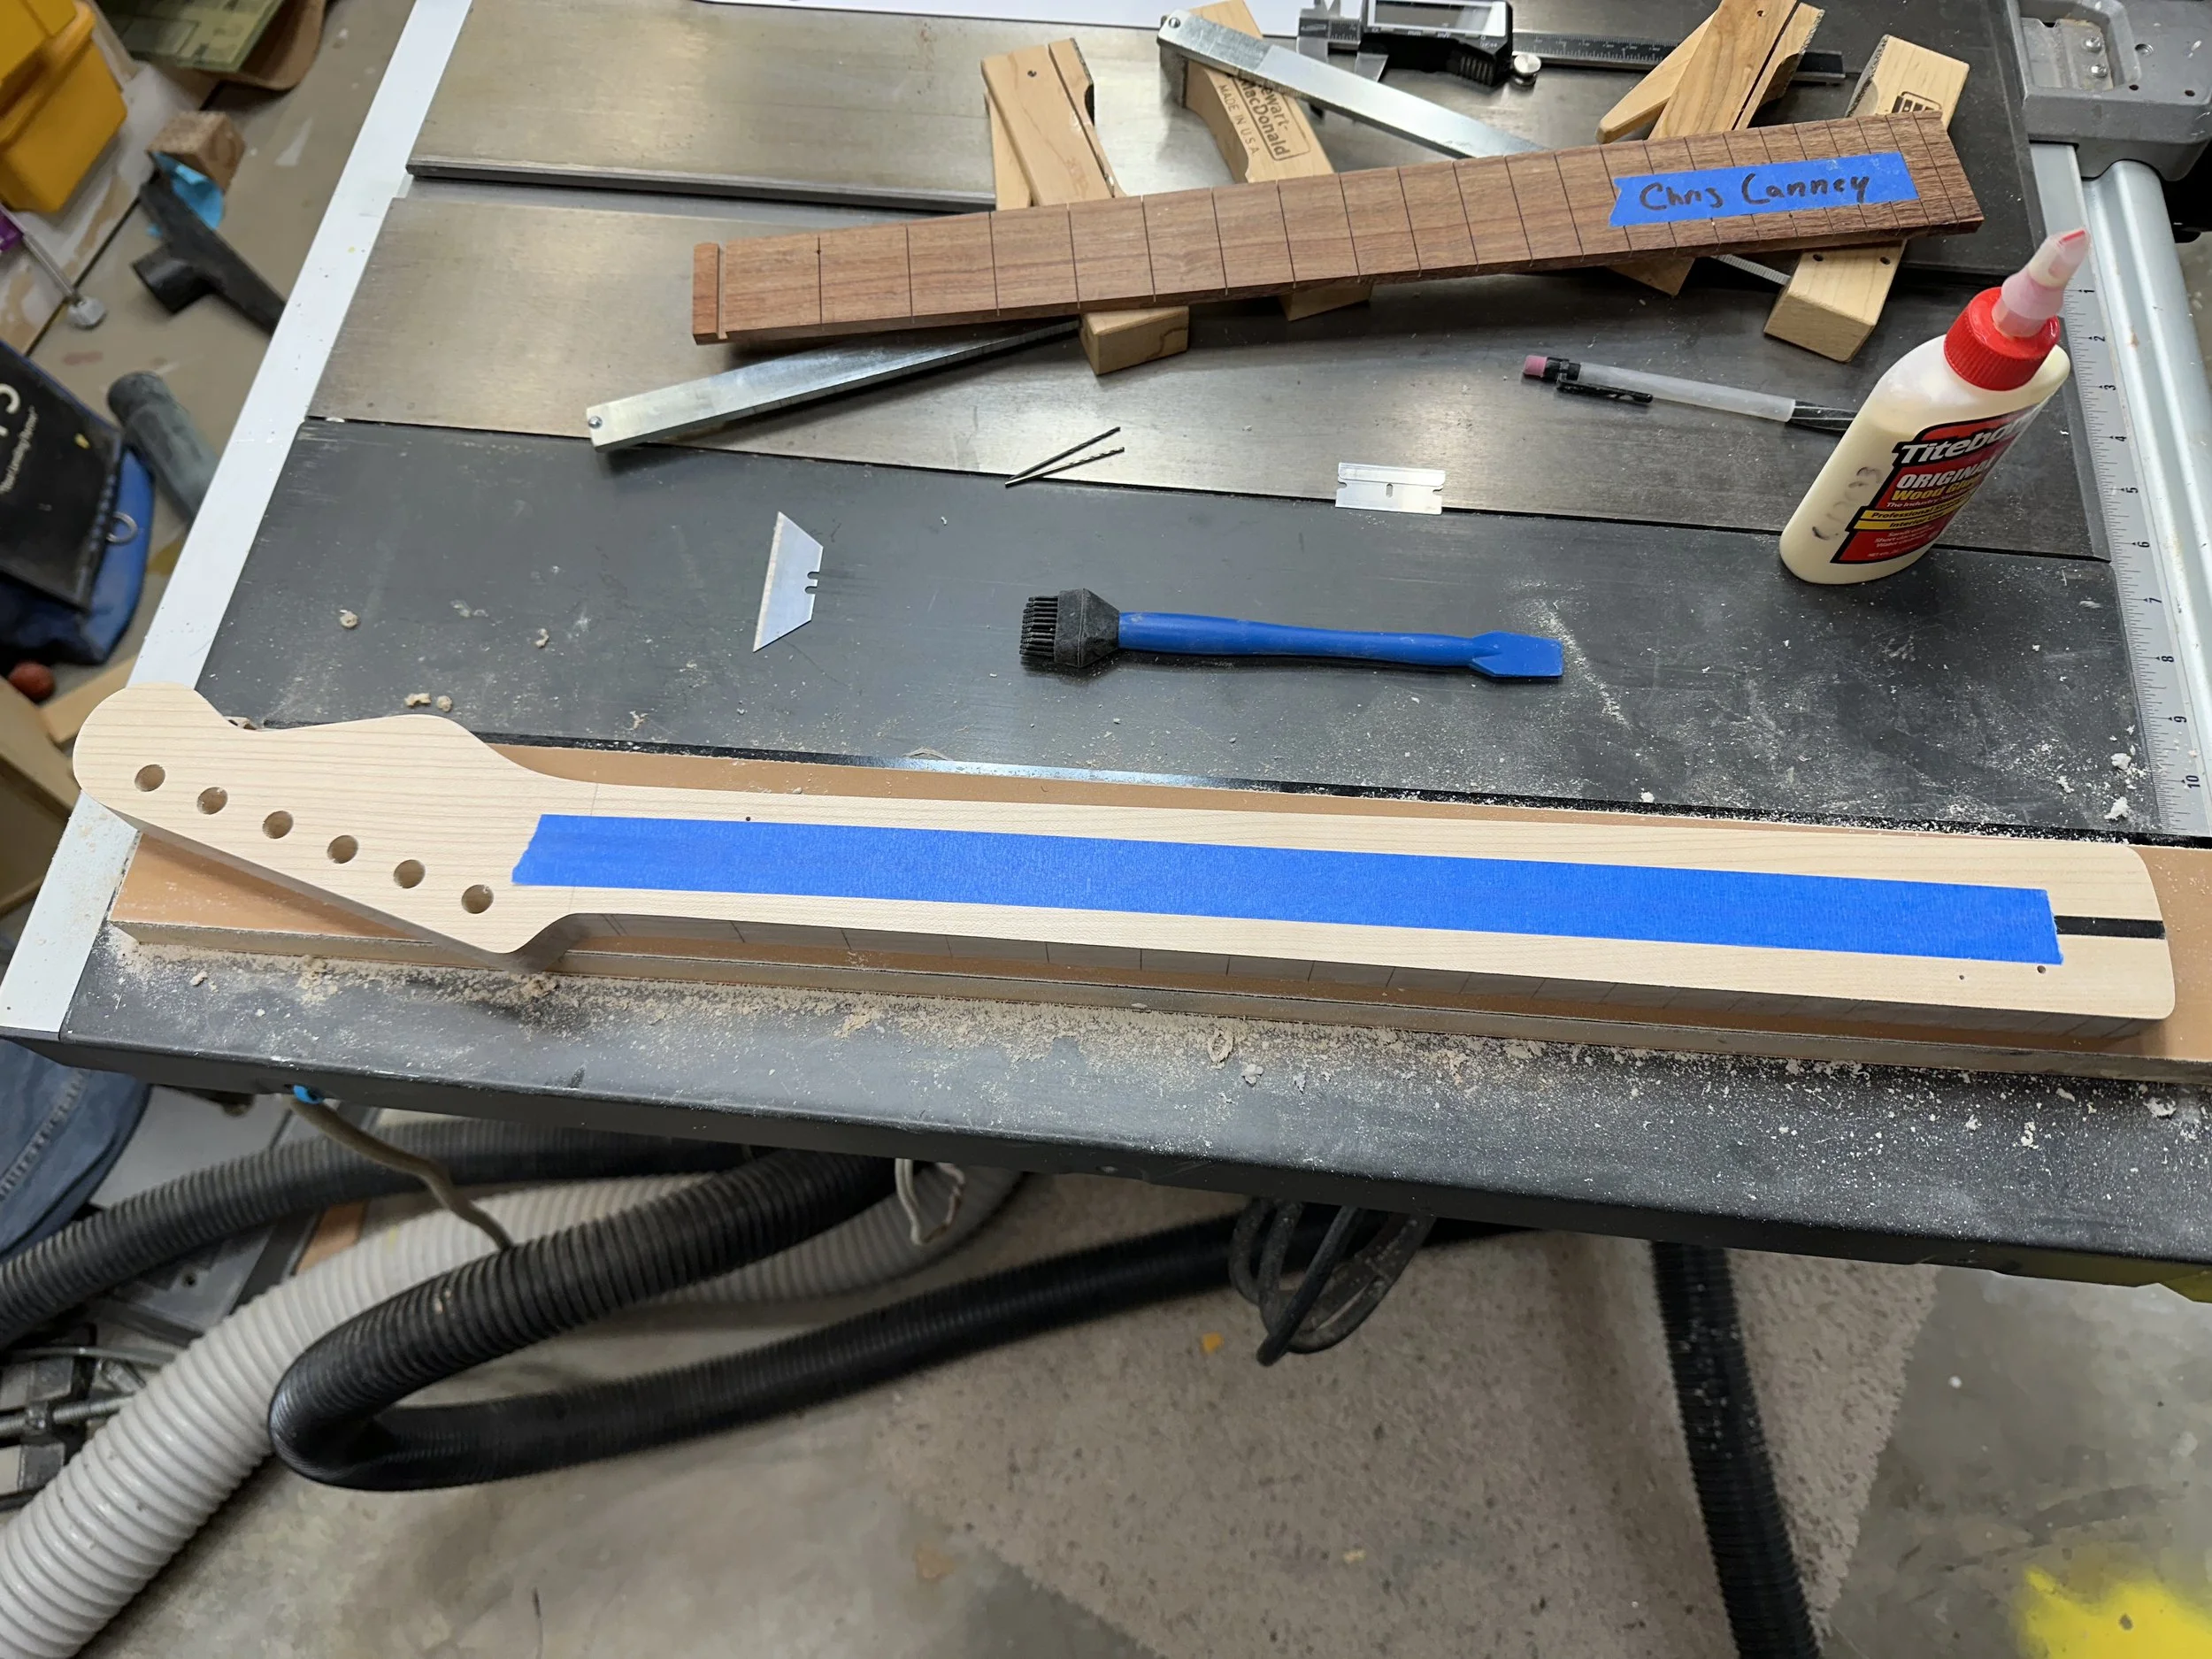
17. Trying something new here: instead of a hardwood spline over the truss rod, I’m using a strip of UMHW plastic. It’s dense, and nothing sticks to it.
18. A strip of tape keeps glue out of the truss-rod slot.
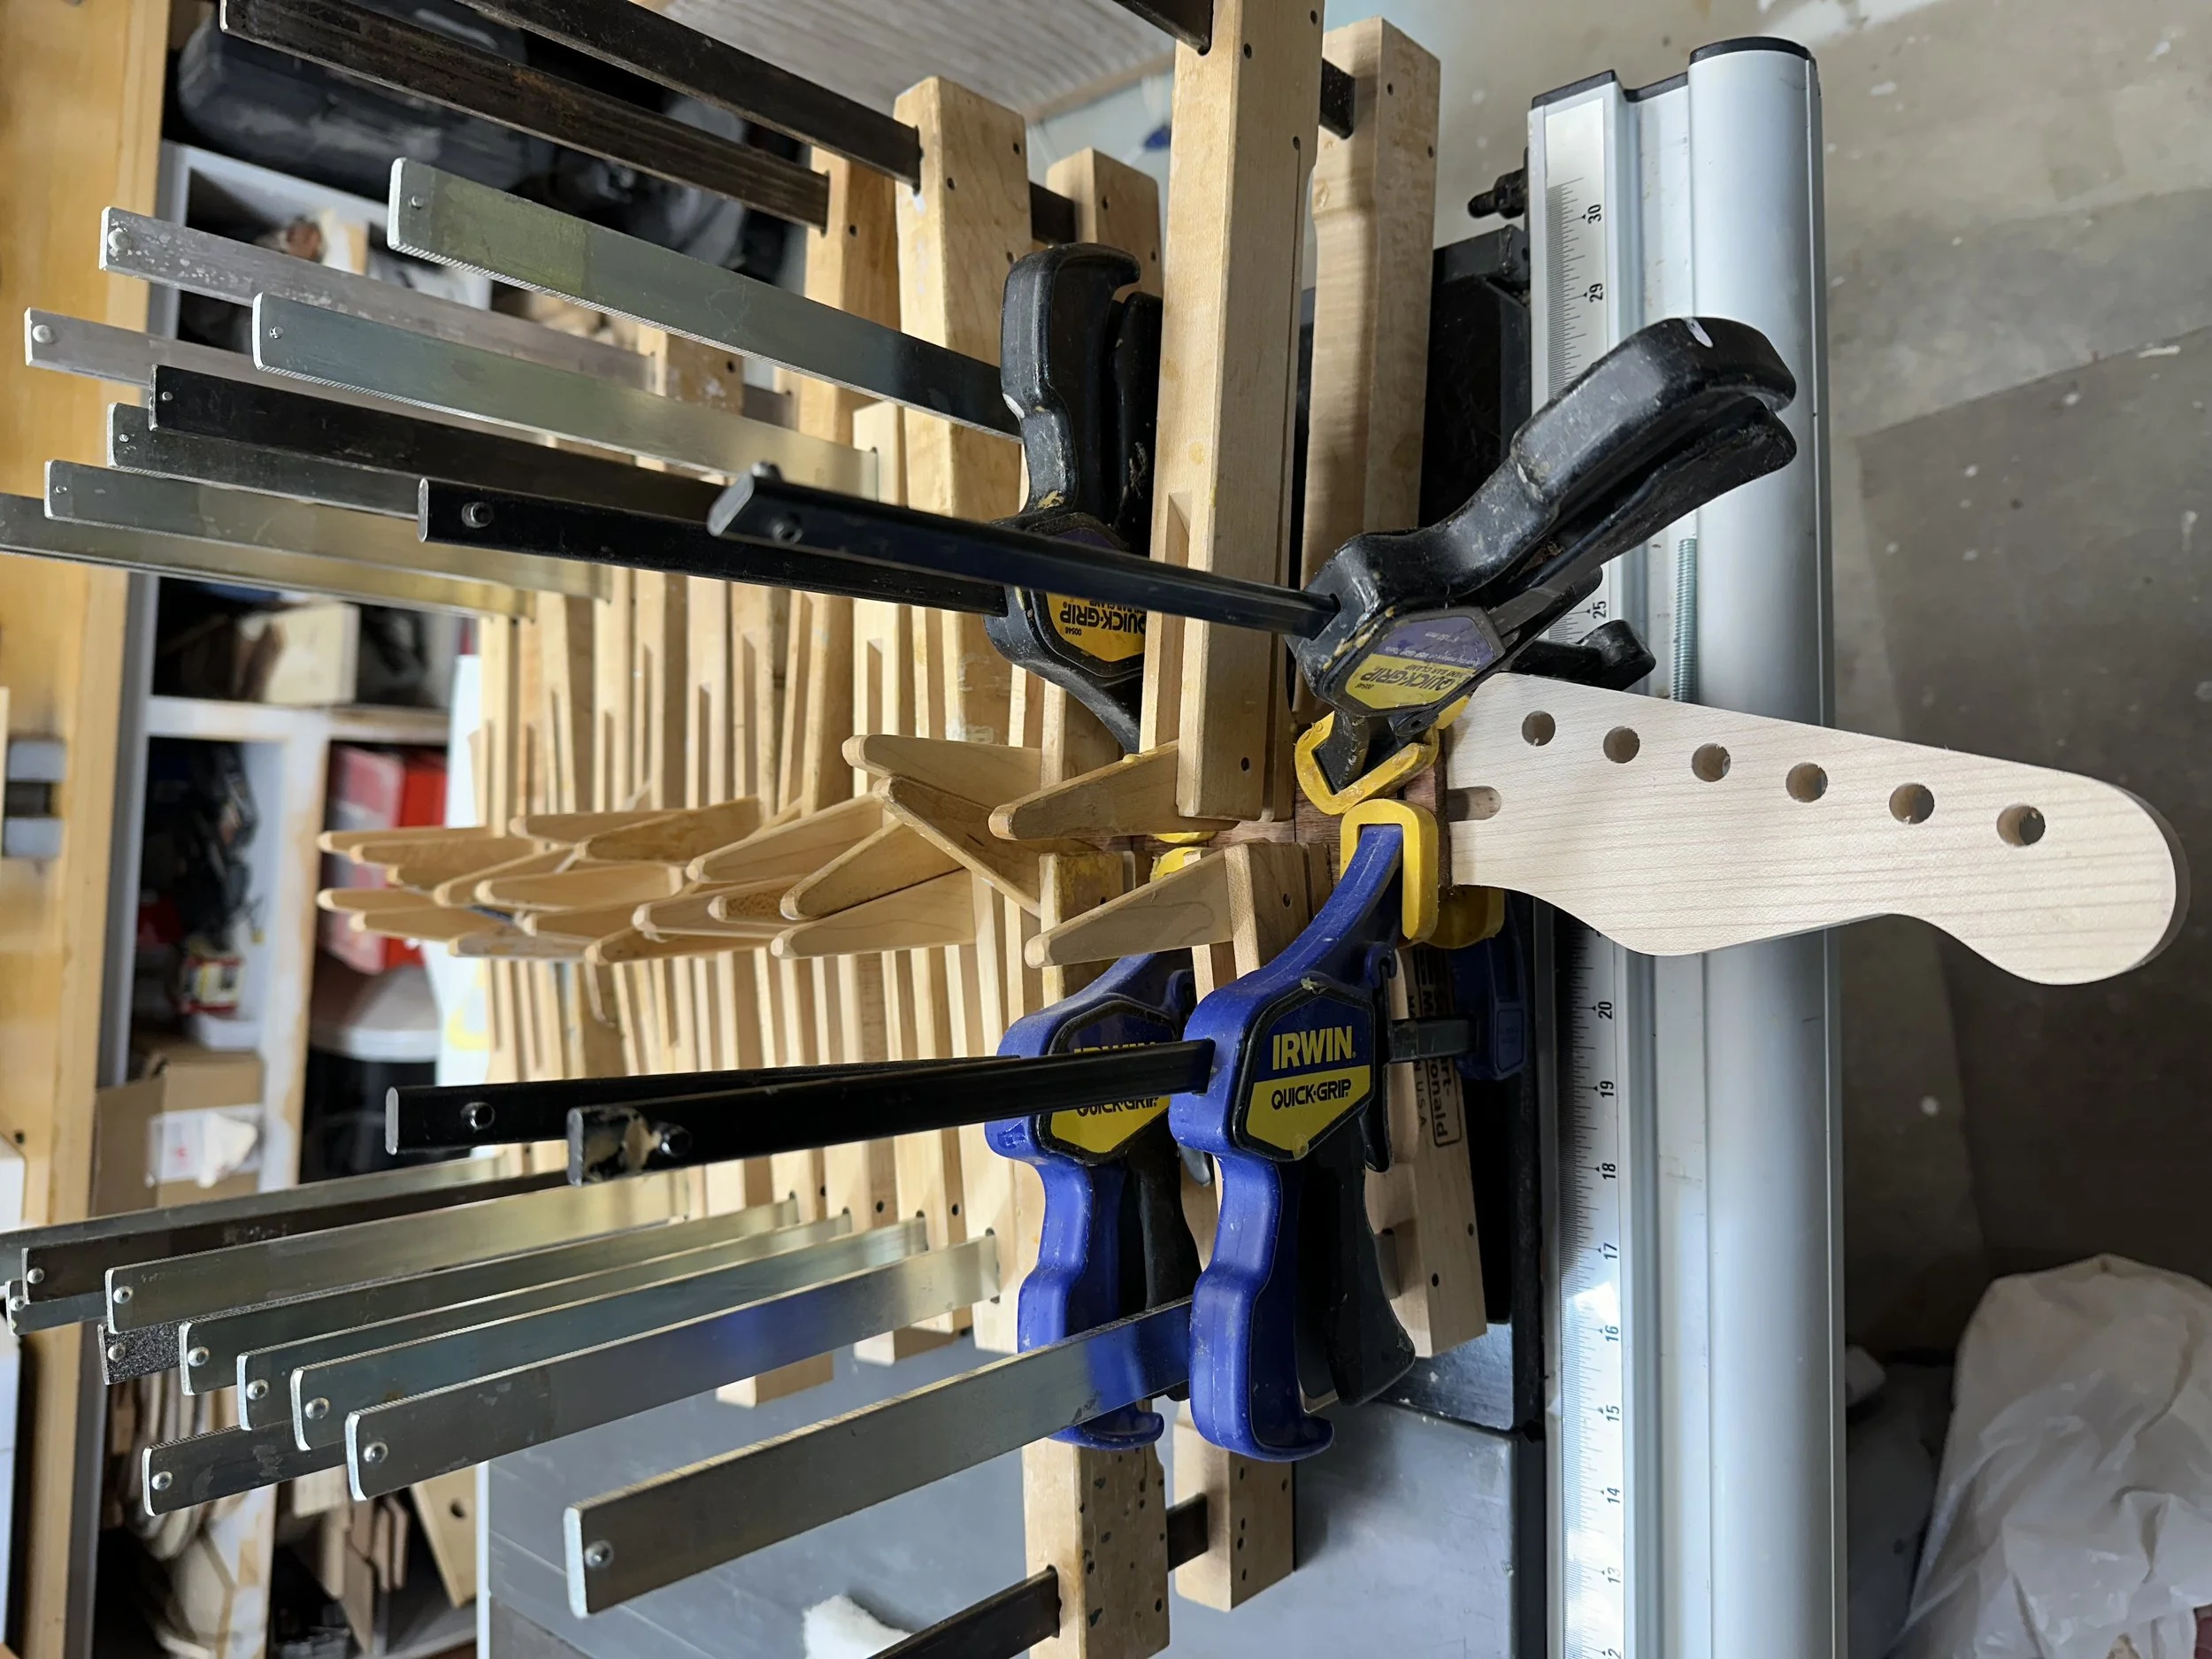
19. Two pins align the fingerboard to the neck (holes visible in previous photo), and once it’s clamped up, I remove the pins while the glue is still wet.
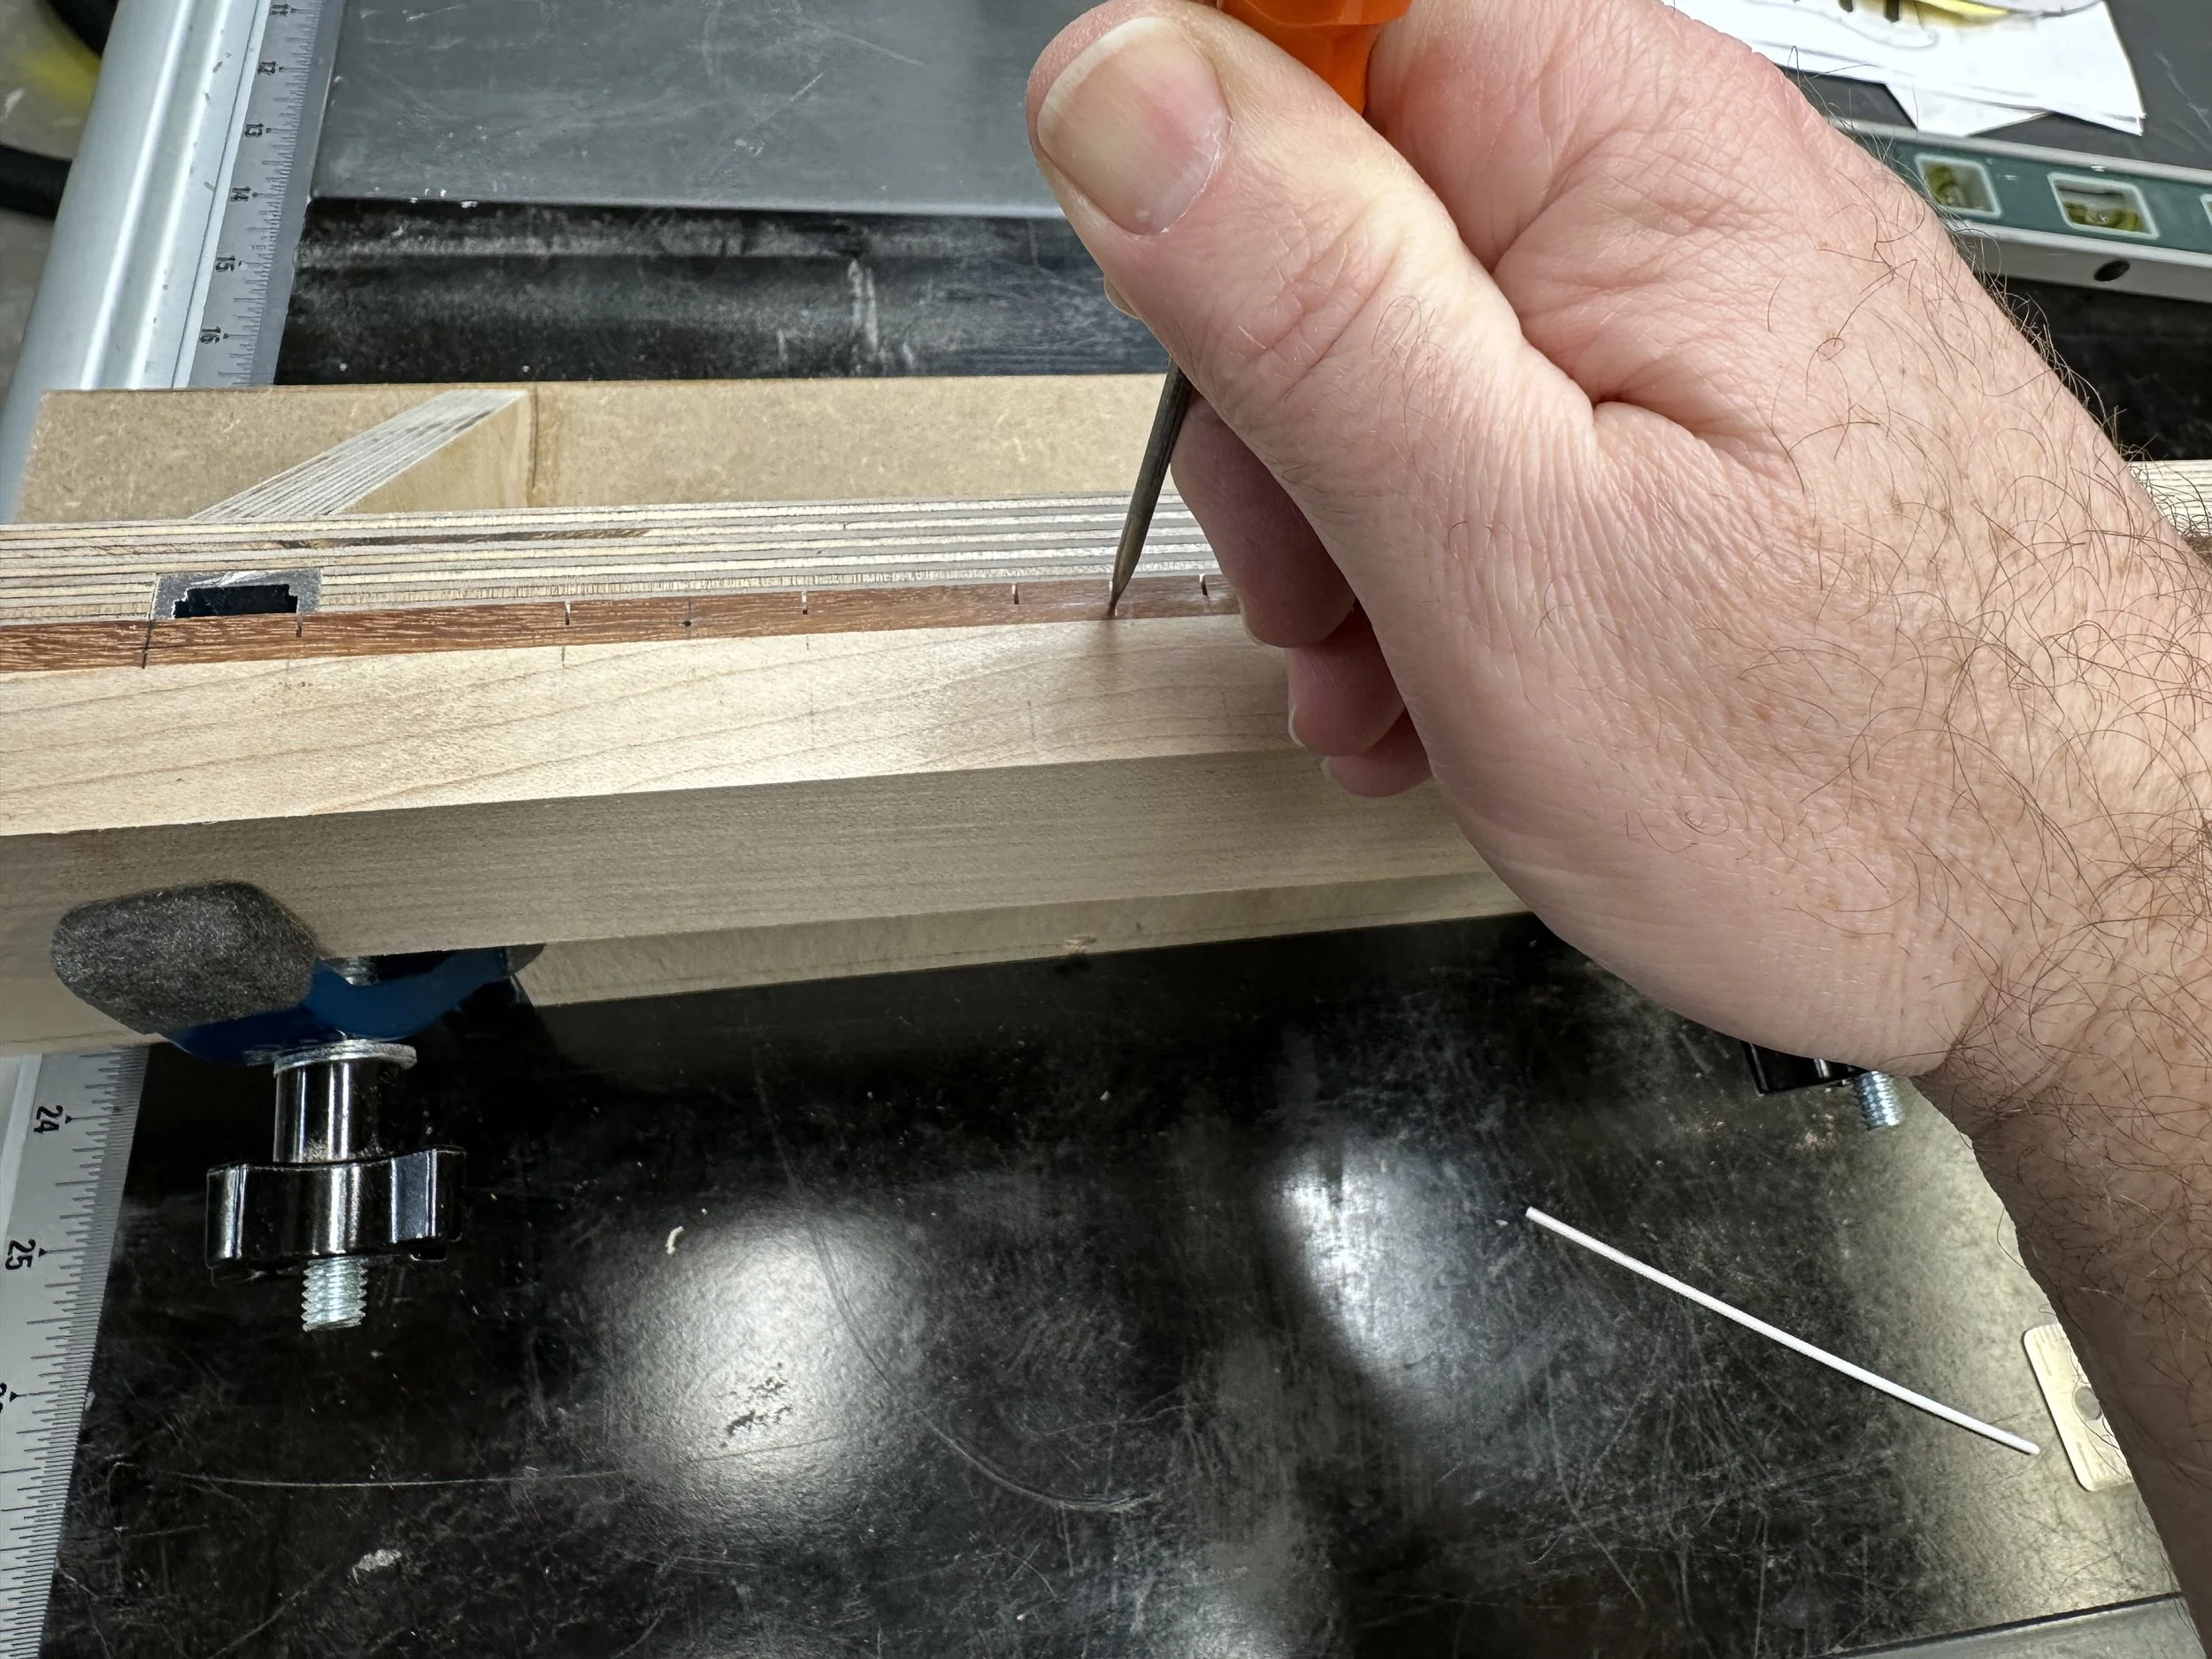
20. Marking the edge of the fingerboard for dot inlays.
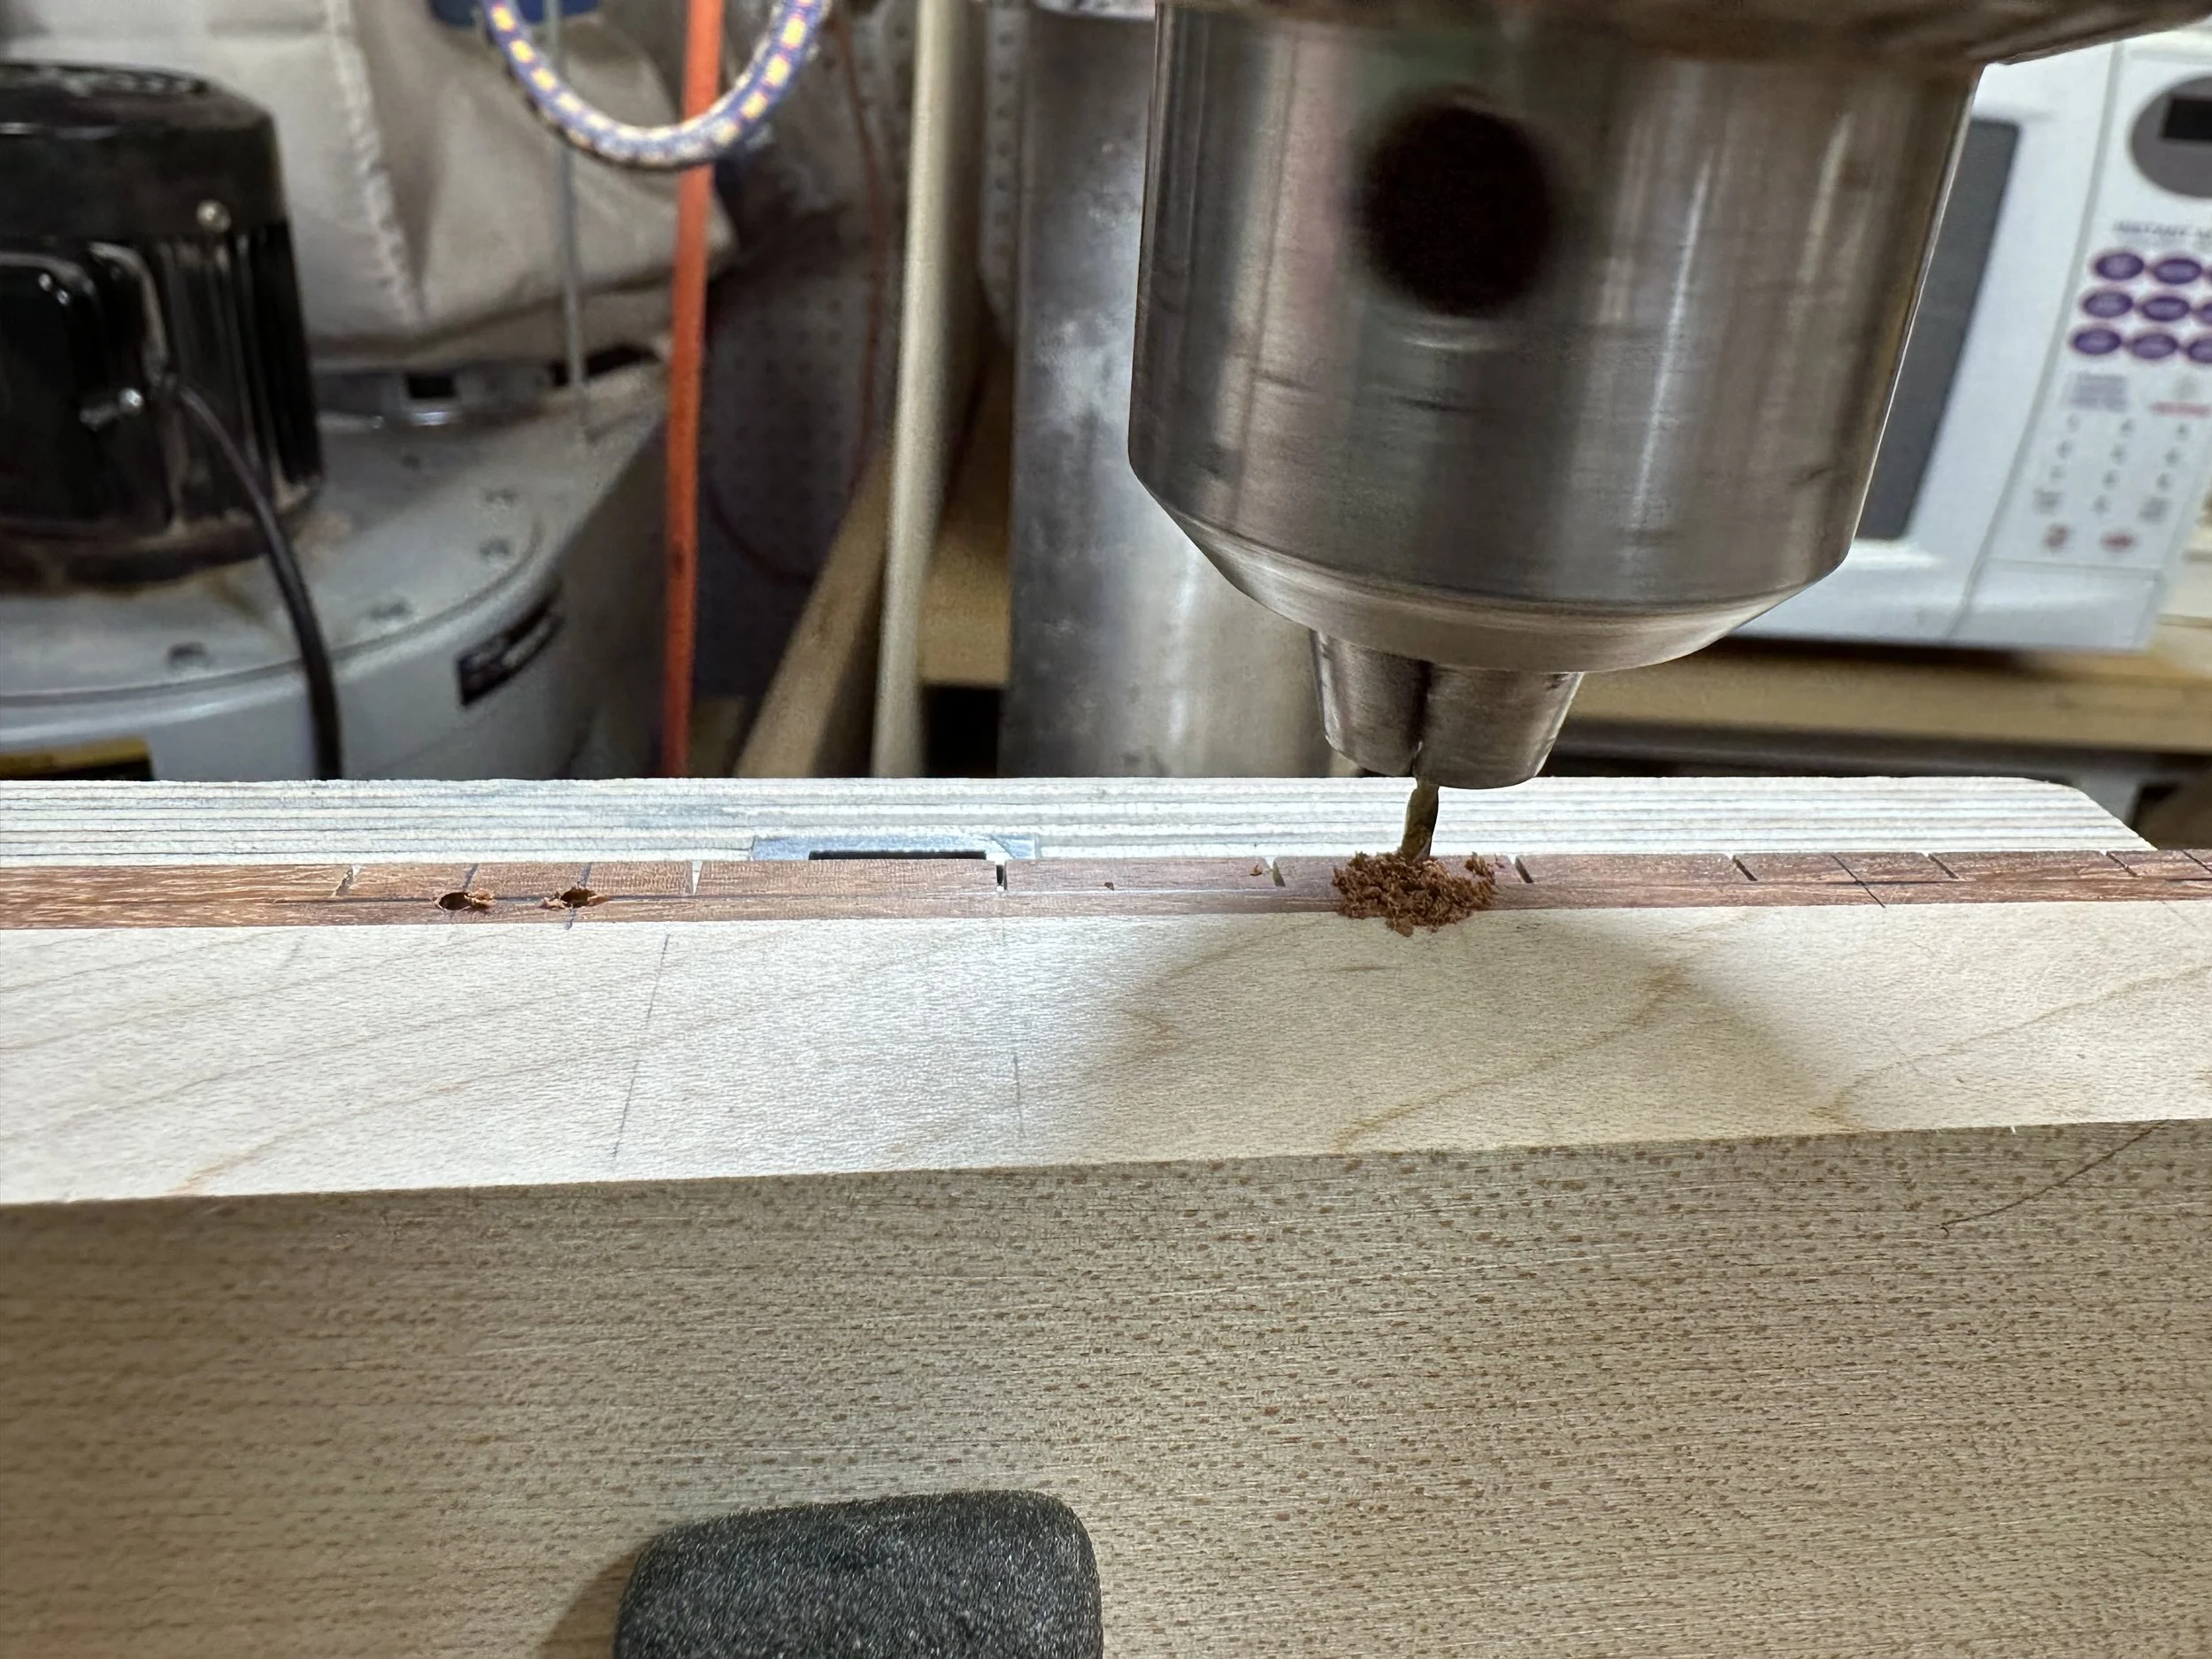
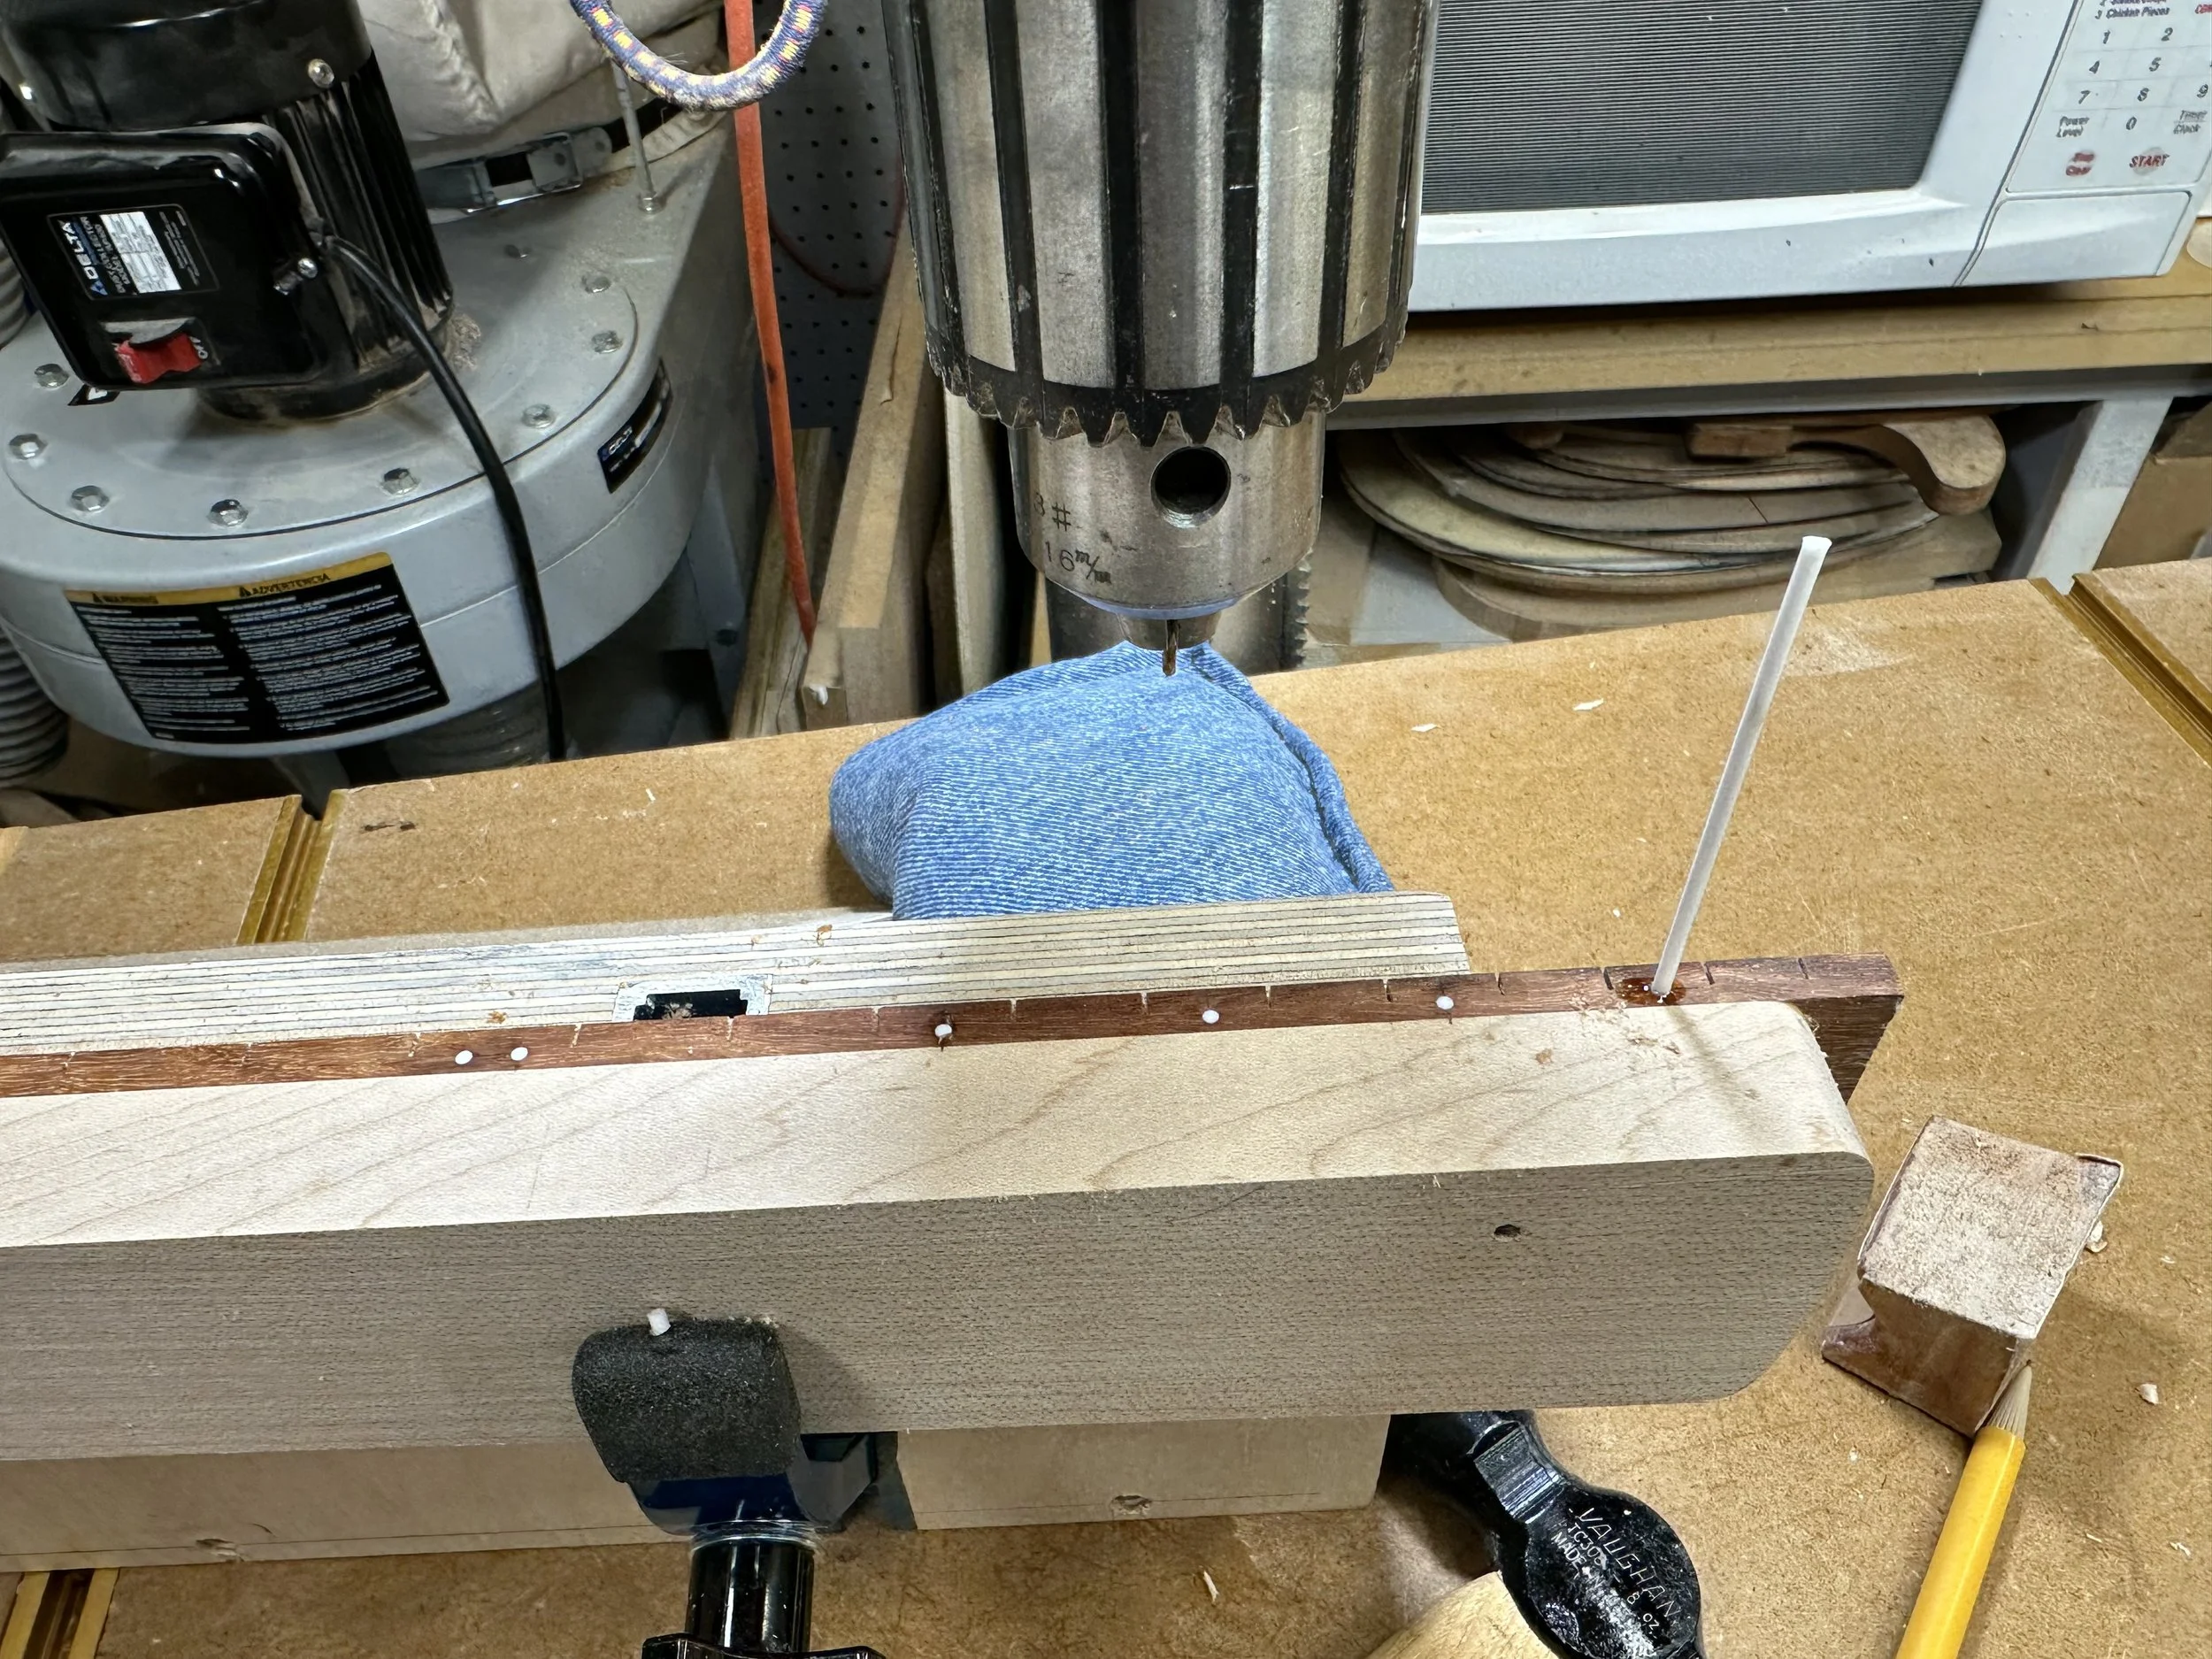
21. Drilling the holes for the inlays.
22. A rod is superglued into each hole and cut and scraped flush with a razor blade.
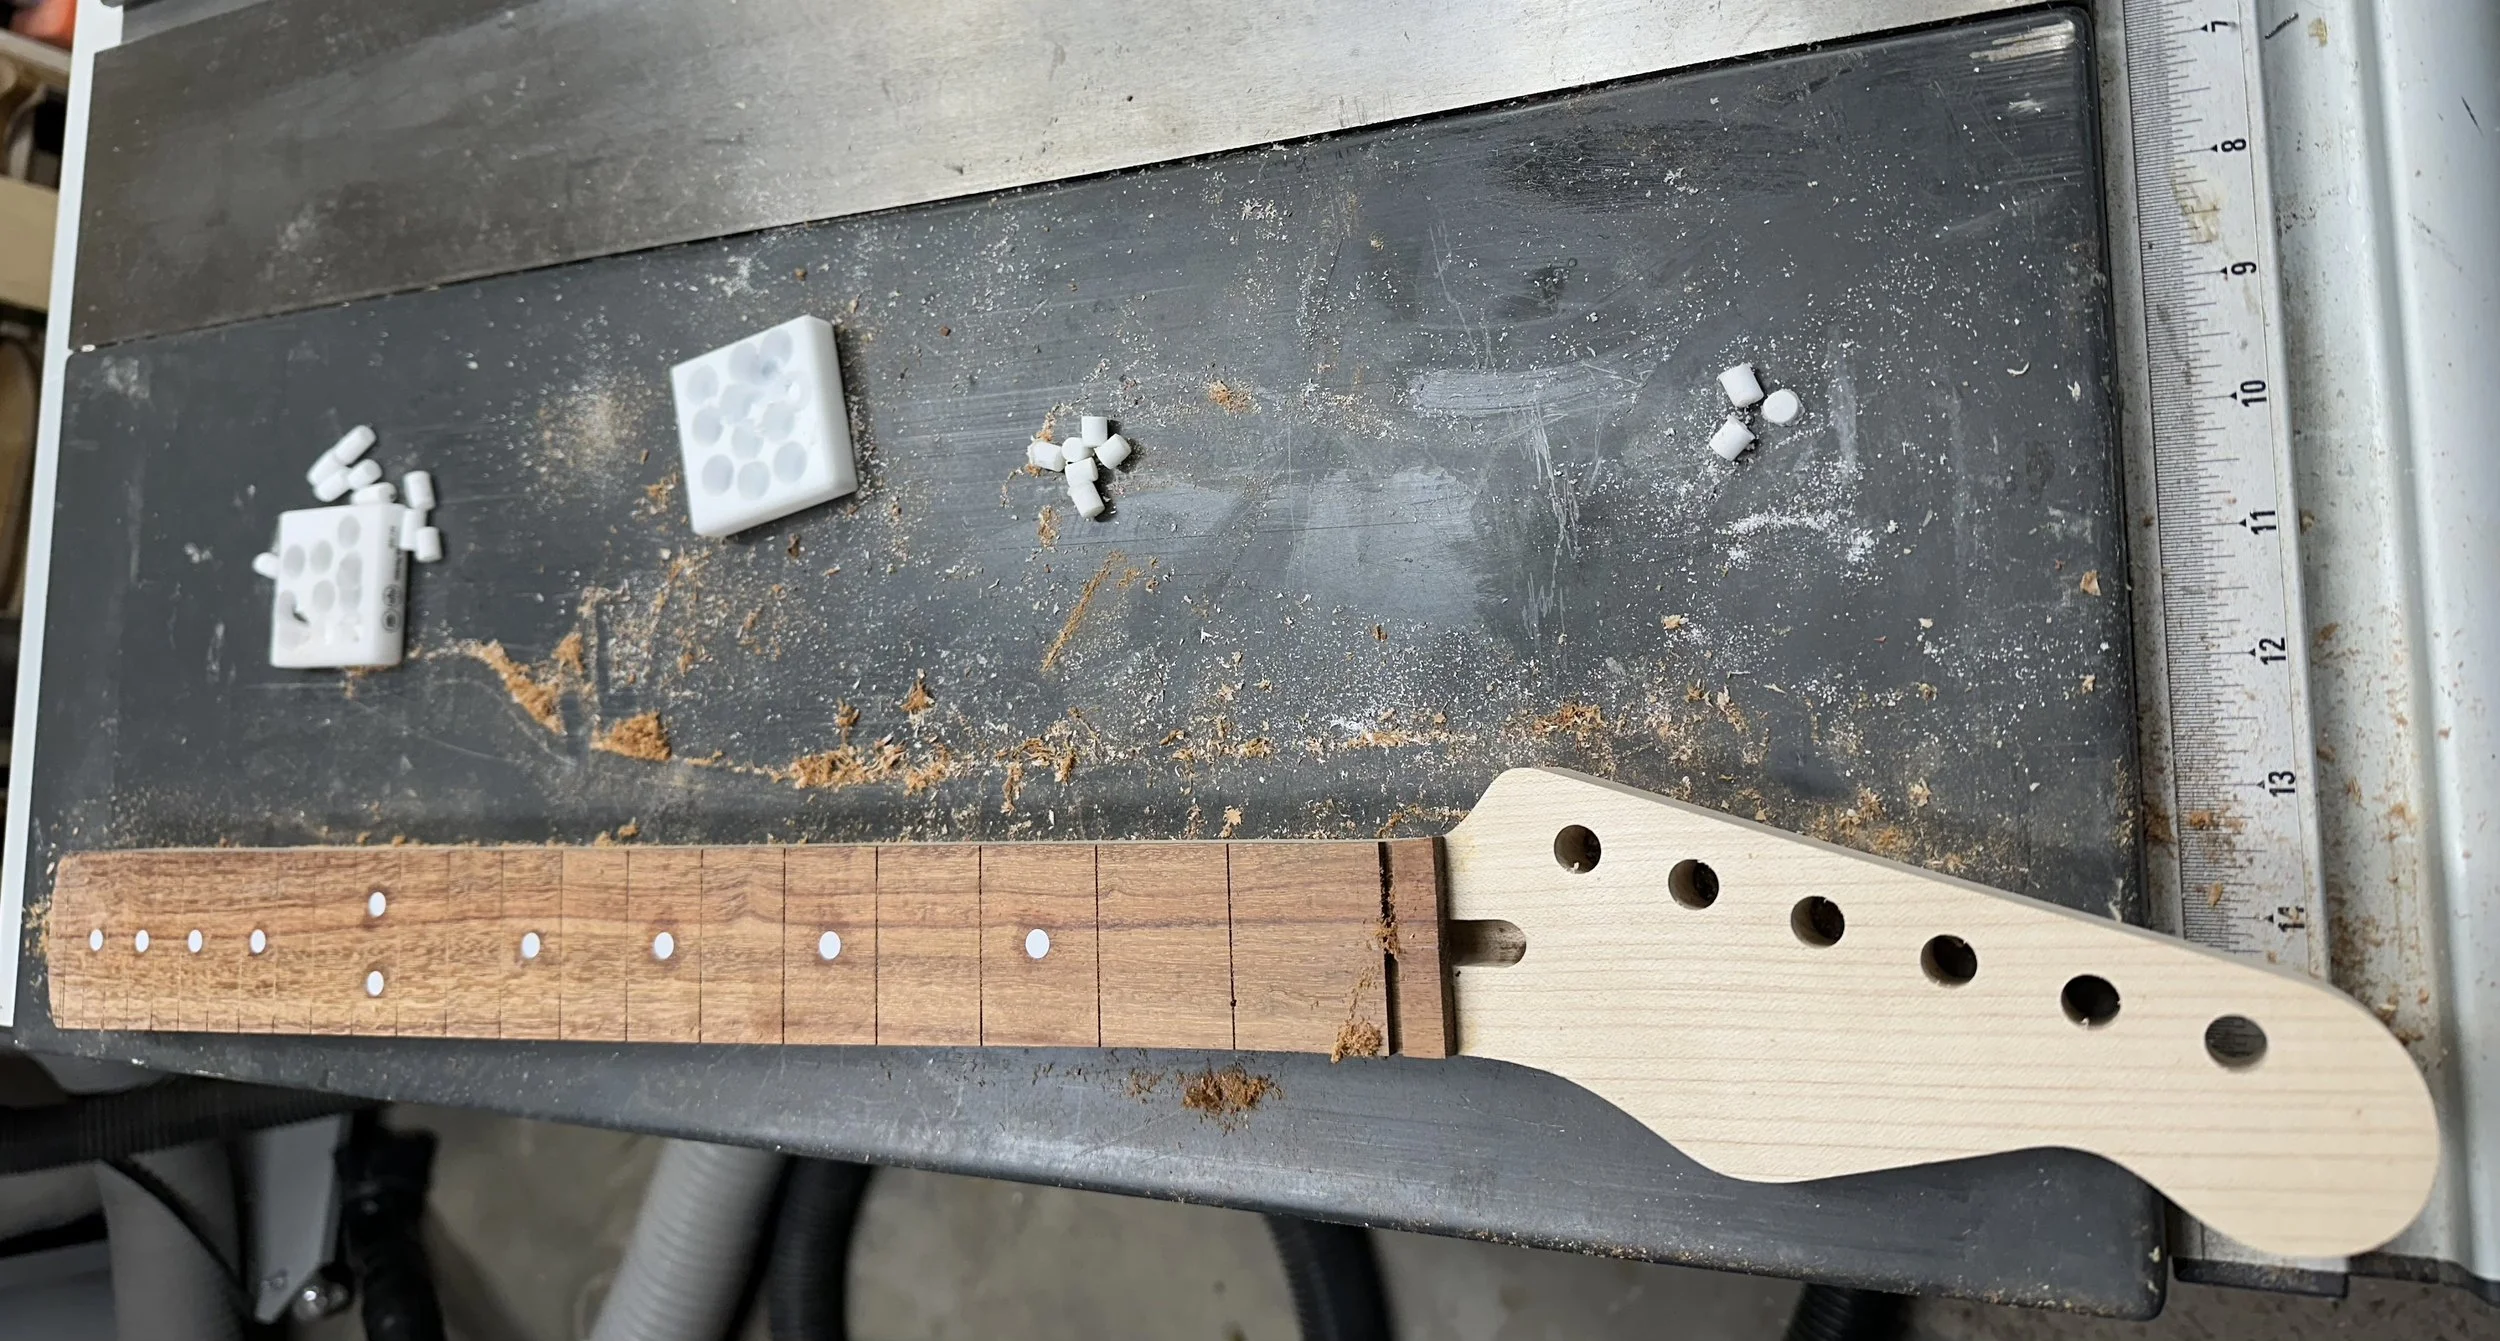
23. Plugs are cut from scraps of Corian countertop material.
24. The fingerboard is drilled to receive the plugs.
25. The plugs are glued in and scraped flush.
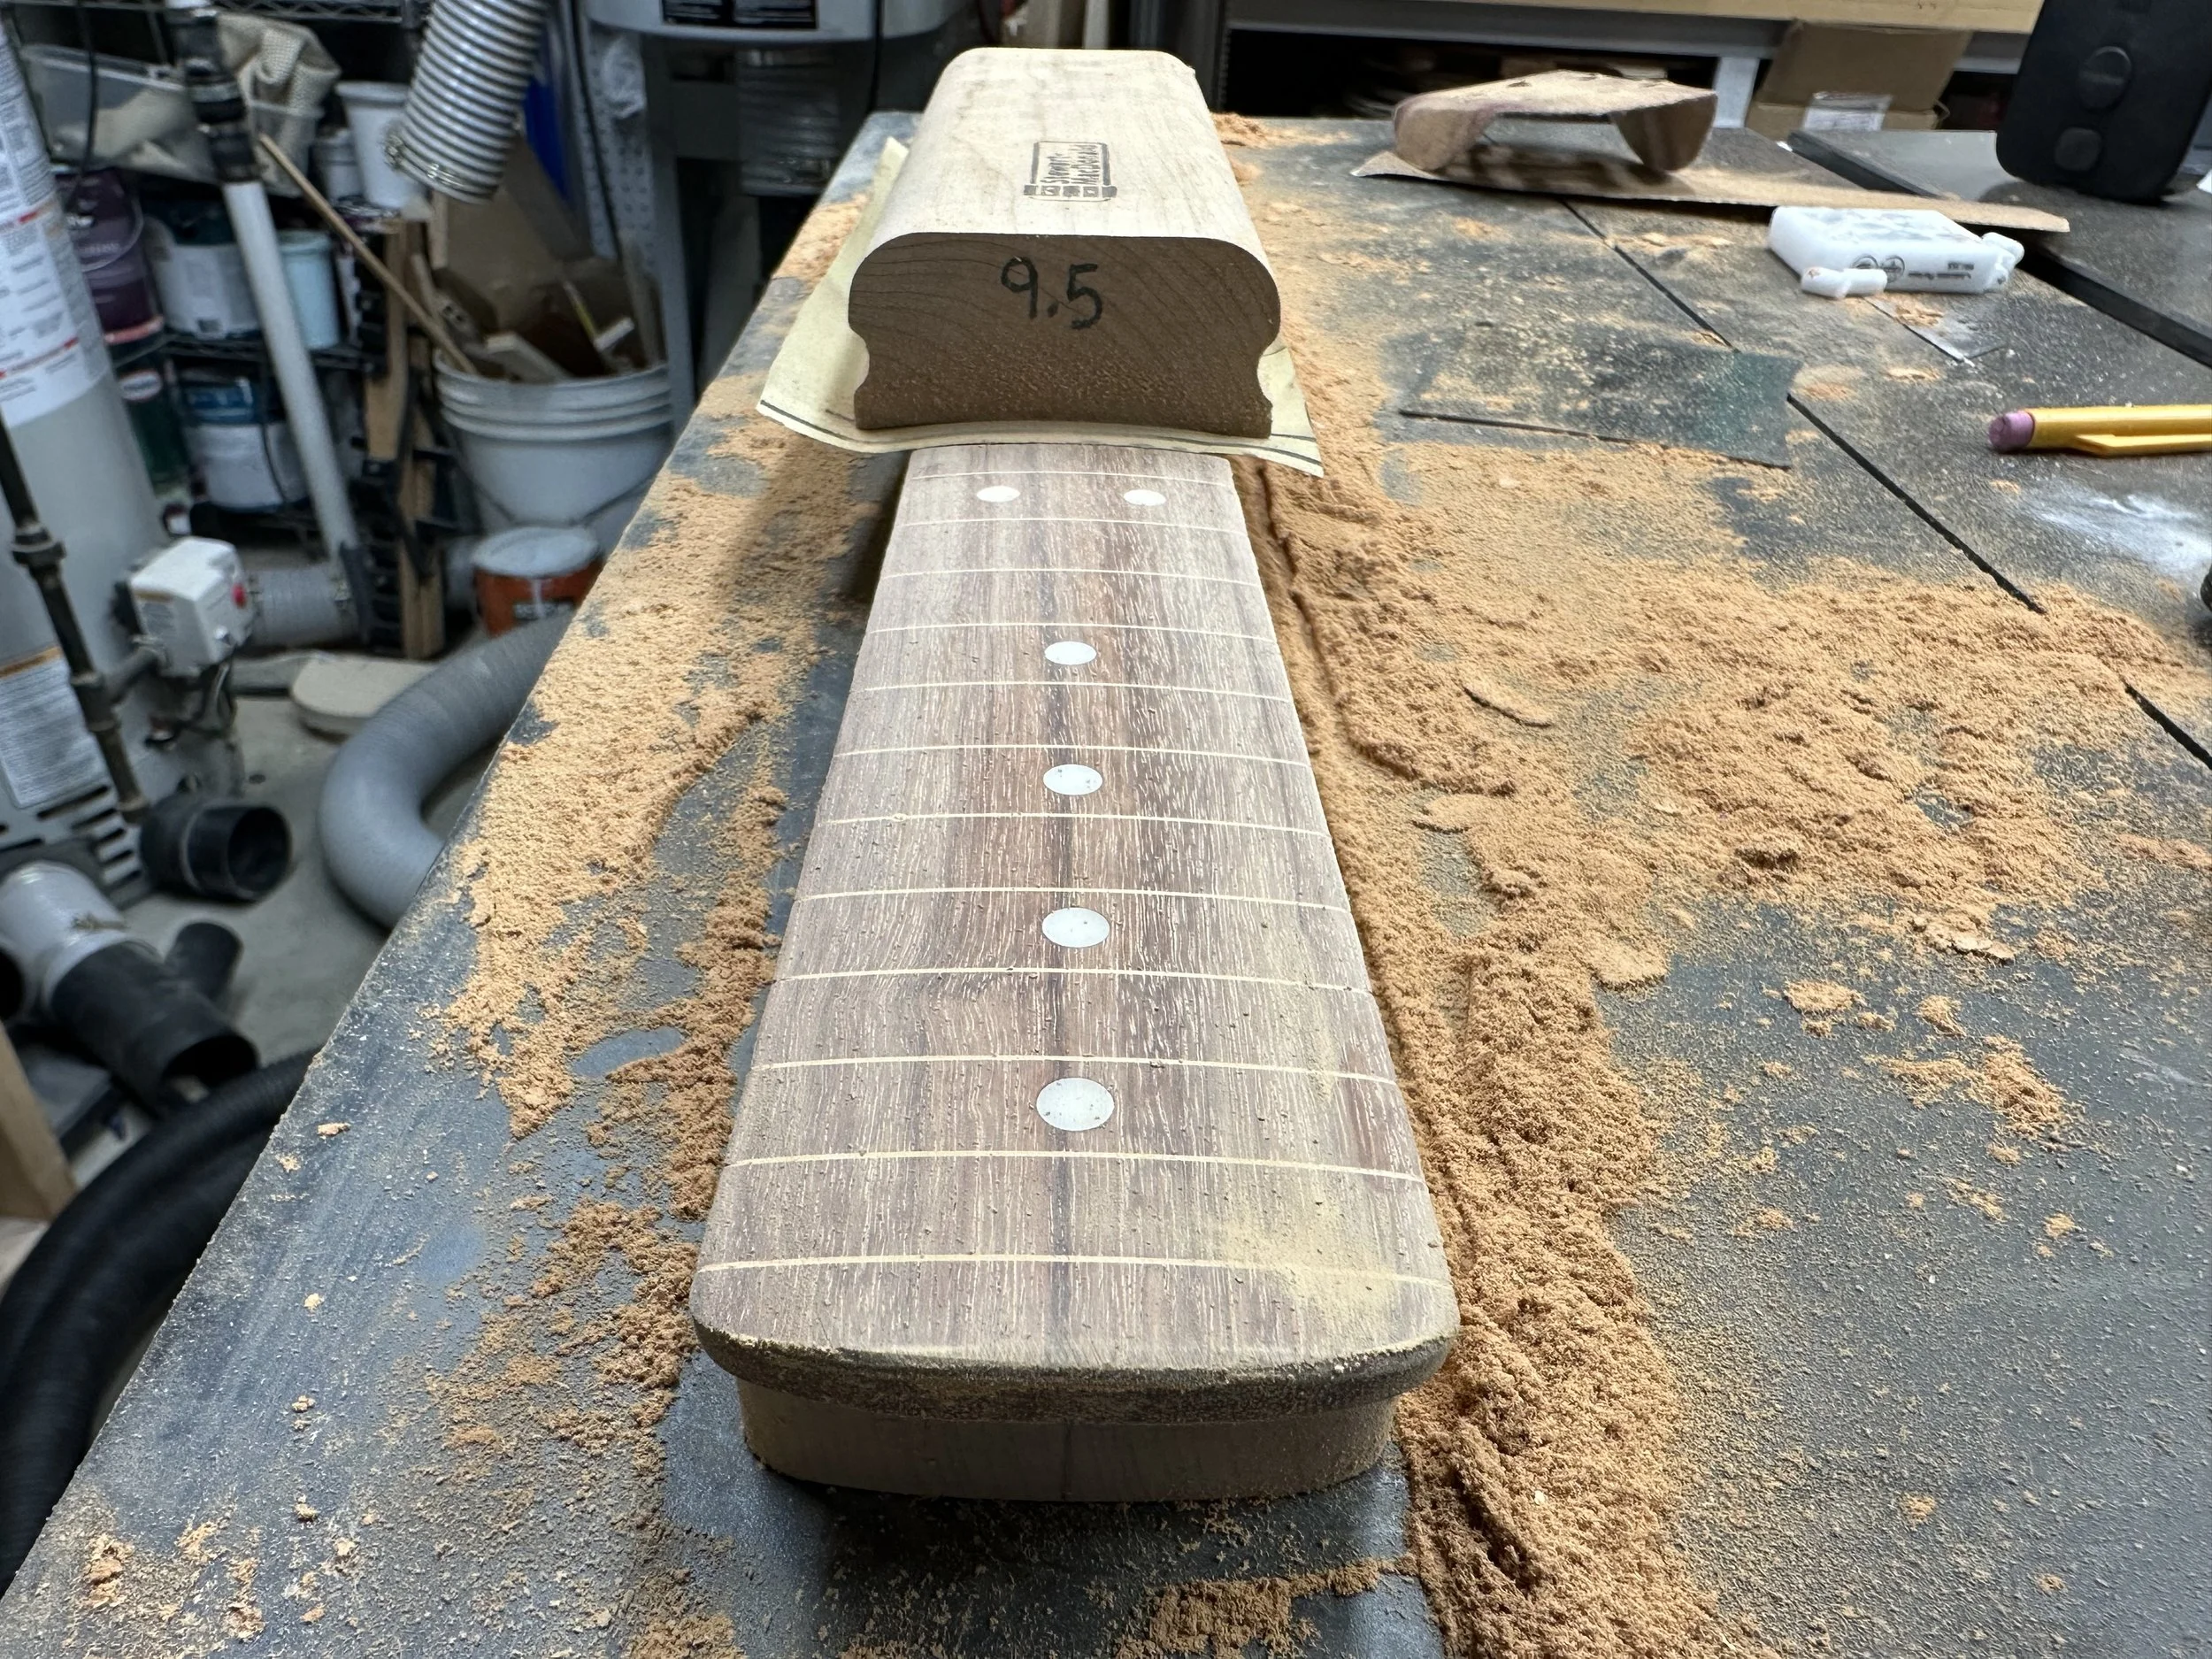
26. The fingerboard is shaped to a 9.5” radius using a block and sandpaper (working from 60 - 400 grit).
…a quick wipedown to see the color of the Pau Ferro.
27. After thinning the headstock with a Safe-T-Planer on the drill press, I clamp the neck in a jig and feed it into the spindle sander to sand the curved transition.
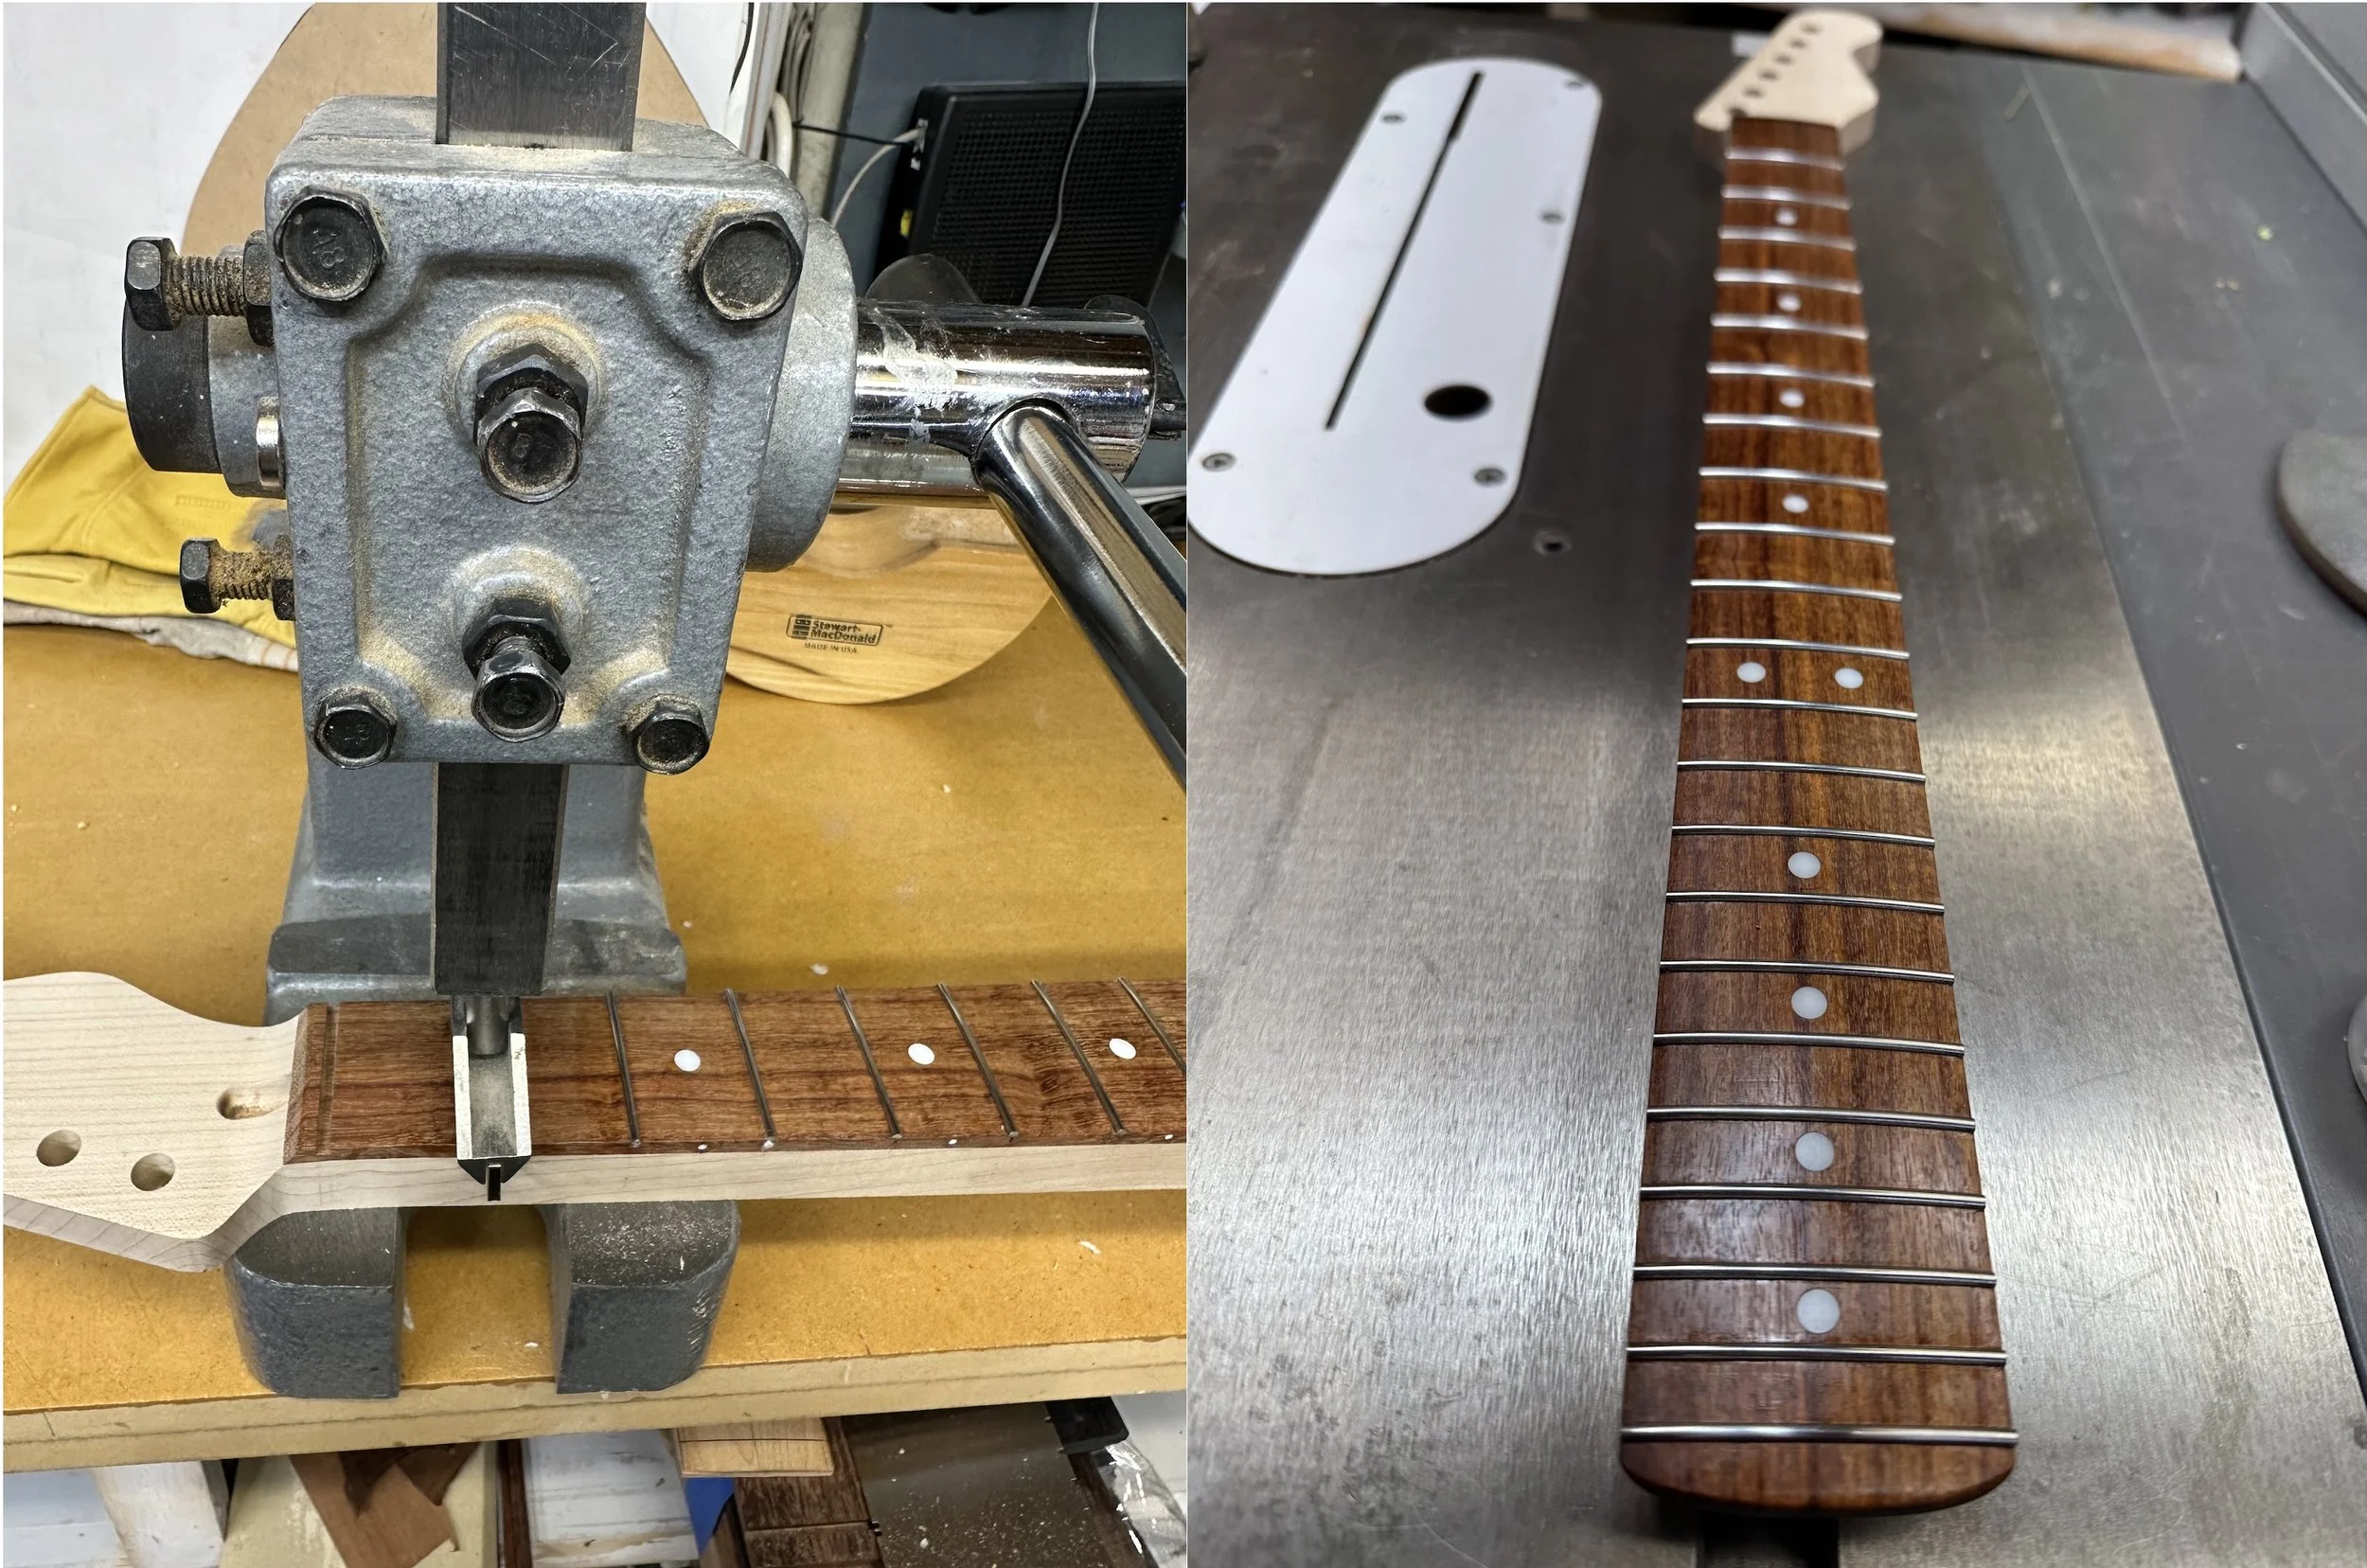
28. Frets are preradiused to 9.5” and pressed into the slots with an arbor press. Frets are stainless steel, 0.095” wide, and 0.047” tall. A thin bead of superglue in each slot helps lock them in. With all the frets pressed in, we’re ready to spot level and round the ends.
Trying something new here and fretting before carving the neck. It’s been nice working with a single flat-backed neck shaft in the arbor press.
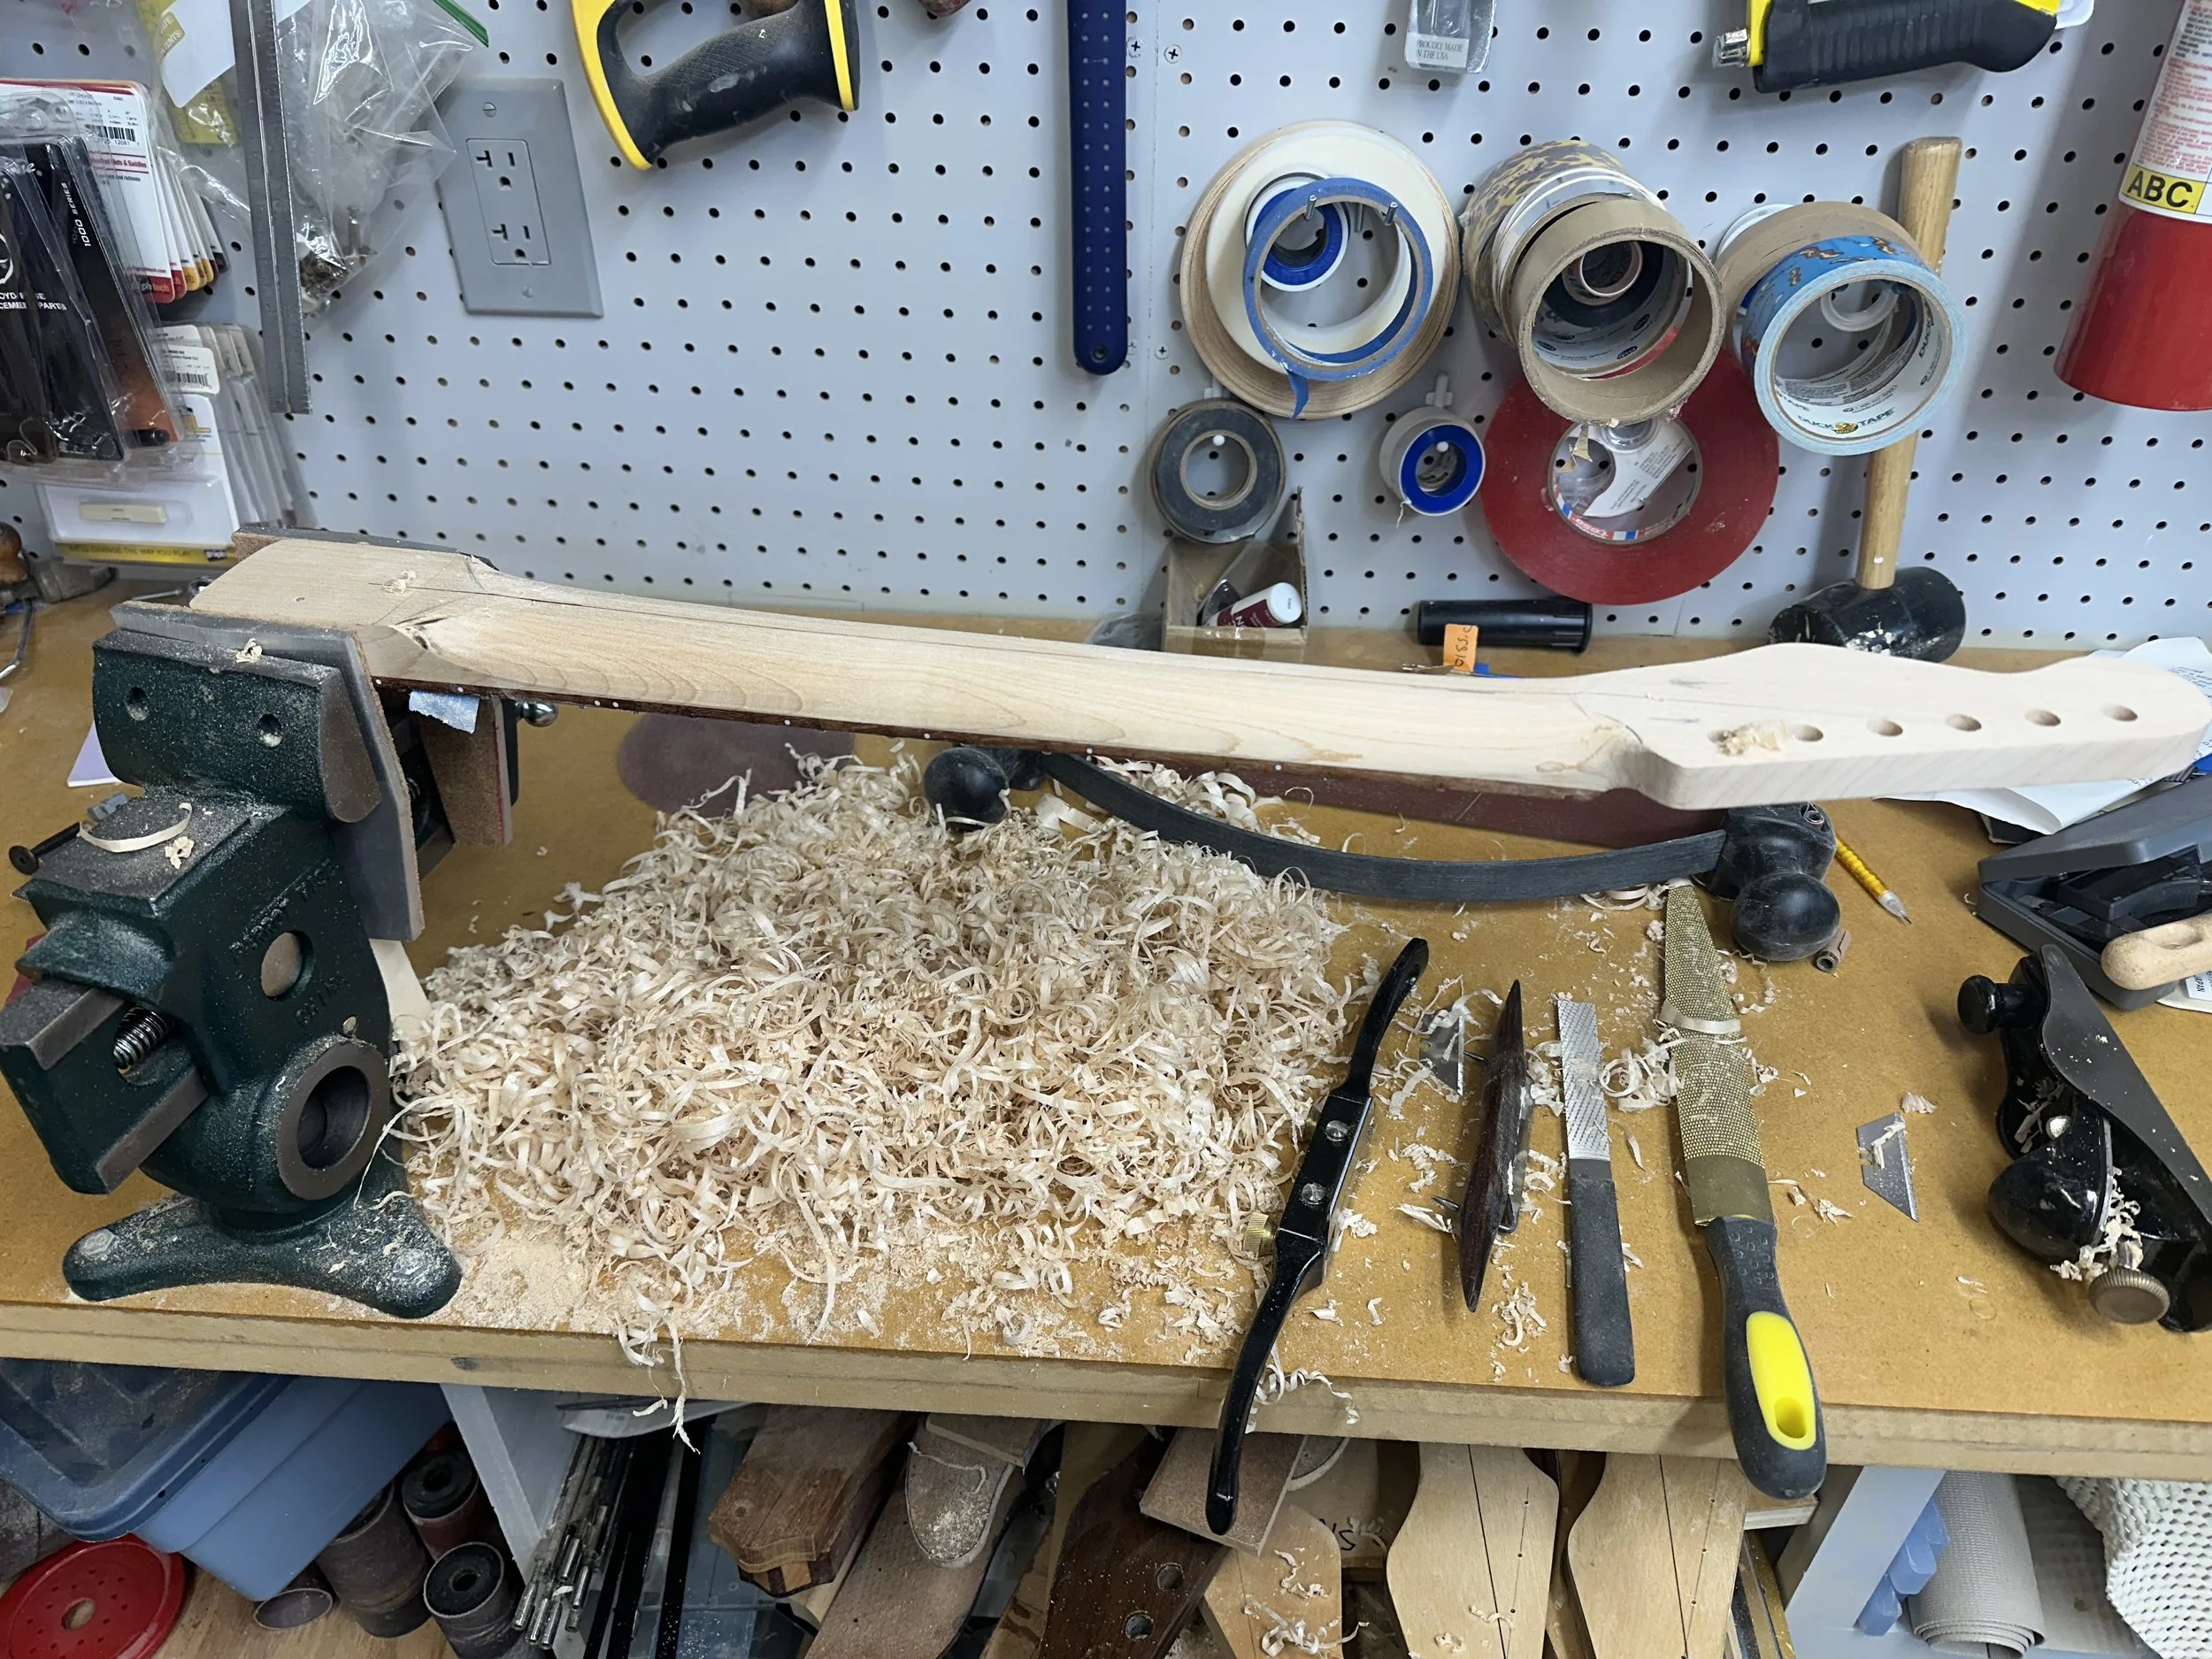
29. Using spokeshaves, rasps, the ever-present razor blades, a block plane, and a bow sander, the neck shaft is faceted until it matches the target profile and thickness.
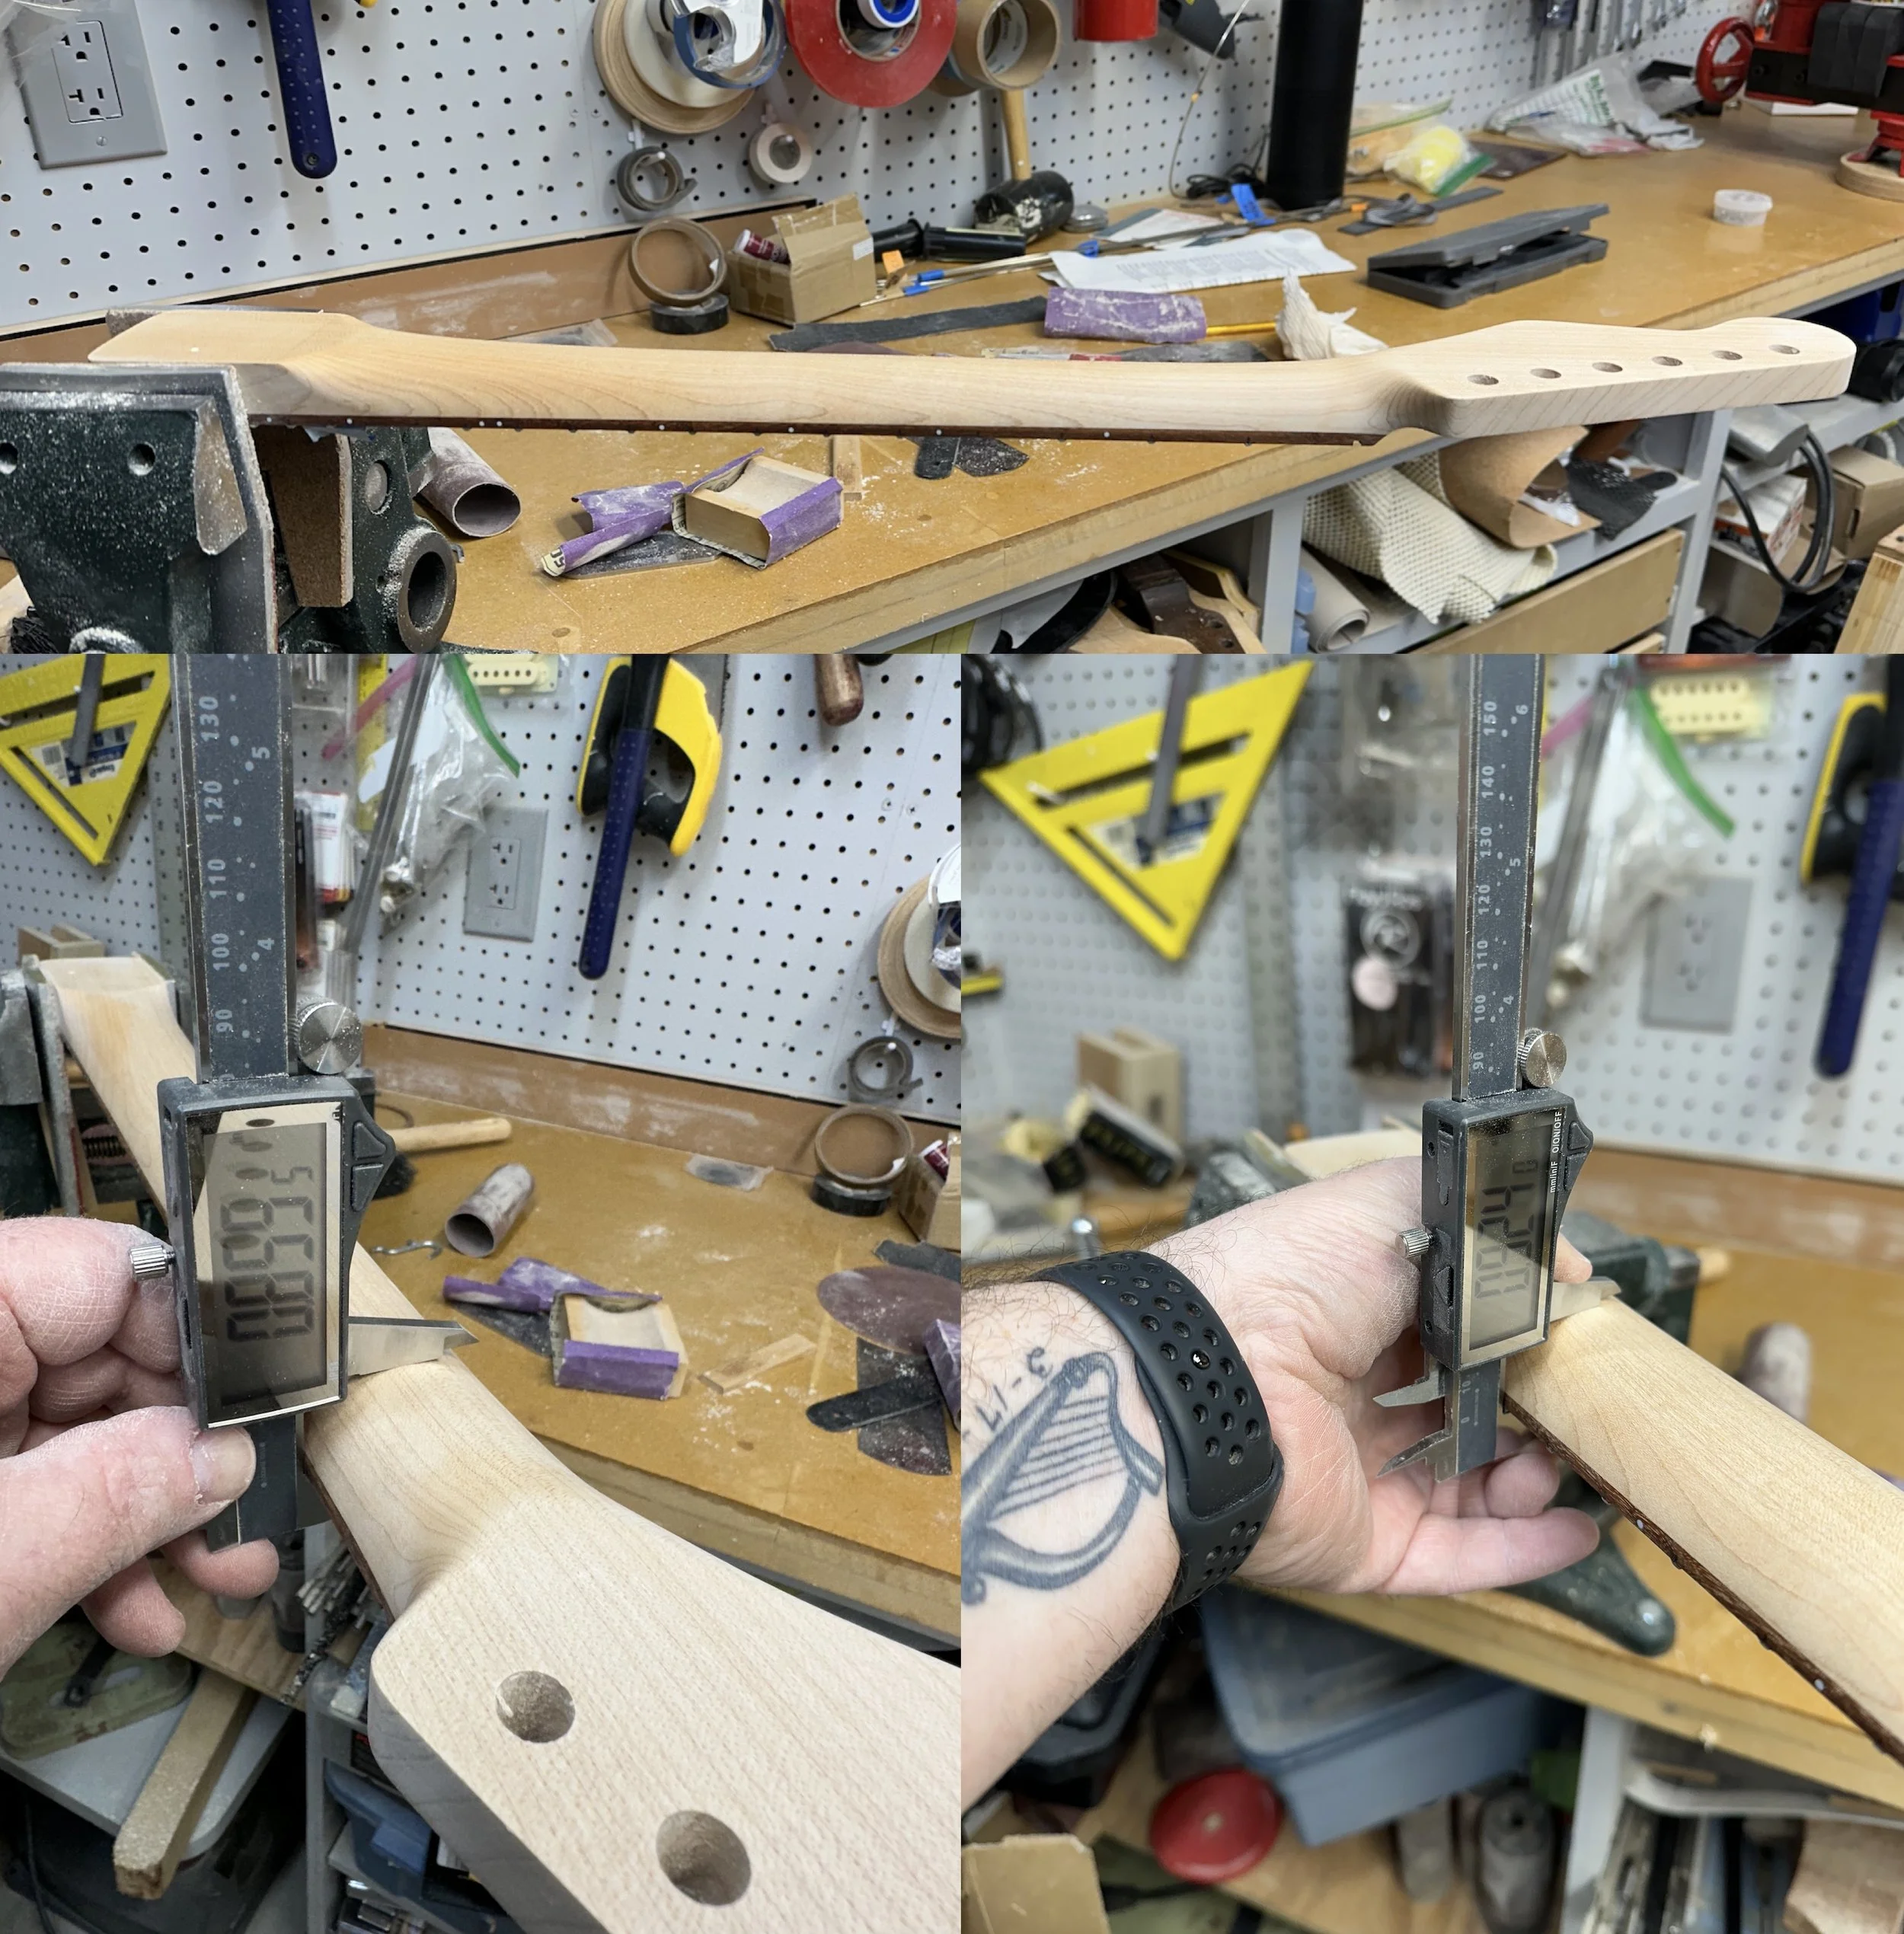
30. Neck profile carved and sanded down to 400 grit before oiling: 0.8555” at the first fret and 0.924” at the 12th fret.
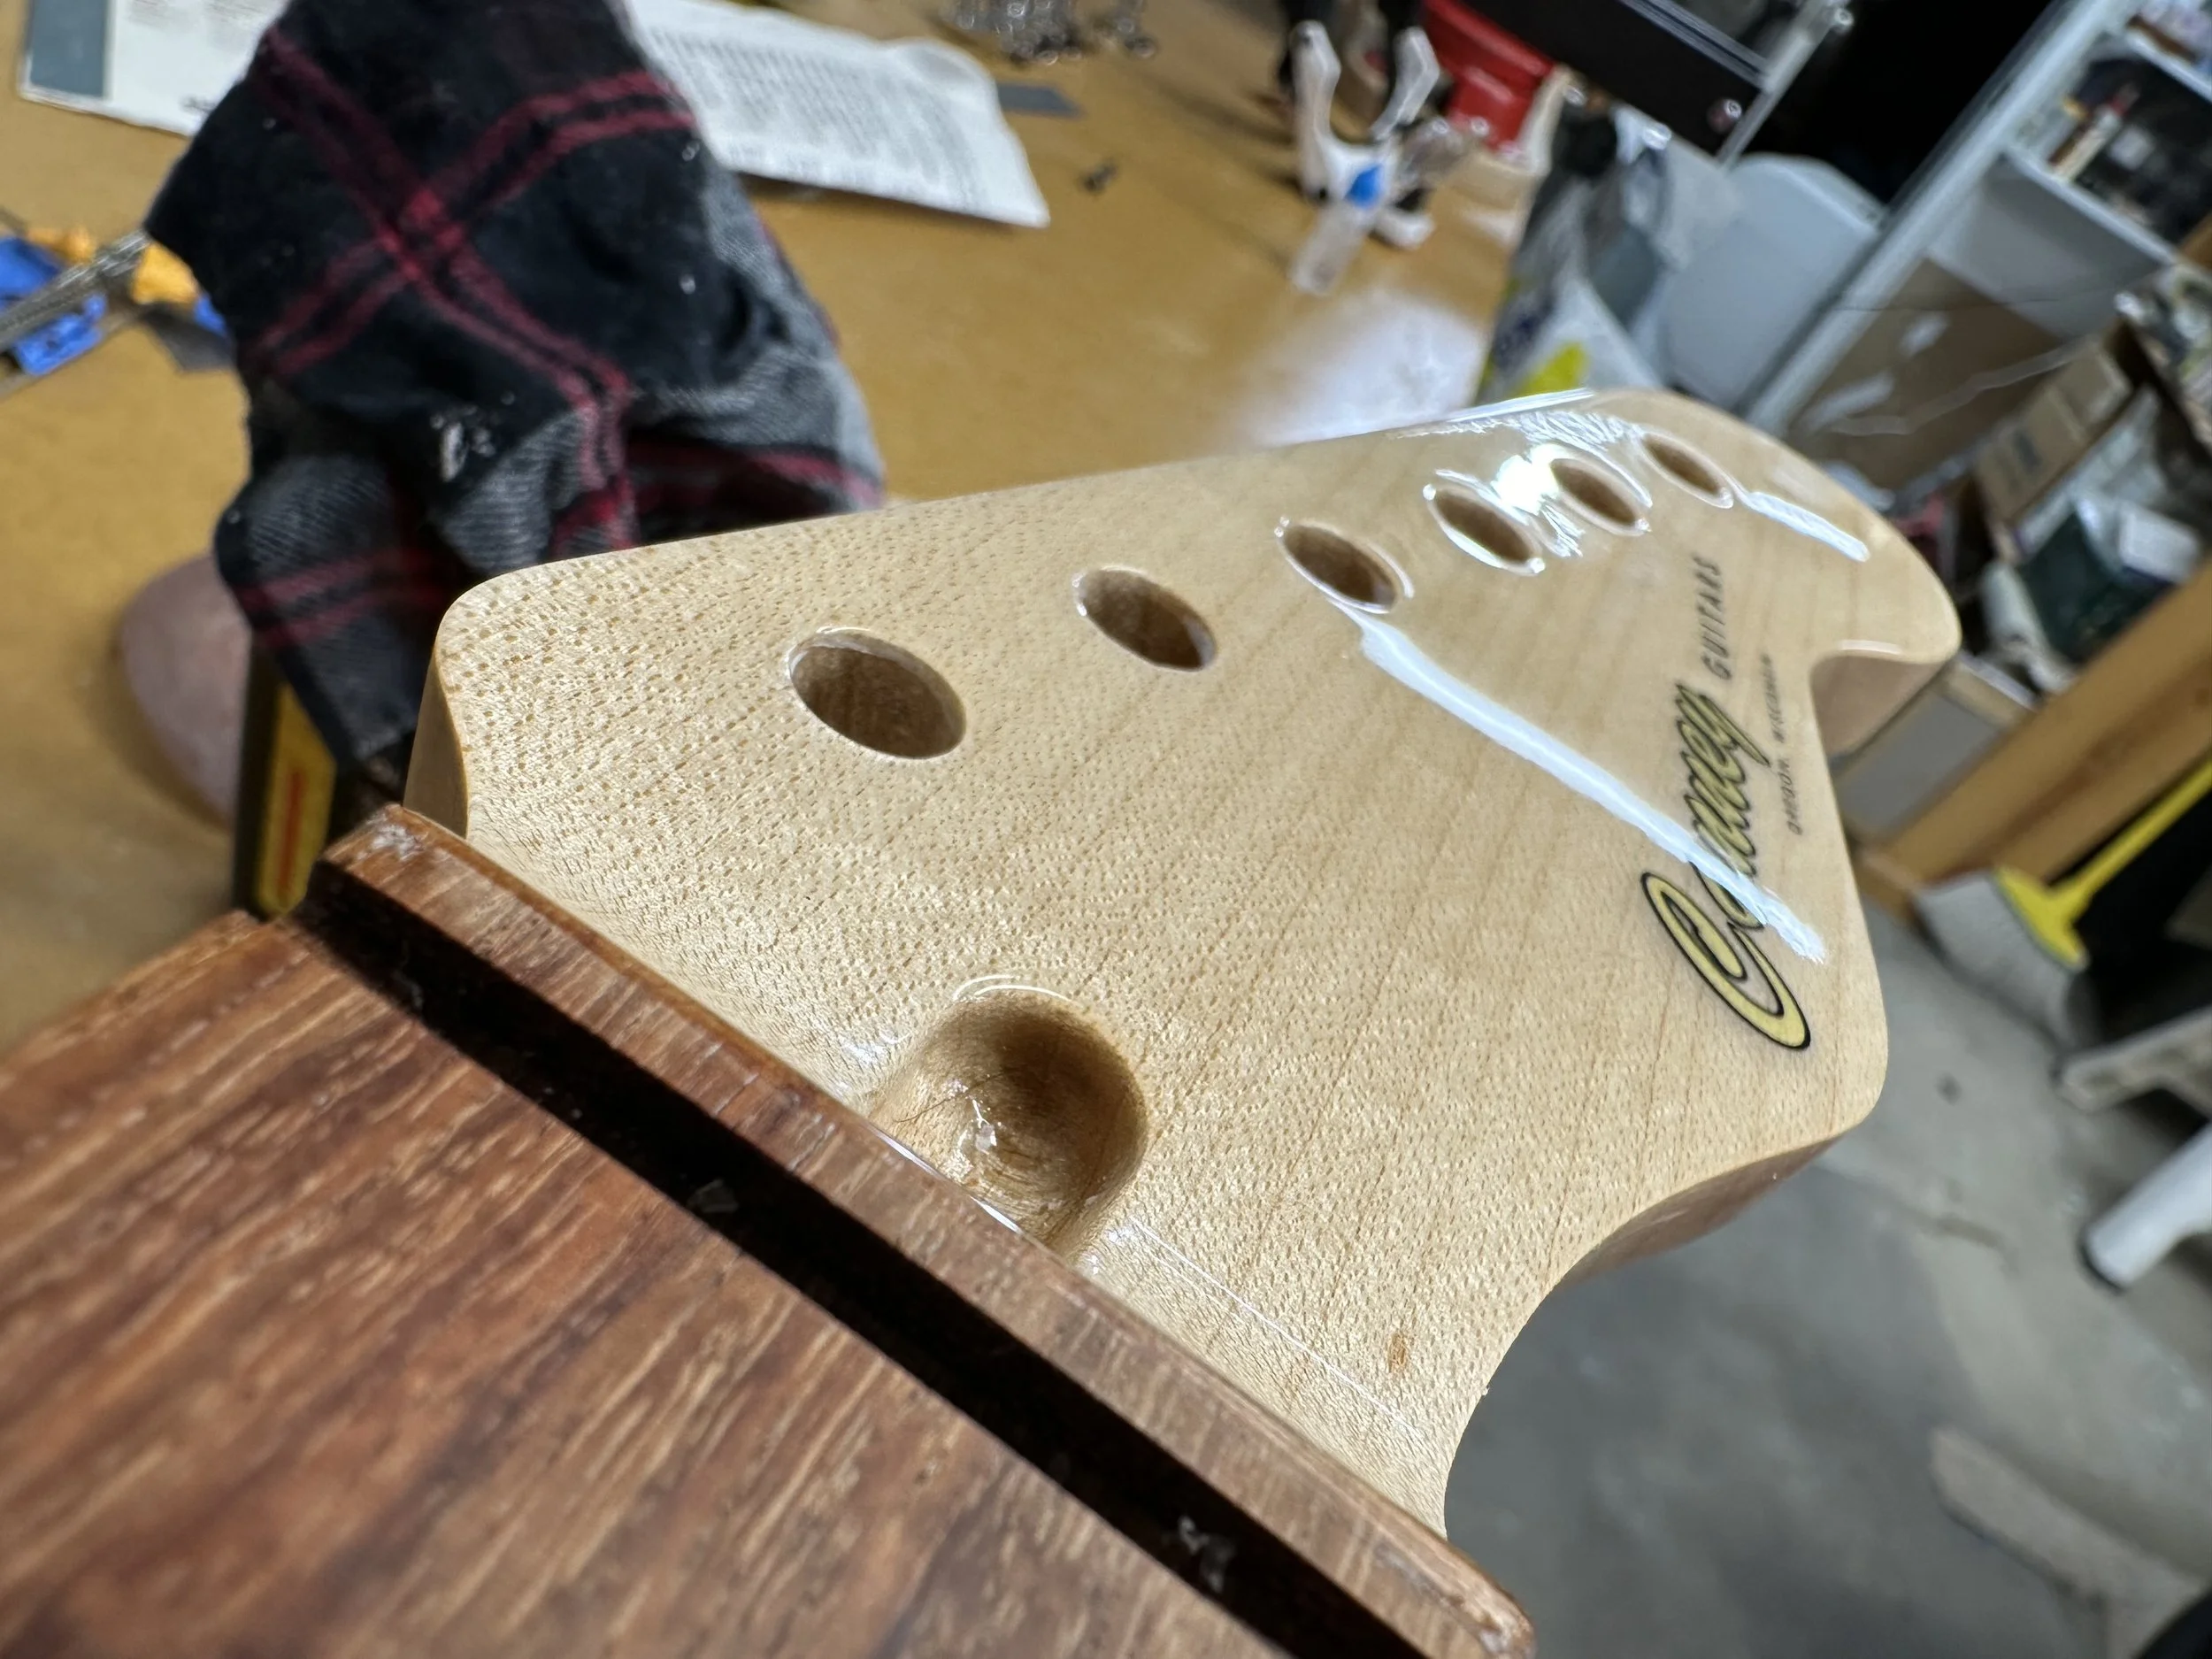
31. After a seal coat of lacquer, the waterslide decal is positioned on the headstock. After it dries for 24 hours, I can start to bury it in lacquer to hide the edges.
32. After several coats of lacquer, the edges of the decal disappear. The peghead is block sanded with 800- to 4000-grit Abralon pads and buffed to a gloss.
33. The guitar is assembled in the white (no finish) to ensure everything goes together as planned. I’ll set it up to ensure it’s playable so any woodworking adjustments can be made before the finish is applied. Neck, body, and bridge weigh in at 7 pounds, 2 ounces.
